VAN LIFE: Installation Guide of MaxxAir Ventilation Fan with Photos & Video on 2012 Ford Transit Connect Camper Van

CAMPER VAN FOR SALE

〰️

CAMPER VAN FOR SALE 〰️

PXL_20210317_201818183.MP.jpg

One of the most nerve wracking projects of our van conversions is the installation of the ceiling ventilation fan. In it’s simplest form, the installation required cutting a giant hole in the roof of your perfectly waterproofed vehicle.

But the benefits of a ceiling fan far outweigh the challenges, so we wanted to share an in depth look at our version of this process.


BENEFITS OF A VENTILATION FAN

Essentially, any vehicle converted into a camper van starts as a tin can (or a shell vehicle stripped of its fabric liner).

In our conversions, the dashboard HVAC systems provide heating and cooling, while driving, but are not functional while in camp.

Unlike a home, vehicles are not primarily constructed with the notion of people living and sleeping under its roof. Through the opening of windows and doors, “natural ventilation” is a common method of allowing the exchange of indoor and outdoor air.

Natural ventilation is unpredictable and uncontrollable, and while camping the elements (pressure, wind, rain, temperature, bugs) pose additional challenges.

The addition of a dual operating ceiling ventilation fan allows for the operator to control the intake and exhaust of air pressure within the van; bringing in fresh air and removing musky air.


VENTILATION FAN

Let’s start with the fan itself. This is our third time purchasing a Maxx Air Ventilation MaxxFan Deluxe. The Maxx Air line of products is one of the industry leaders in RV ventilation.

We continue to install the Deluxe model because of the following features:

  • built in rain cover

  • 10 speed intake and exhaust

  • thermostat control

  • 900 CFM

  • well built, low profile and sleek design

  • very quite while running

When a ventilation fan is used in combination with natural ventilation, you can create circulation and optimize comfort levels while sleeping.

We use the Maxx Air ventilation fan in conjunction with our custom, front-door window screens by Skeeter Beeter.


MATERIALS

Maxx Air Ventilation Fan

Ford Transit Connect Roof Vent Adapter (for first generation 2002-2013)

Butyl Tape

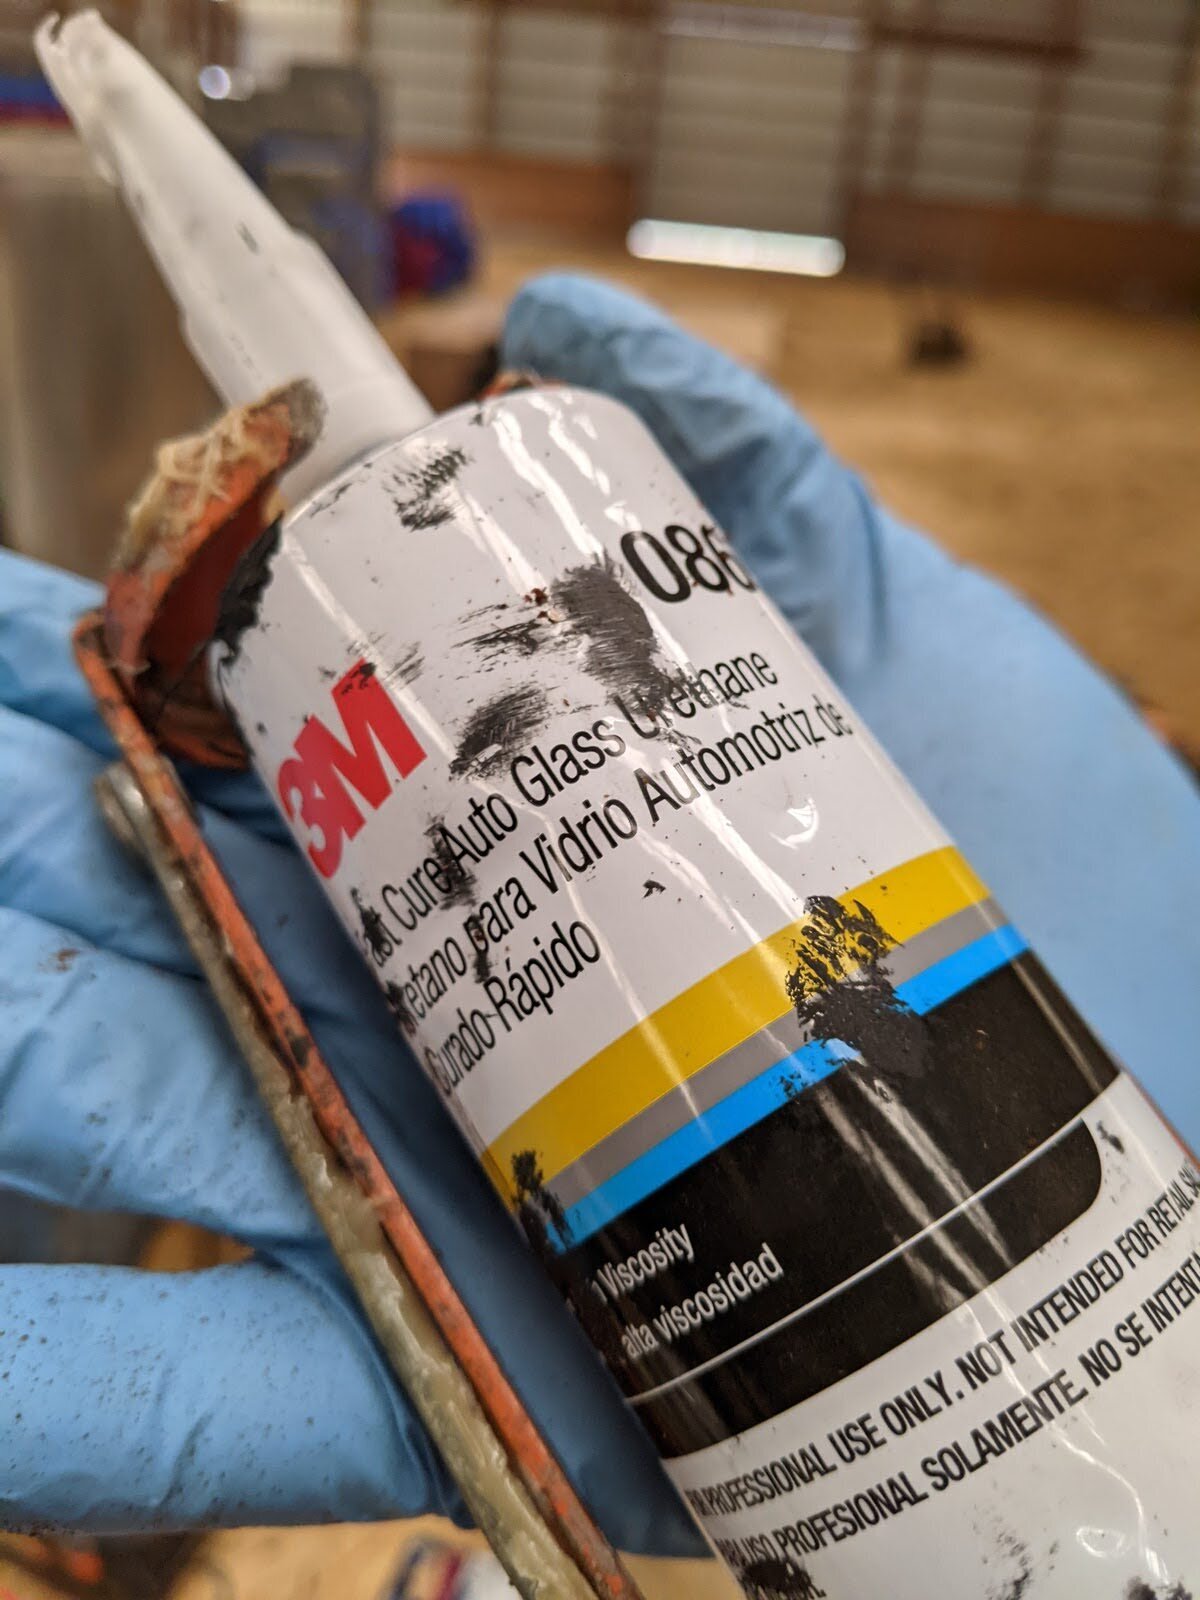
3M Fast Cure Auto Glass Urethane

Flex Seal

TOOLS

Safety glasses

Measuring Tape

Masking Tape

Protective Gloves

Scotch-brit Pad

Isopropyl Alcohol

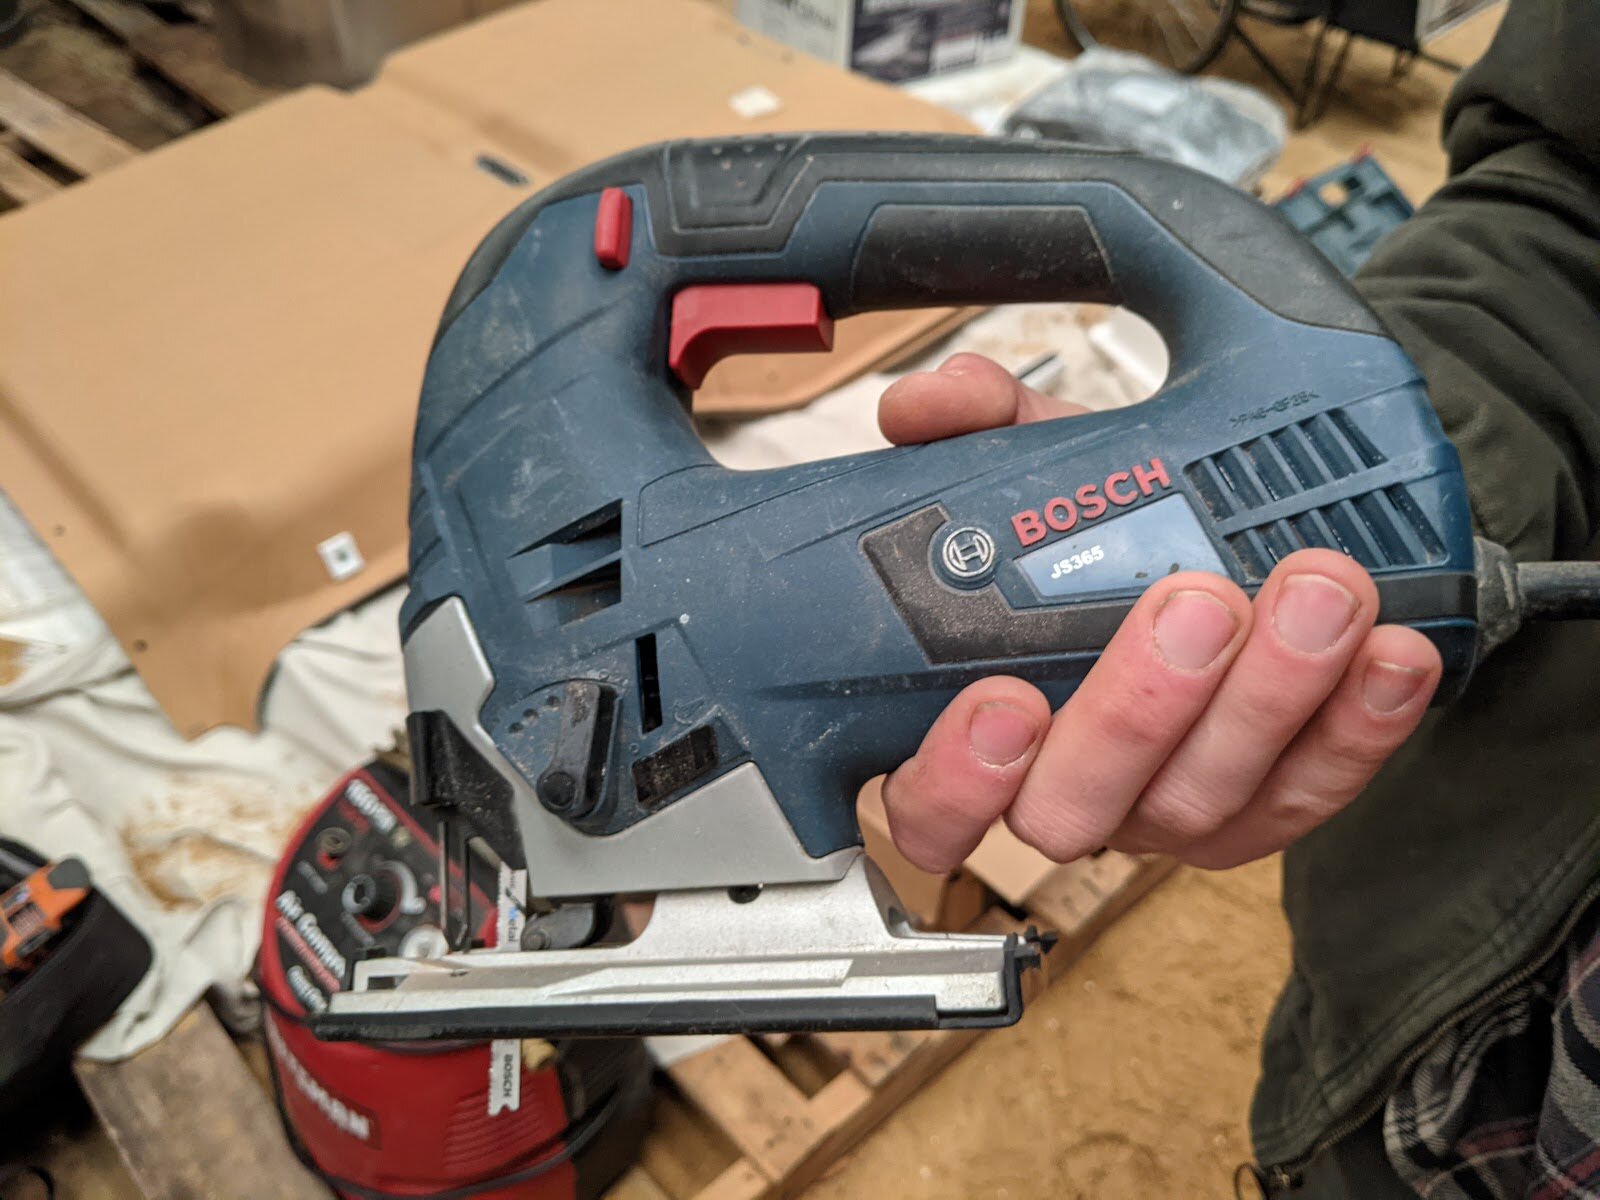
Jig Saw

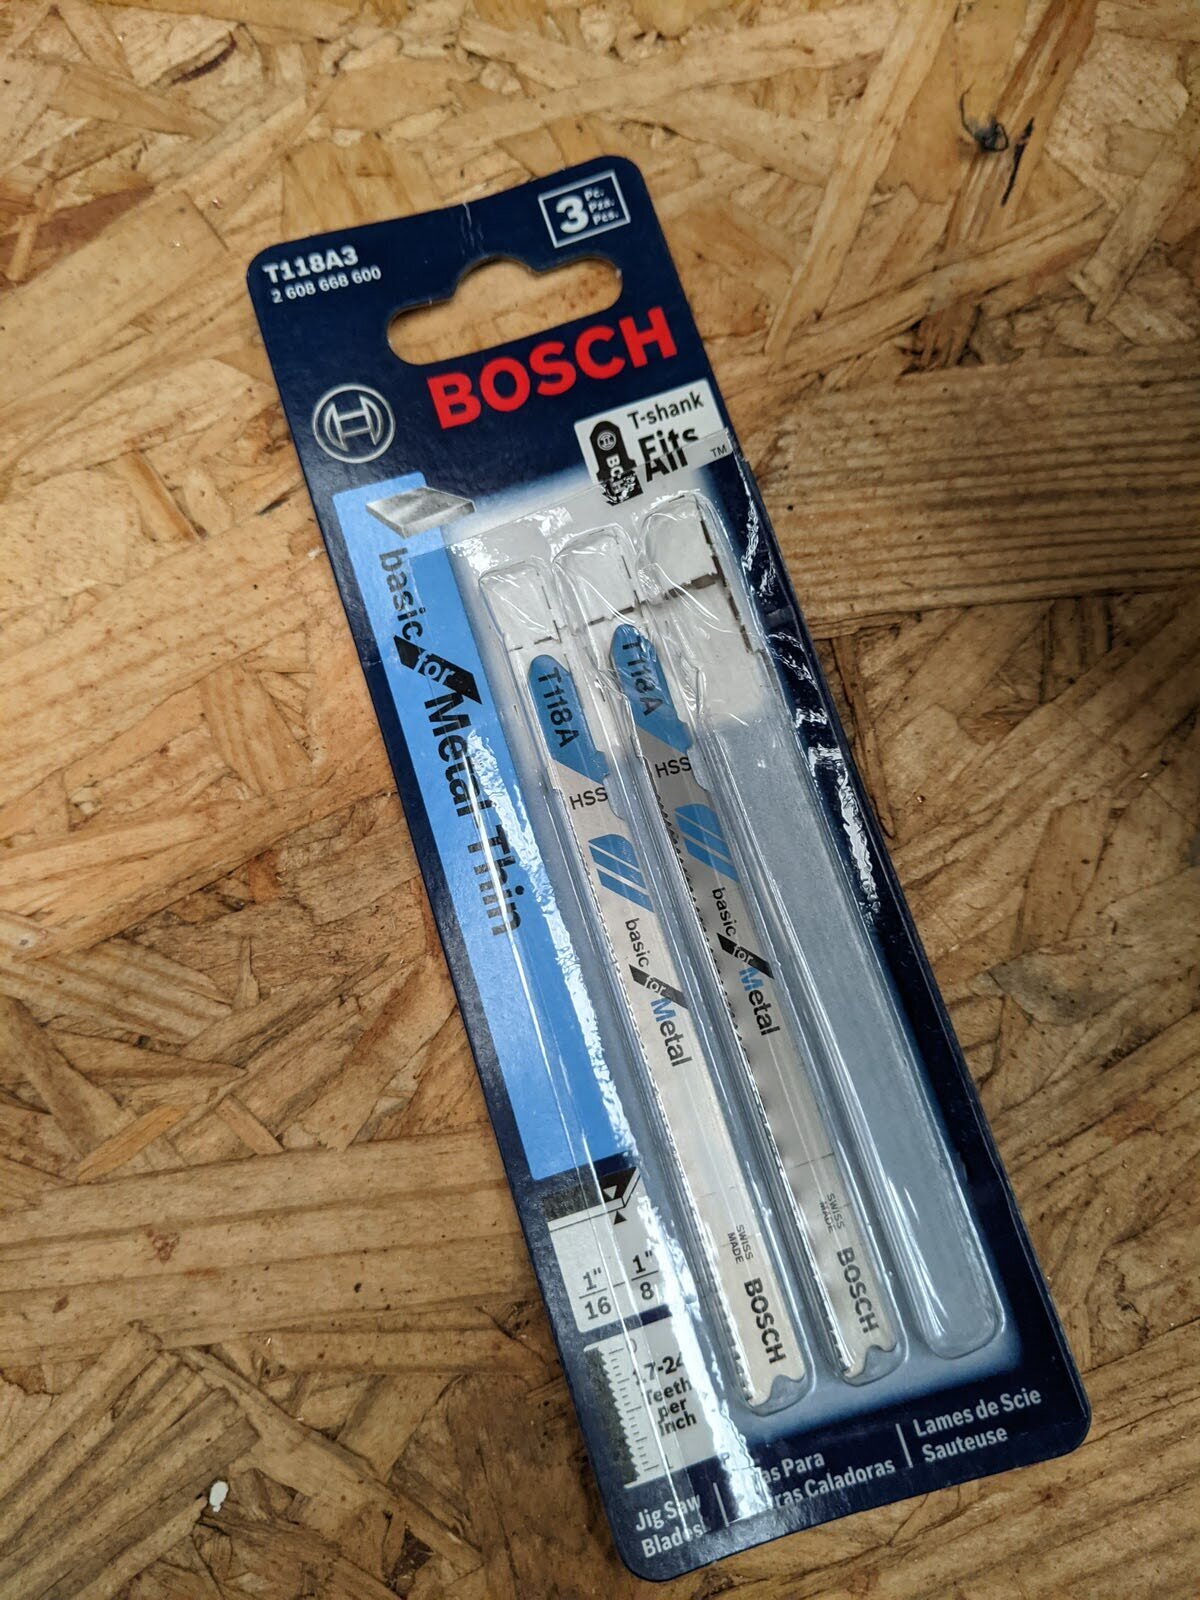
Metal Cutting Blades

Drill

Step Drill Bit

Metal File

Disposable paint brush

INSTALLATION

Step 1: Cut the Roof Opening

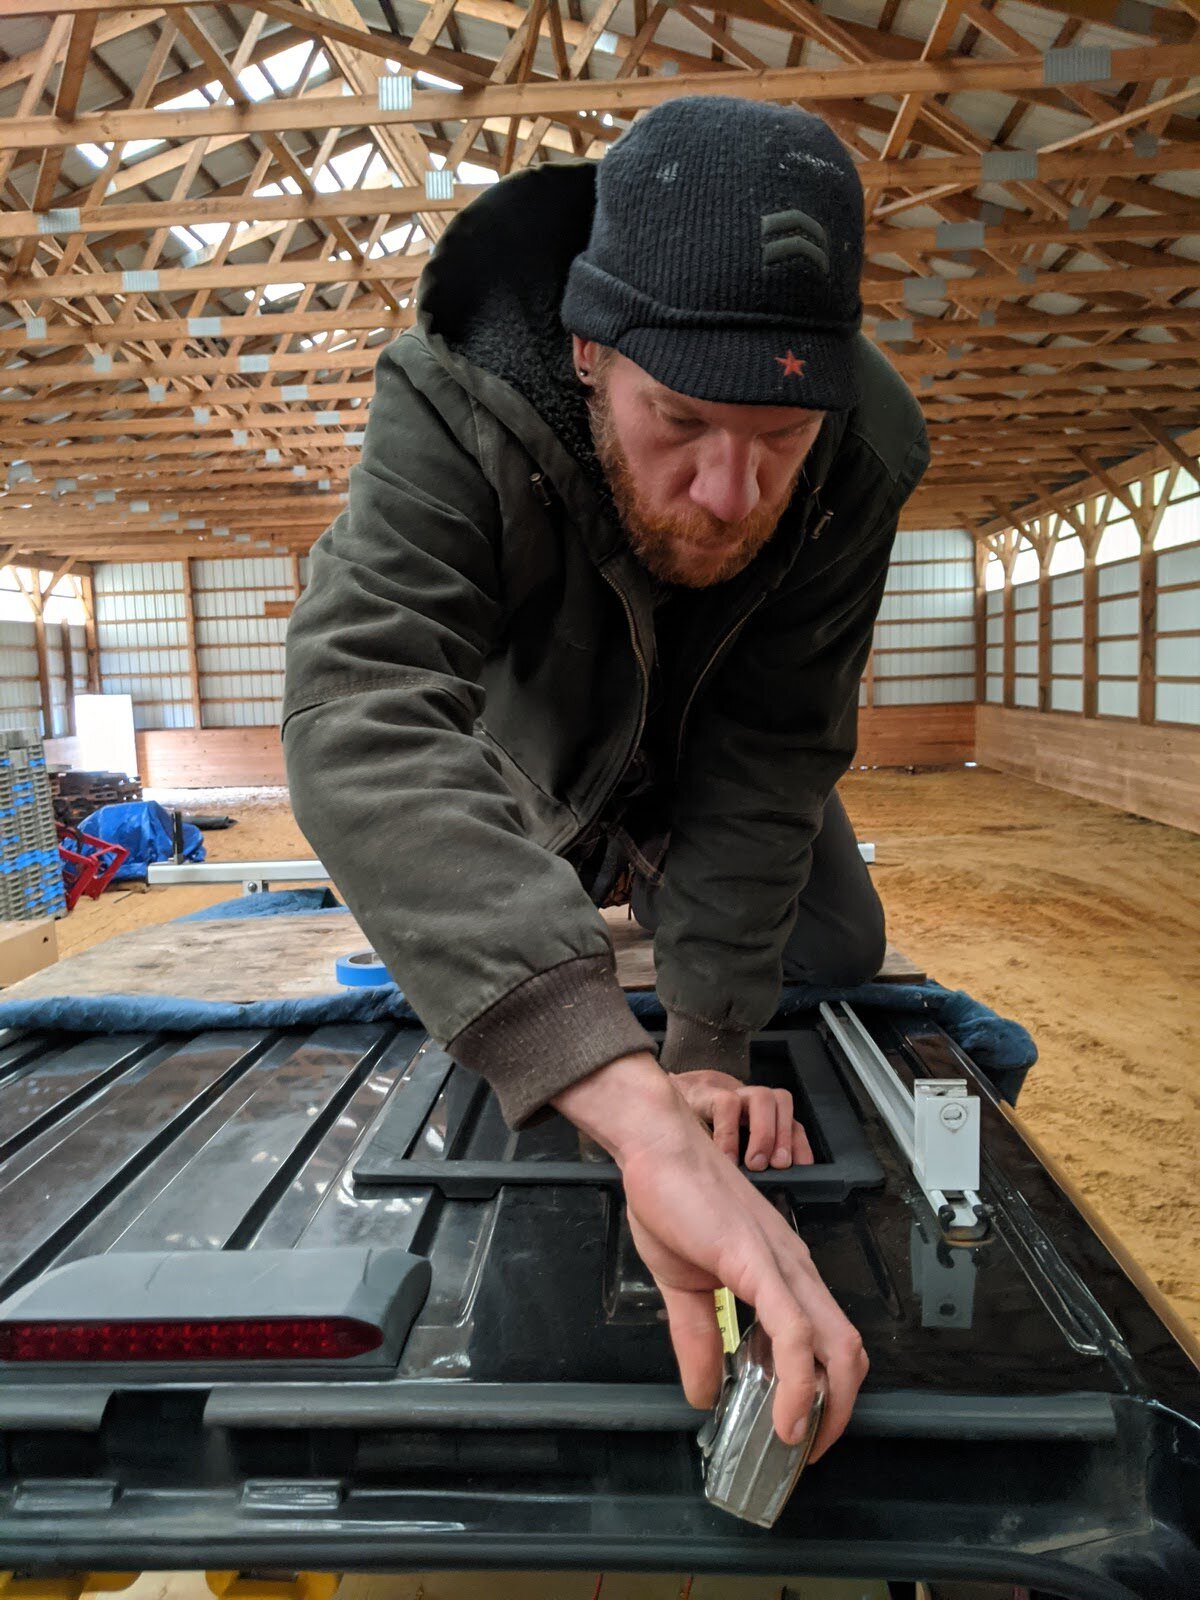
Start by measuring and determining the final position of the vent fan on the roof, ensuring the clearance of the mounting ring, pop top and final trim kit on the interior of the ceiling.

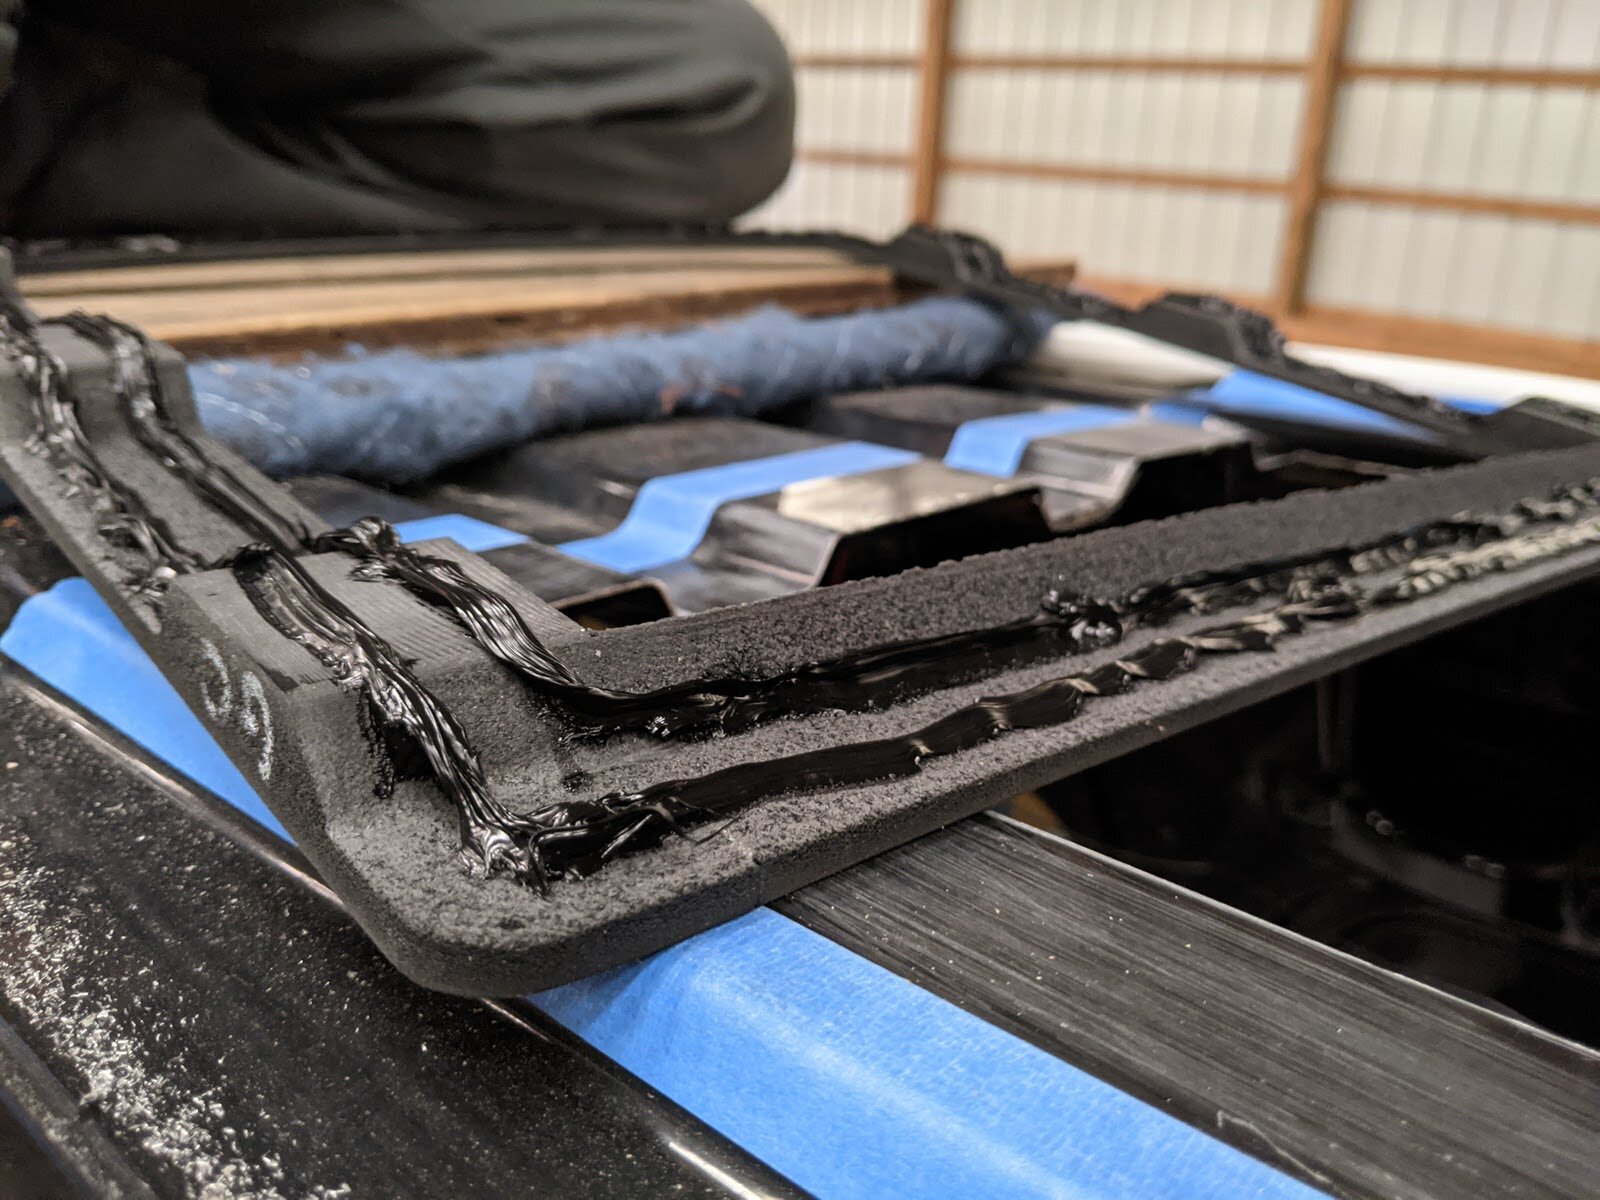
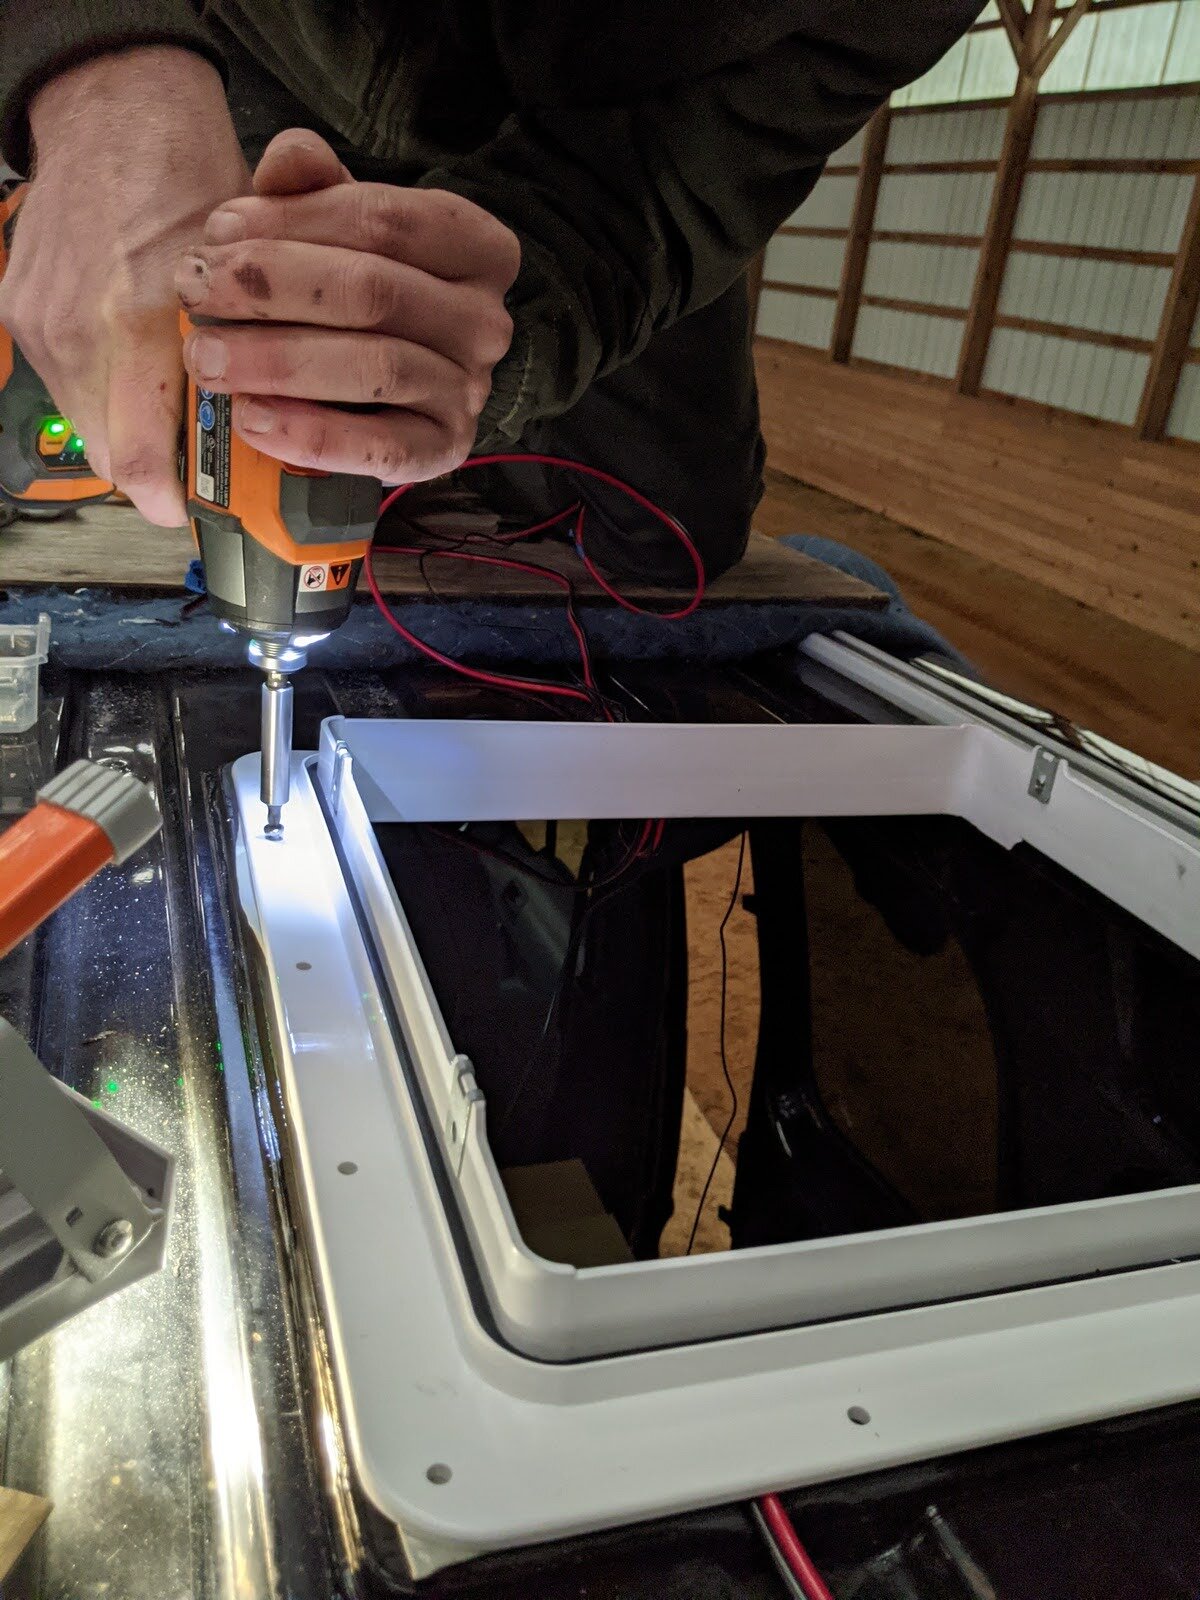
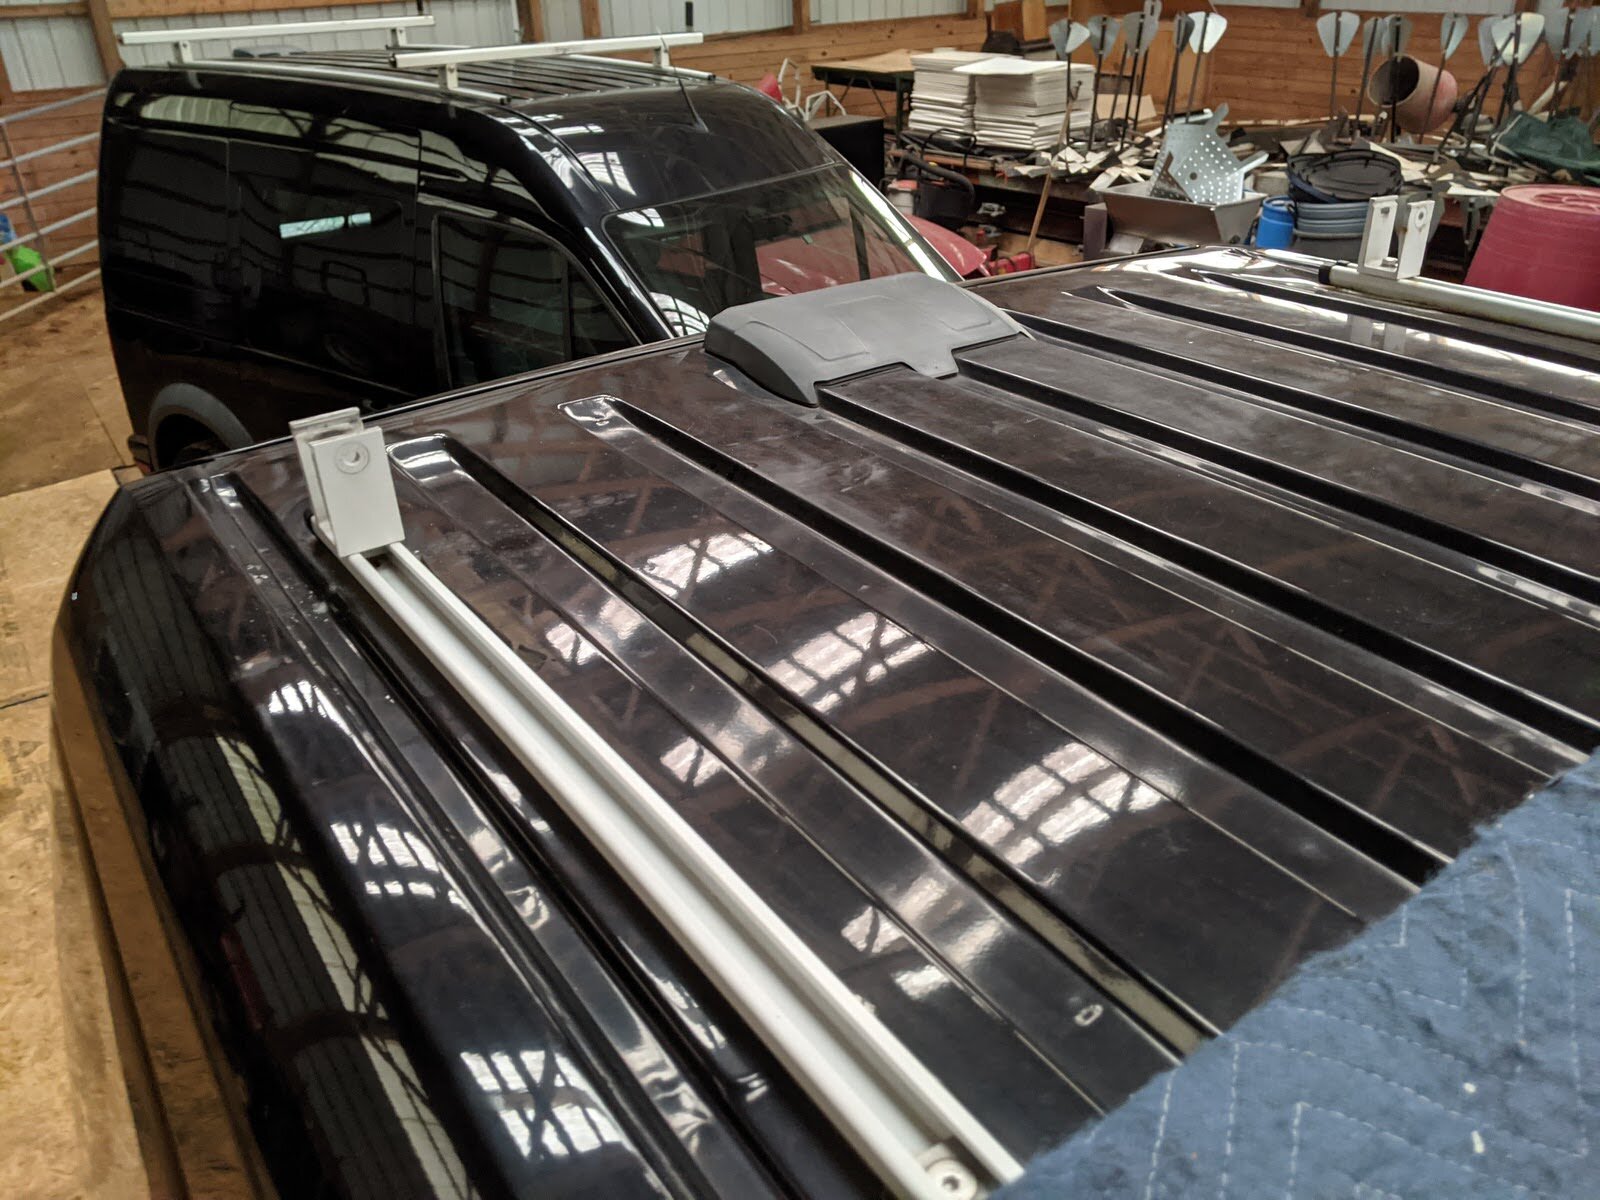
The after market adapter is needed to ensure a waterproof seal, accommodating the roof grooves of the first generation Ford Transit Connect roof. Note the adapter grooves which are designed to lay into the roof grooves.

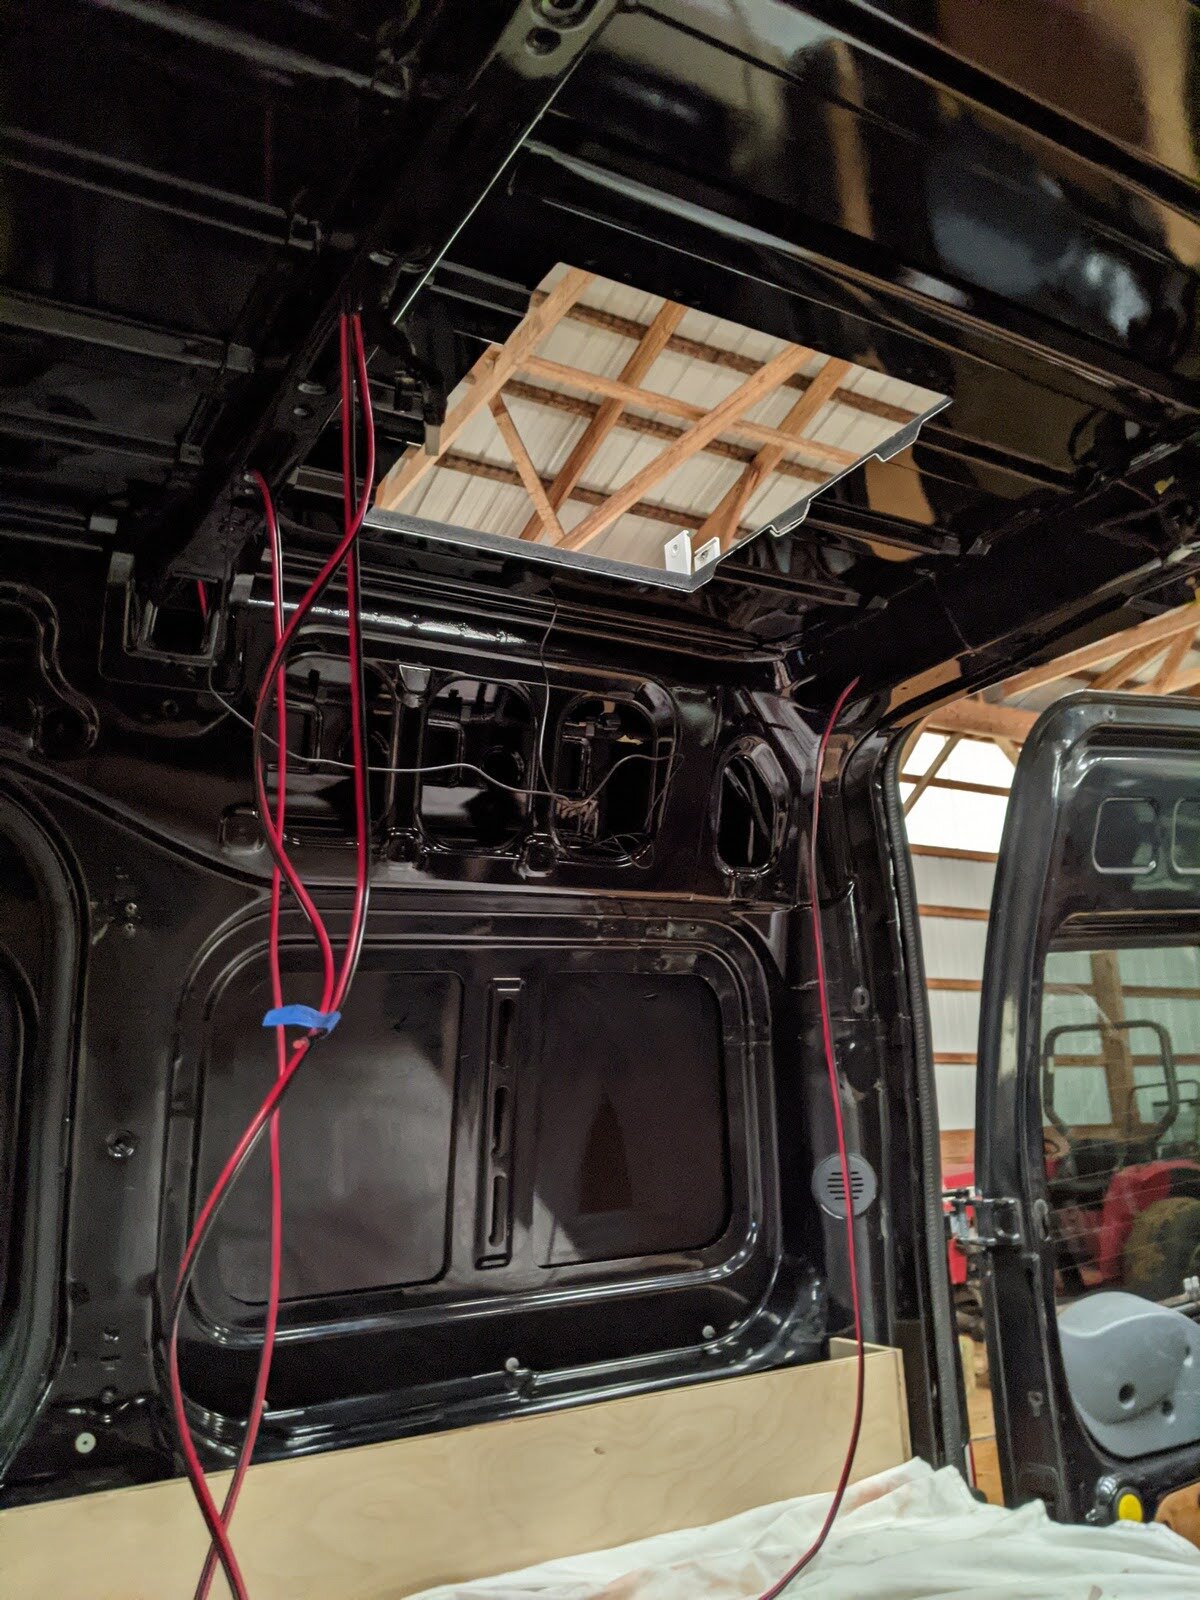
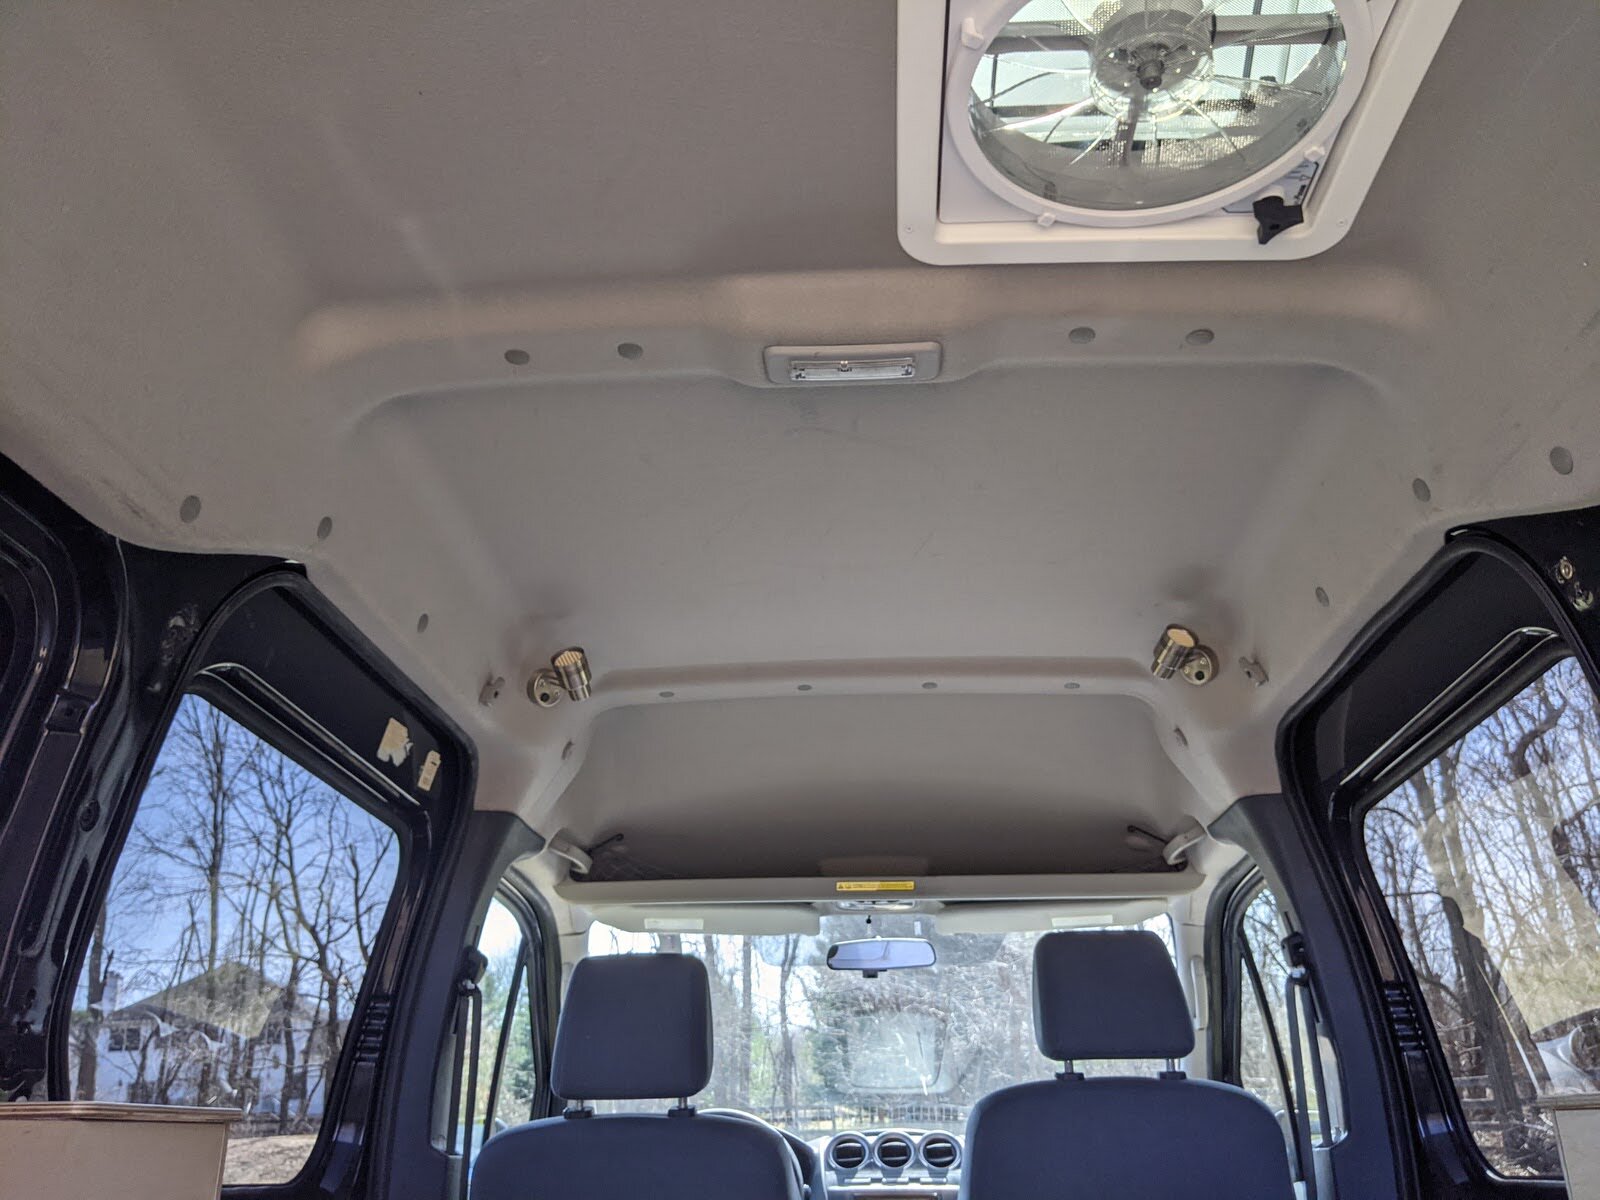
In the Ford Transit, ensure the fan will sit plum by positioning the fan away from the ceiling cross bar and interior light fixture (see after image taken from inside the vehicle).

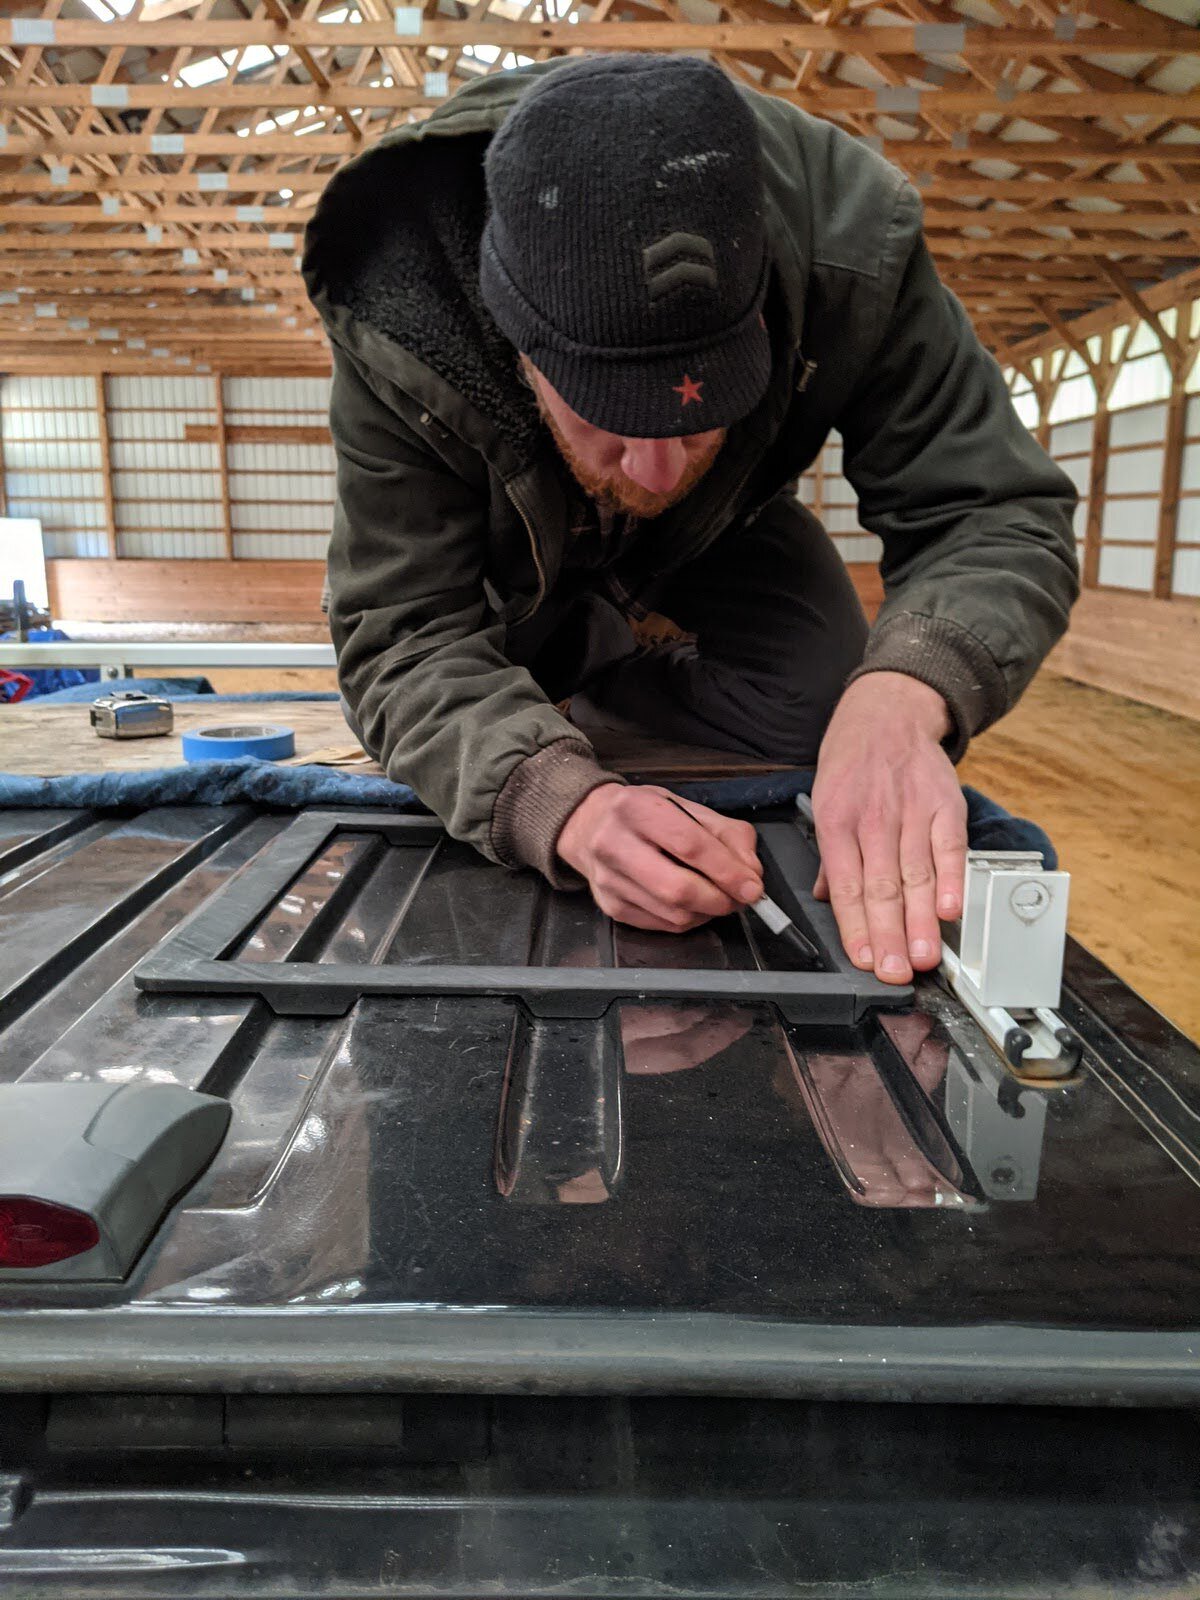
Using the adapter as a template, trace the interior of the opening and further define with masking tape.

*Safety glasses recommended. With the opening marked, pierce the roof with a drill and step bit, just inside the cut line, to create an opening for the metal jig saw blade.

Using the jig saw, cut the 14”x14” opening along marked line. Finish by filing the edges of the cut to remove any extra sharp edges.
Step 2: Prep & Install Roof Vent Adapter Ring / Waterproof

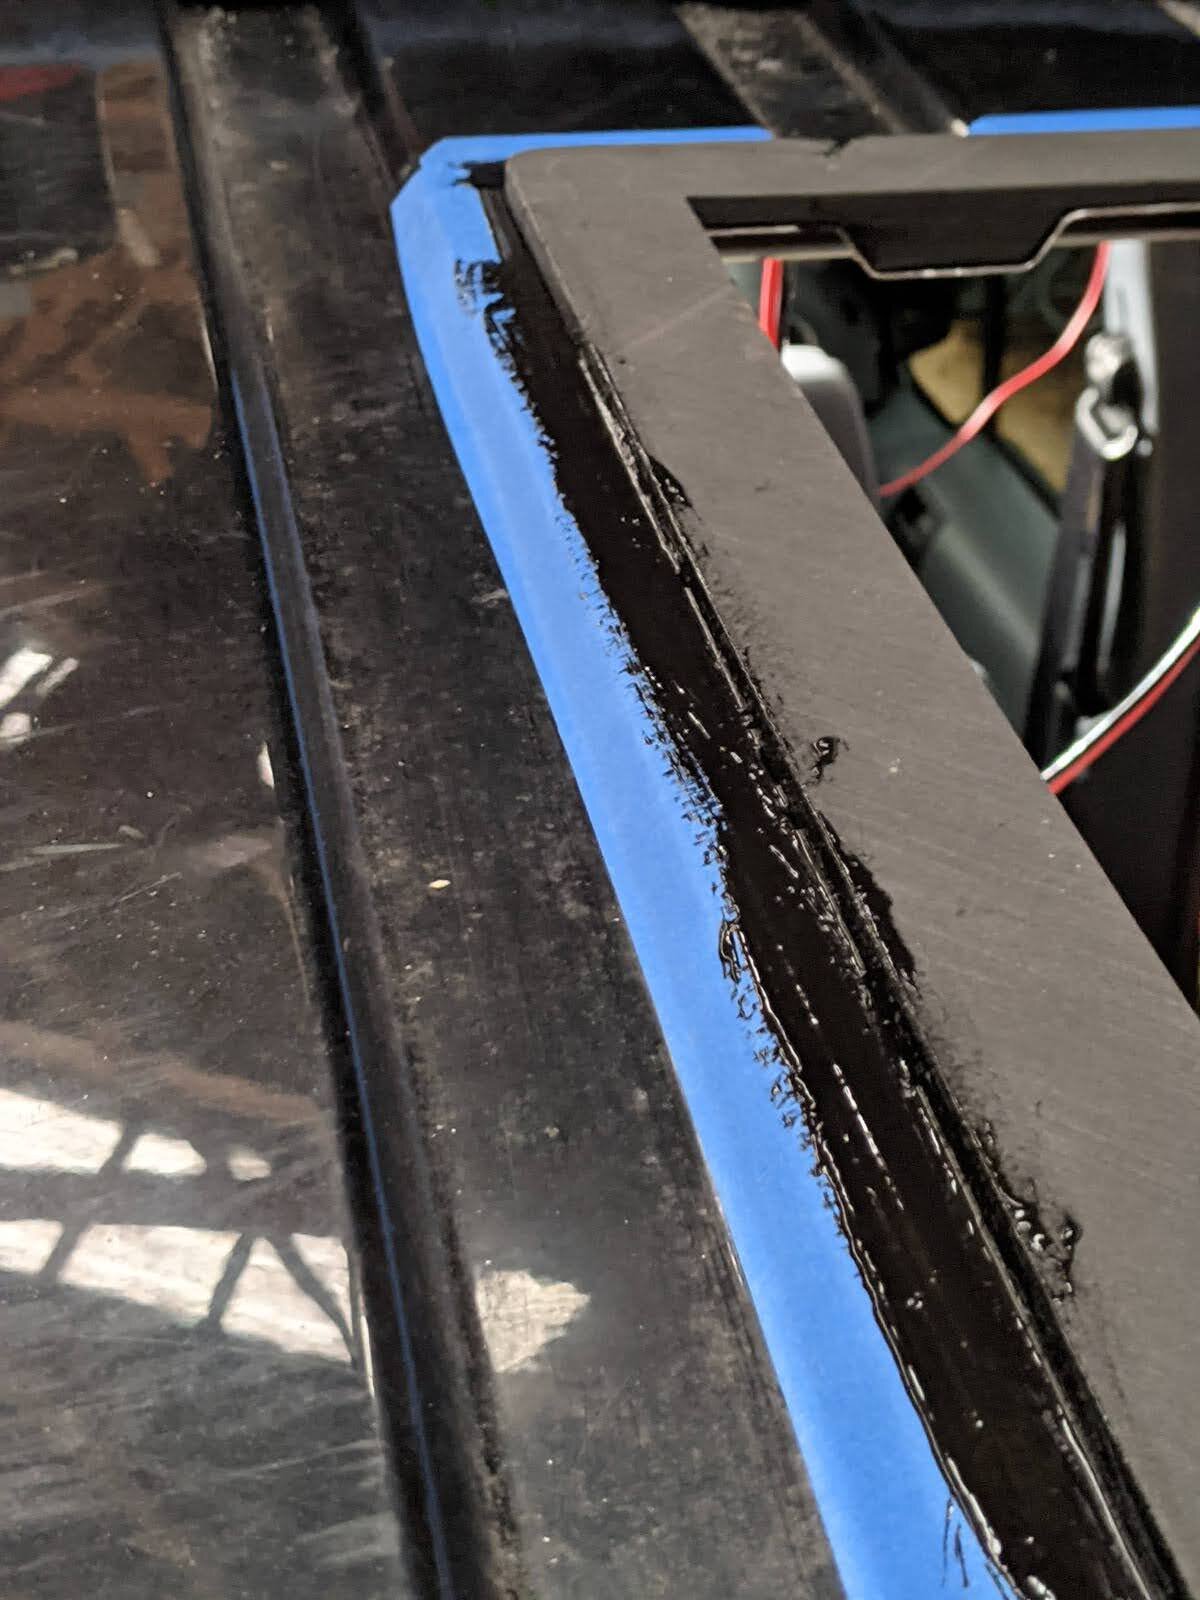
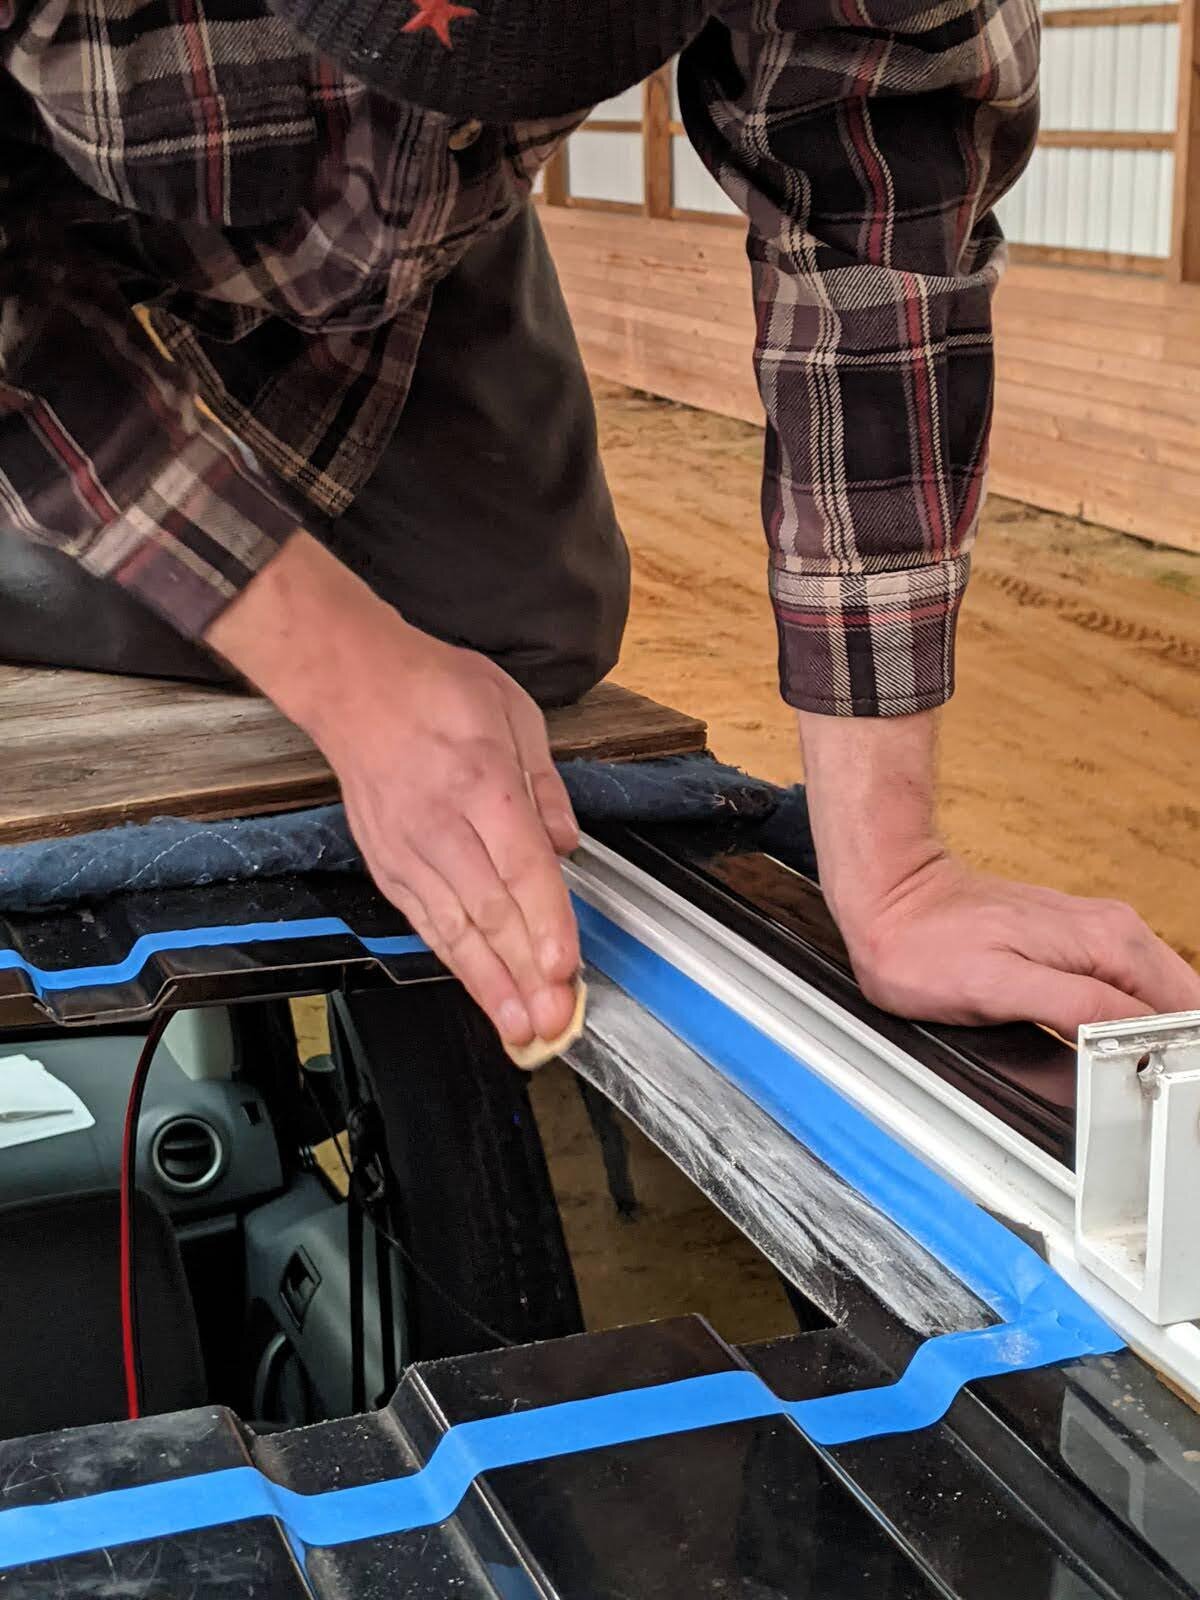
With the opening cut, prep the surface of the roof with a new perimeter of blue tape (about 1 inch beyond the opening edge and scour the surface with a scotch-brite pad. Finish by cleaning the area with isopropyl alcohol.

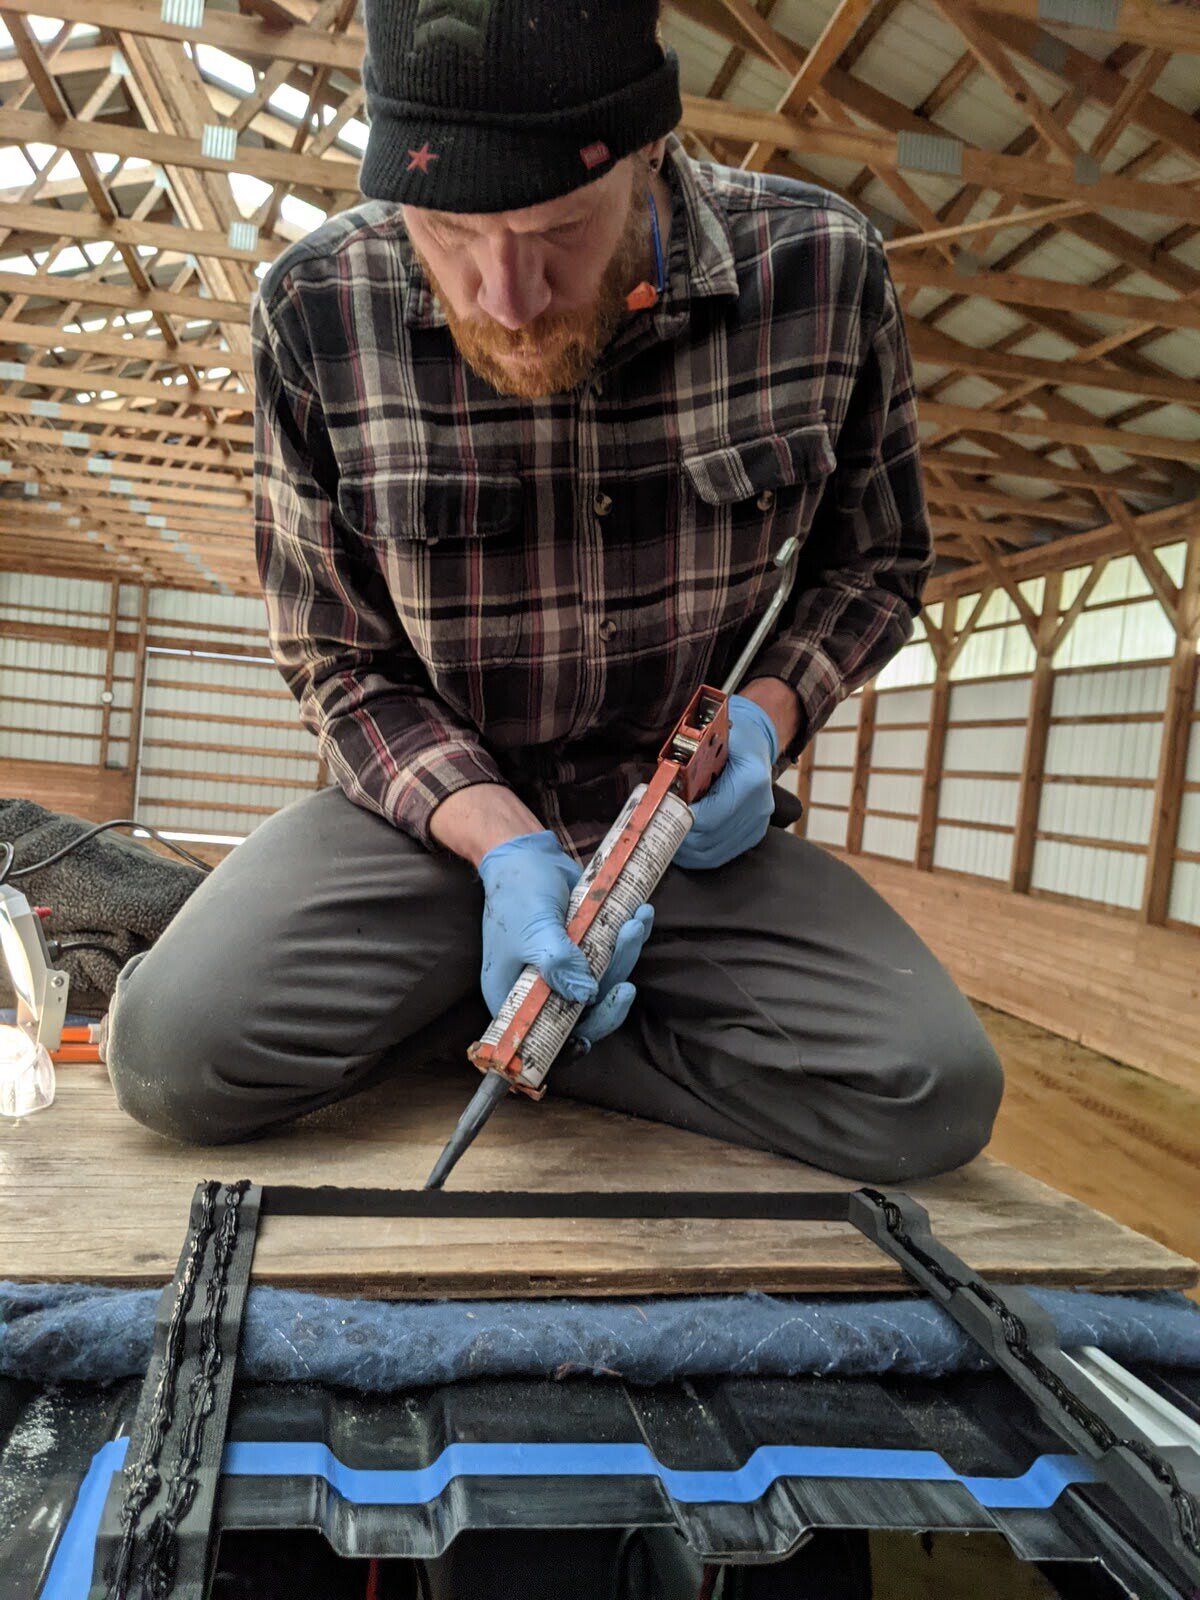
Using the 3M fast cure urethan, create 2-3 beads of adhesive along the bottom face of the adapter. Flip the adapter over, and fit into opening. Press firmly along all edges.

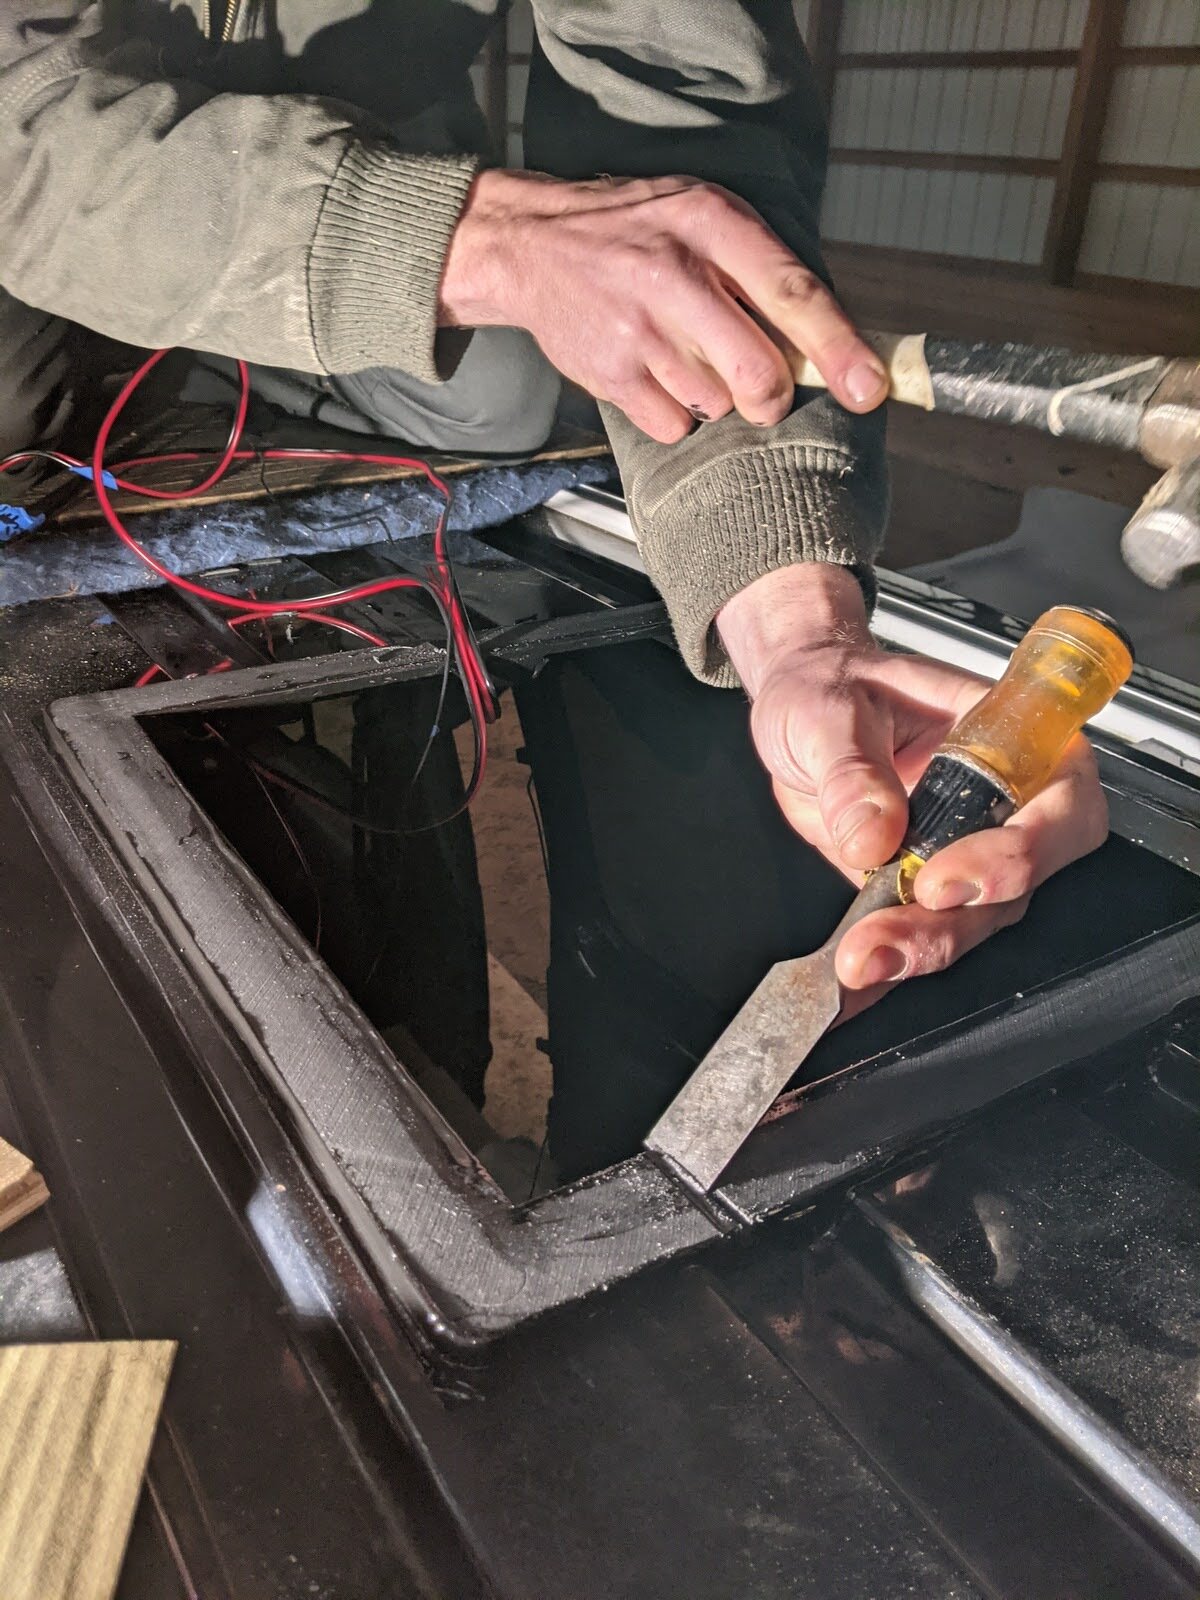
** In our build, we used the adapter ring as the entry/exit point of our exterior lights. We used a chisel to cut a channel for these wires to sit in.

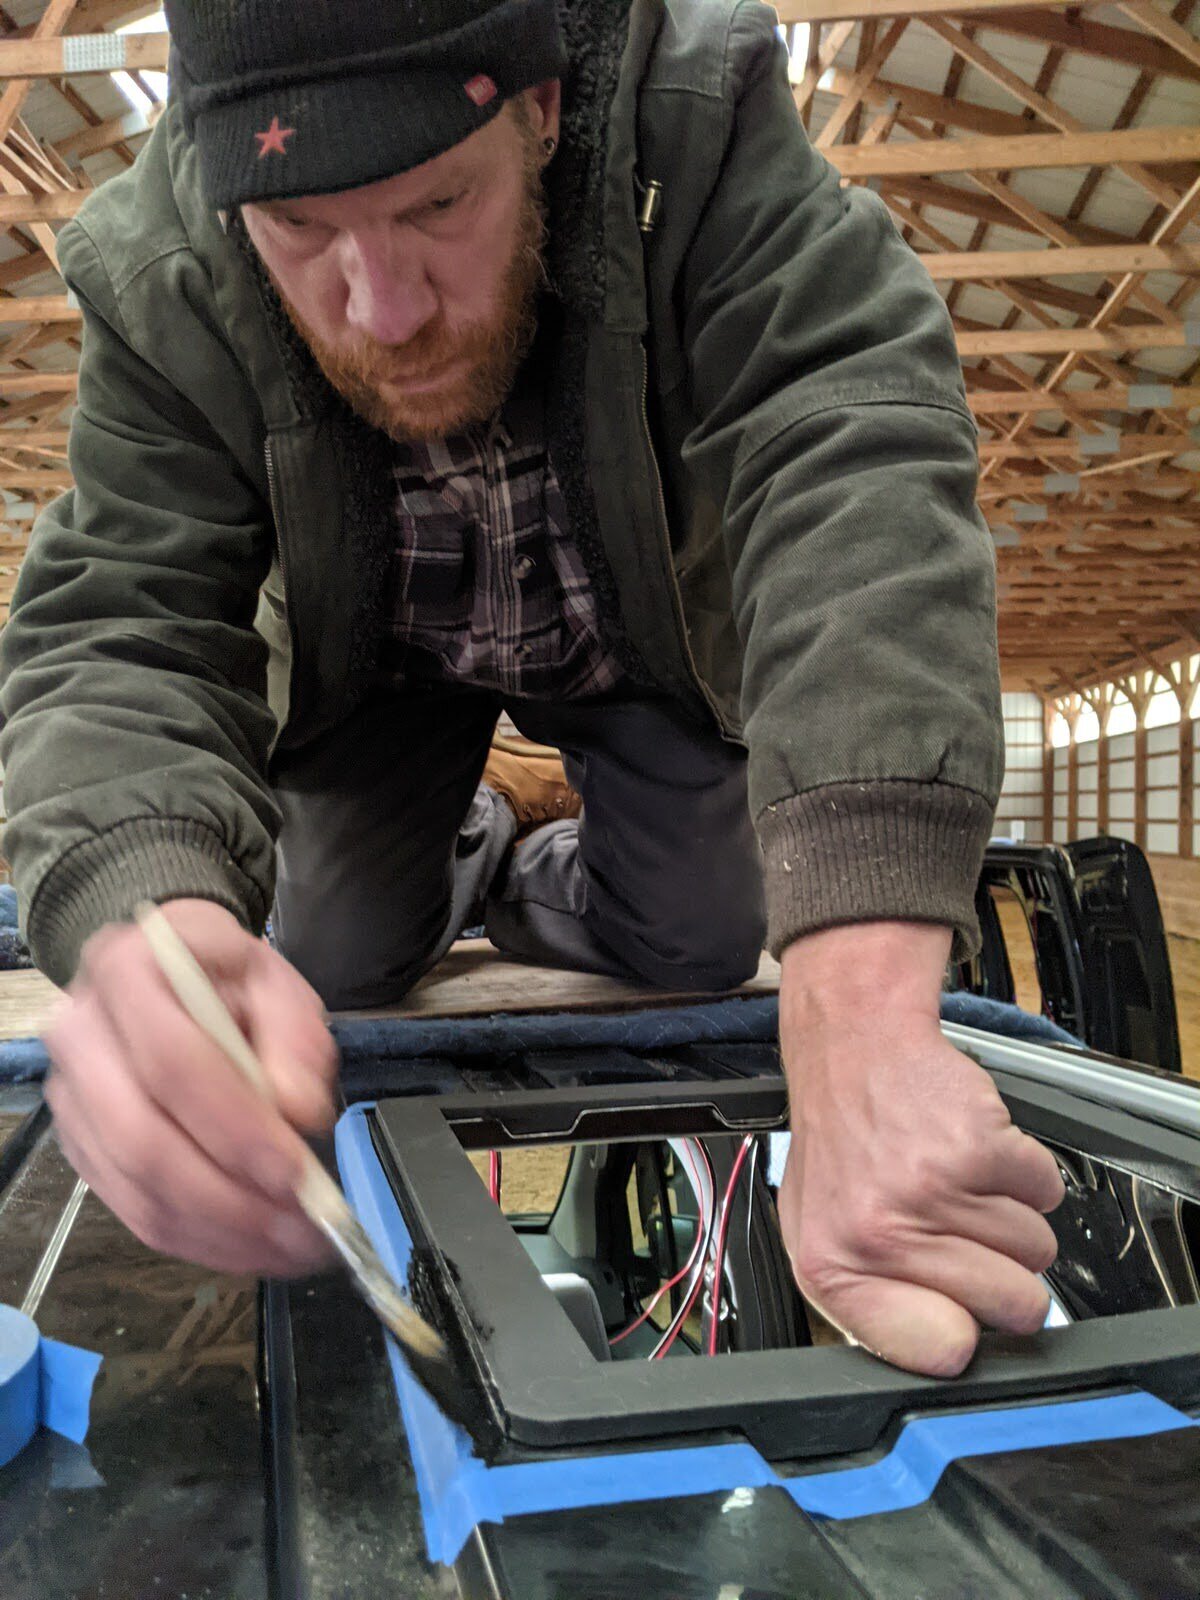
Using the masking tape as an edge, further waterproof the adapter edge with a disposable paint brush and apply an even coat of flex seal liquid. Allow to set for 15 minutes and remove tape.

Allow Flex Seal to cure/dry for 24 hours.
Step 3: Mount Ventilation Fan

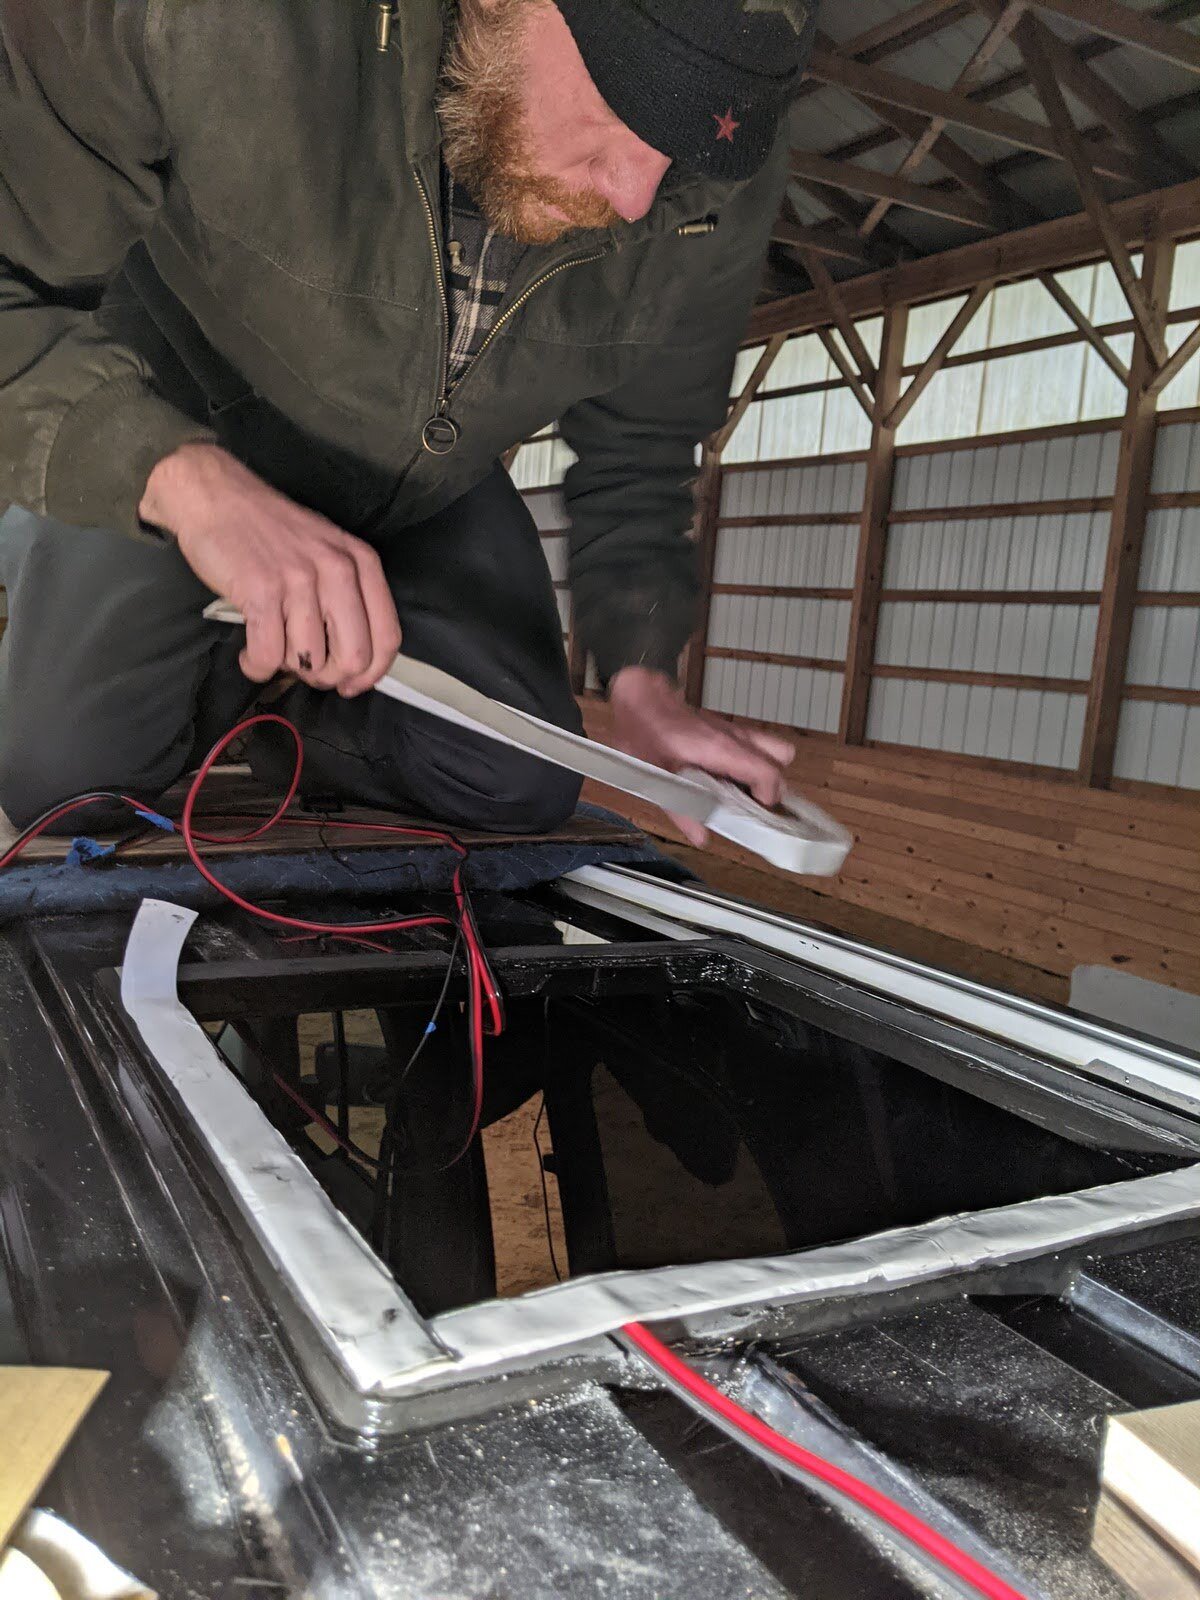
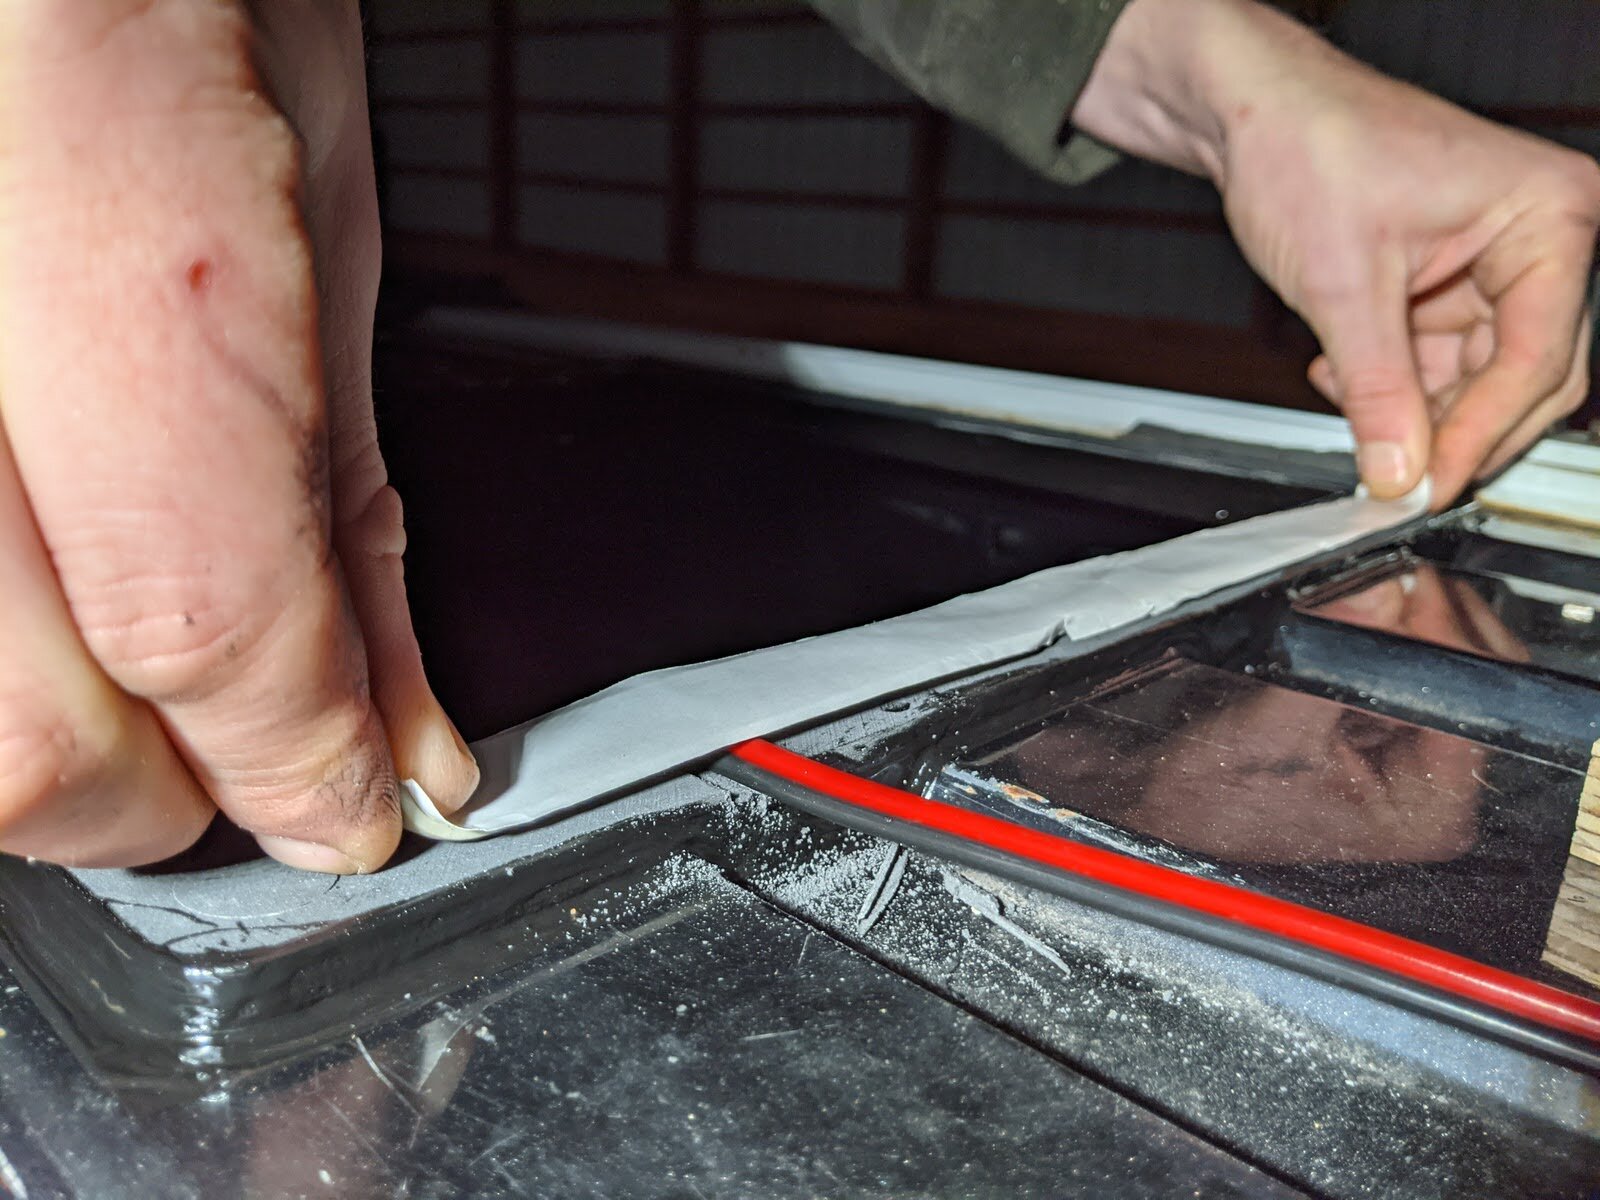
Apply butyl tape (removing the backing paper) to all four sides of the adapter, overlapping the corners to create a sealed surface. The butyl tape should be positioned in the center of the adapter, so the fan mounting screws pierce the tape on install.

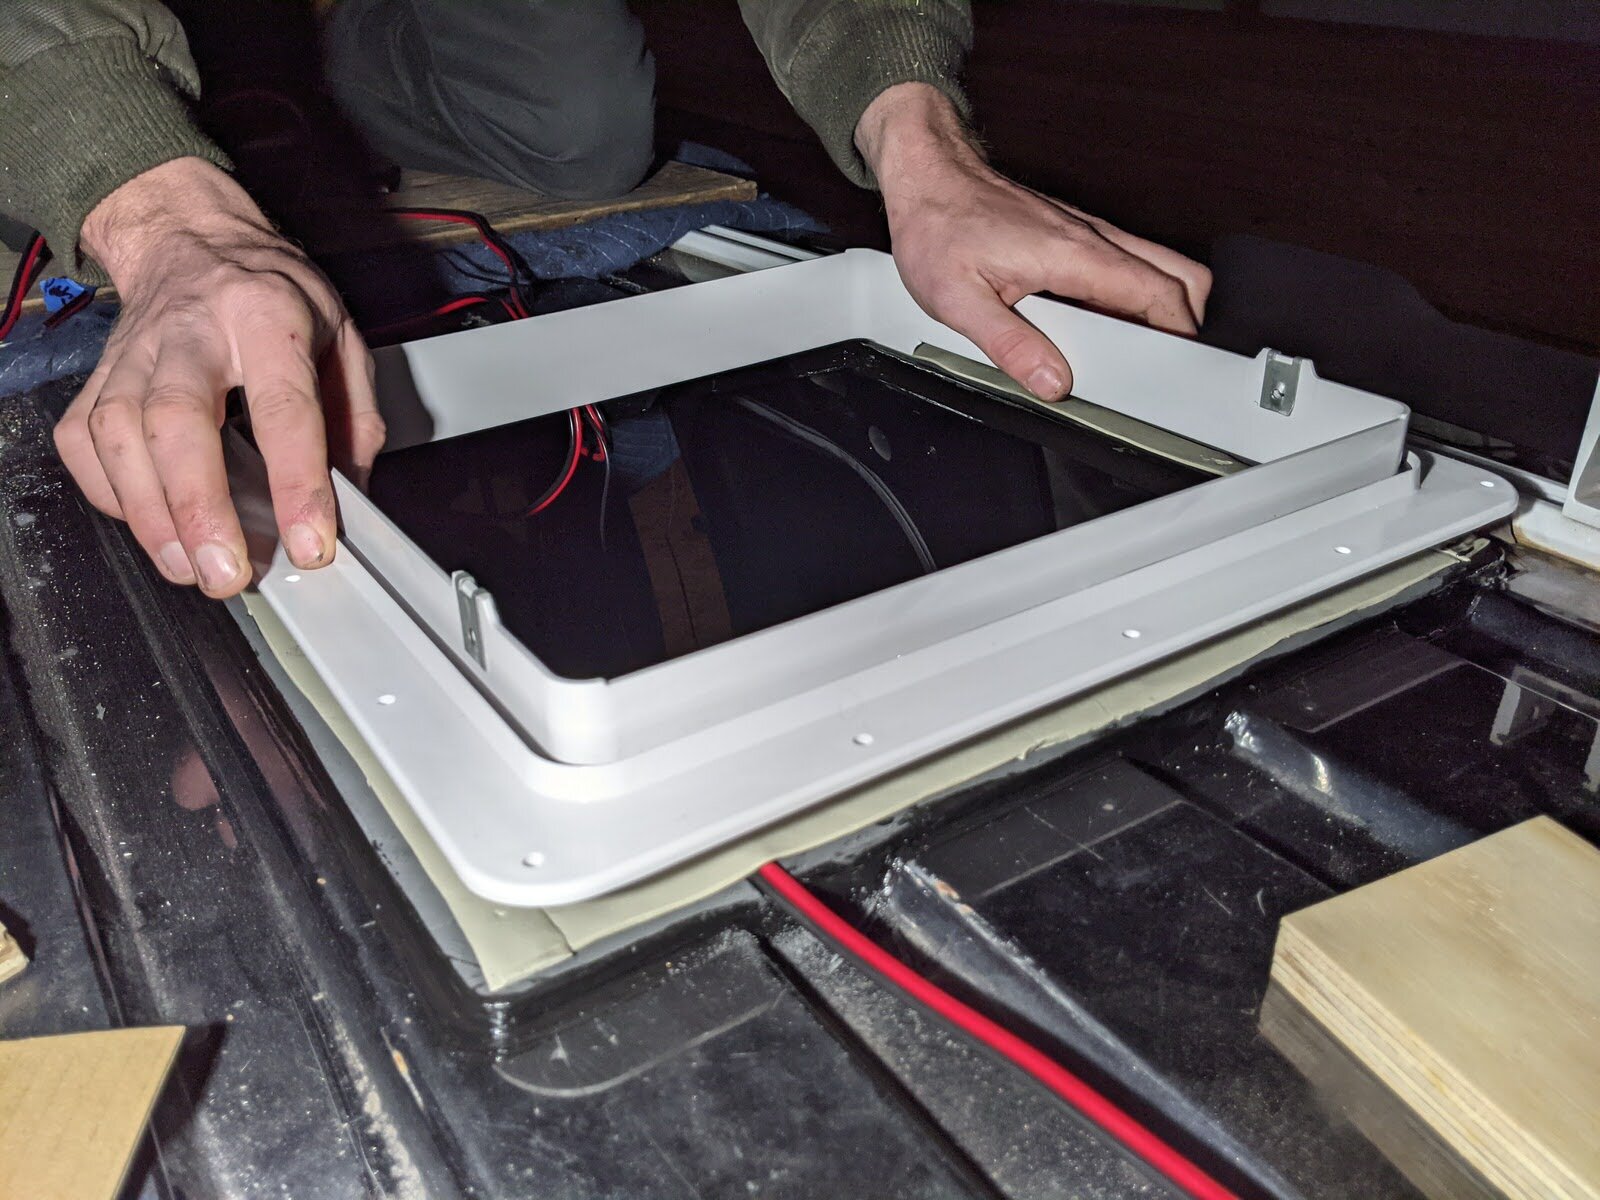
Position fan mounting ring, secure with provided screws.

Install the ventilation fan, allowing electrical wires to fall into the opening, secure with screws.

Reinstall the vehicle liner, and install the interior trim kit as the final step.
What do you think? Will you be installing a ventilation fan in your camper van conversion? Let us know your thoughts or questions below in the comment section.

Happy Camping!

VAN LIFE: 2012 Ford Transit Connect Camper Van Conversion 2.0

CAMPER VAN FOR SALE

〰️

CAMPER VAN FOR SALE 〰️

campervannewjersey.jpeg

Back in January, we shared that our fleet of camper vans was growing with the purchase of two, 2012 Ford Transit Connects. With the success of Dolly (our 2010 Ford Transit Connect camper van) during the 2020 spring and summer rental season, we were eager to expand our business and get a couple more units on the road.

We also got a tremendous amount of van life fan feedback that indicated, to us, our process, thinking and design was well received by camper van enthusiasts and conversion DIYers.

We’re in the process of working on FAQ responses about the first conversion and will soon be sharing a digital download of our build out plans.

Are we onto something? We hope so!

We continue to be attracted to the first generation (2010-2013) Ford Transit Connect for a couple reasons:

  • cargo area height (the 2nd gen head room reduces)

  • their boxier shape (the 2nd gen is more rounded, bullet shaped)


Before we get into the nitty gritty of the camper van conversion, here’s a little background on the vehicles and our plan for the conversions.


PURCHASE CONDITION

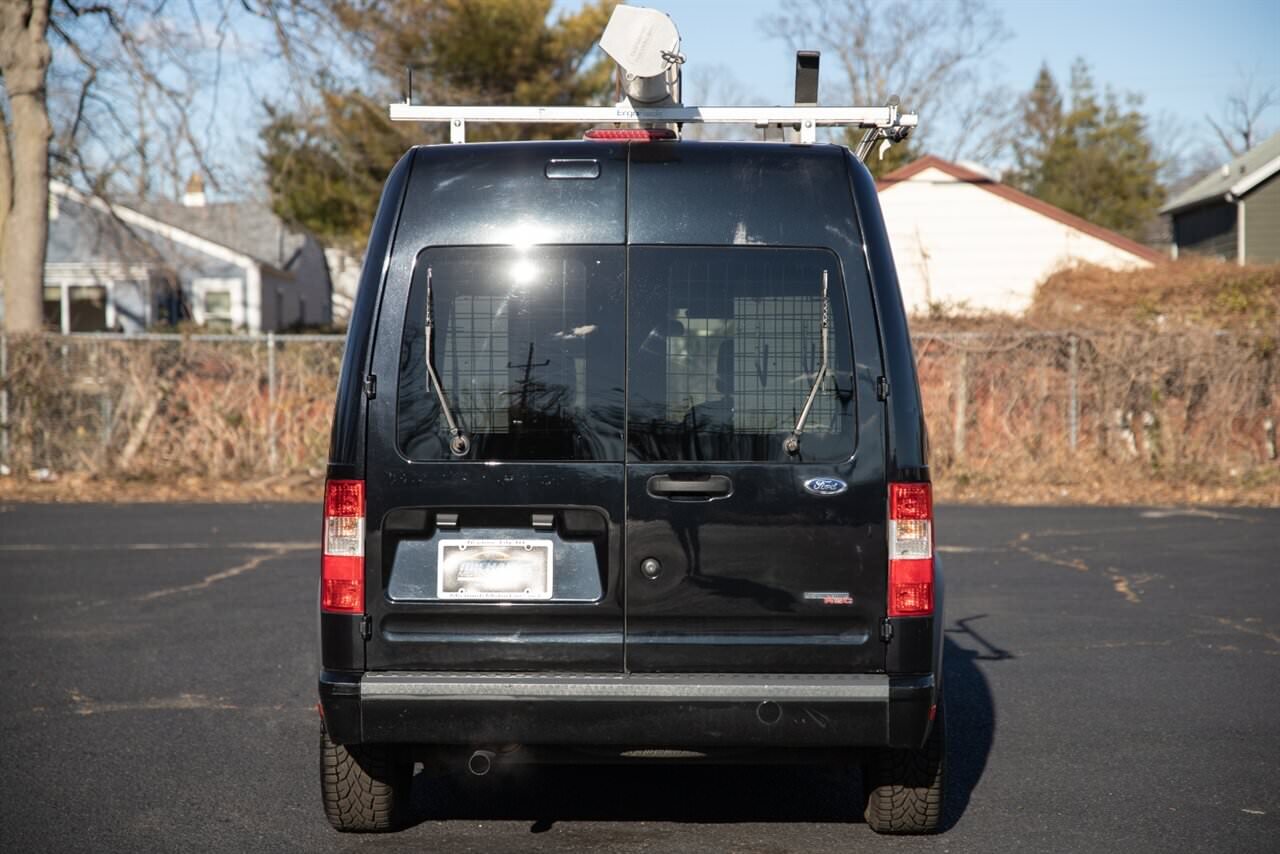
Both vans were previously owned by a security company, and in overall excellent condition with relatively low mileage for being nearly 10 years old; 65k and 75k respectively.

For having been commercial vehicles, the exterior condition was great. Minor paint scratched from what looks like a frequent brush with the side of a garage, leaving short imperfections in the paint. We plan to attempt a DIY fix of this, stay tuned.

The interior cockpit/drivers area is in excellent shape. Again, for a contractor/work vehicle, this great of condition is hard to come by when someone is using it daily.

The cargo areas of the vans were equipped with steel shelves and racks, plus the windows had security caging. These existing components have already been removed and sold on Facebook Marketplace, fetching a few hundred dollars we will put back into the conversion.

Both vans had roof racks, which we will keep, as is, and retrofit with exterior storage. The vans also had electrical conduit tubes. We considered using the tubing for a shower system, but in the end decided against it because of the unnecessary water weight and space it would have taken away from storage.


CONVERSION PLAN

The new vans will undergo a similar build-out to Dolly, our original camper van conversion. We will only make minor changes, as we feel the overall design is functional and user friendly for any level camper.

The main conversion components will be broken down into storage, electrical and comfort, but in the 2.0 blog conversion posts we are going to dive deeper into some of the minutia of these decisions and any changes we have on that deviate from the original build.


TIMELINE

The conversion of both vans will take approximately 1 month. We will be setting up shop in a friends barn to aid in the process. The vans are already available to rent on Outdoorsy, so we are working towards a completion date of April 1.


BUDGET

All in, we anticipate the conversions to be roughly $4,000 per van, not including the purchase price of the vehicles. Based on market research, we consider this to be a very frugal conversion. Also, John is not factoring in his time/cost of labor into the budget.


Stay tuned for more posts about the conversions process! Interested to hear more about a particular part of the build? Let us know!

VAN LIFE: Our Favorite Gear For Camper Van Rental Guests

CAMPER VAN FOR SALE

〰️

CAMPER VAN FOR SALE 〰️

favorite camper van rental gear.jpg

With any successful rental property, whether it be a house, cabin, or RV, the products and equipment you use to outfit your short-term rental can make all the difference in receiving a 5 star rating from guests.

The key is to outfit your rental with functional, durable equipment that provide positive ROI.

With a full season of 5 star rentals completed in our converted 2010 Ford Transit Connect camper van, named Dolly, here is our go-to list of standard equipment we offer to our Outdoorsy.com renters.

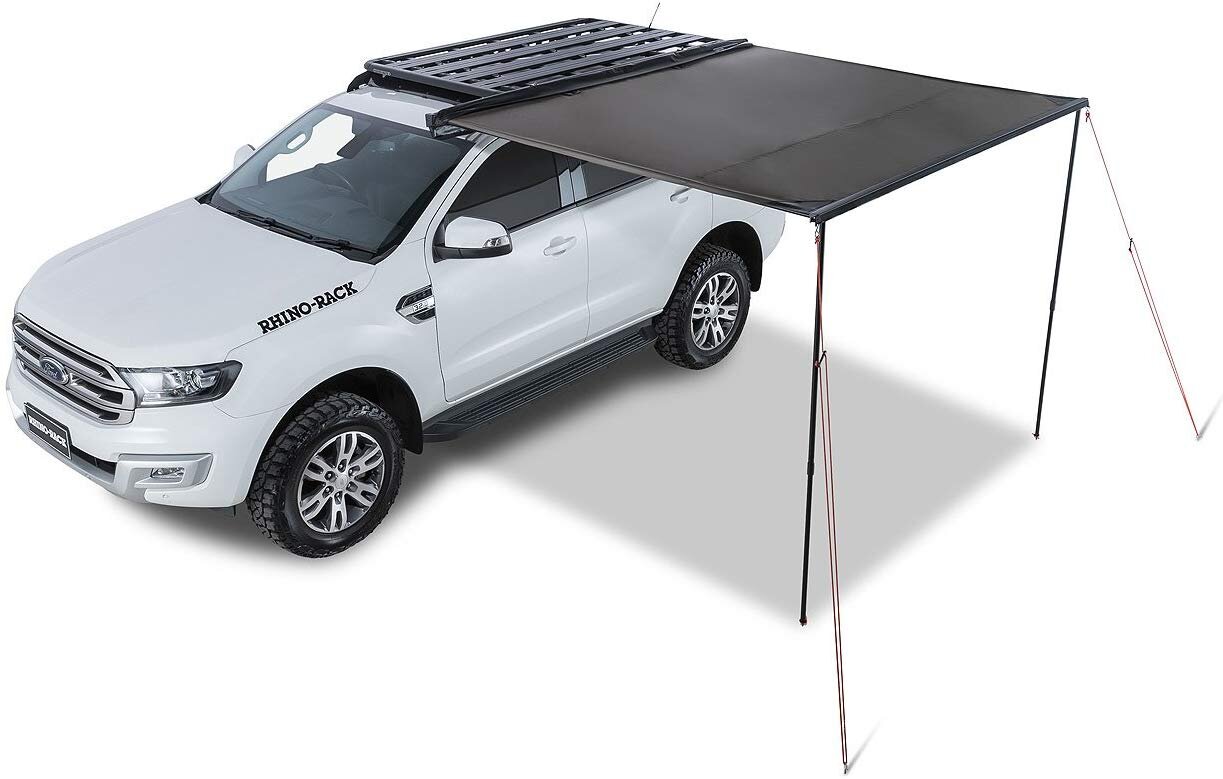
camper van rhino rack sun seeker awning.jpg

Rhino SunSeeker Awning

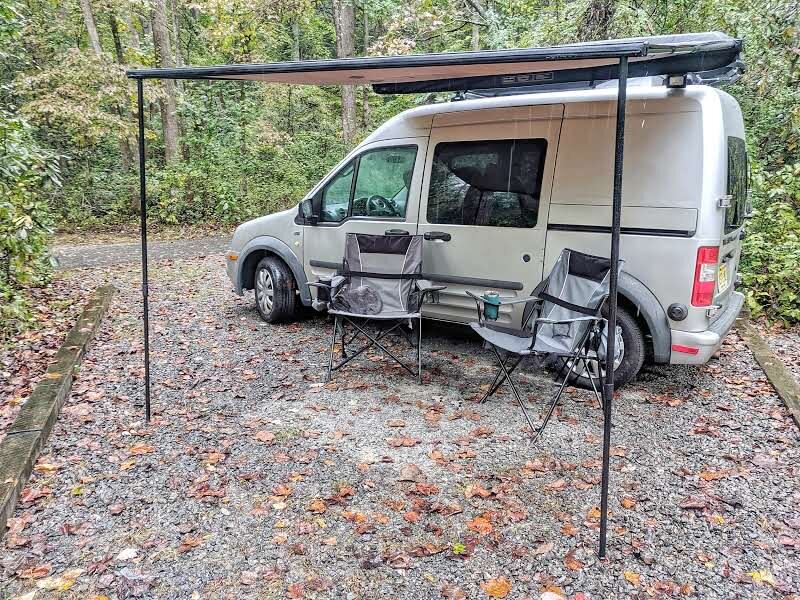
This exterior awning is perfect on a smaller vehicle, quick & easy to set up/pack down, and provided RV rental guests shelter from the rain or sun.

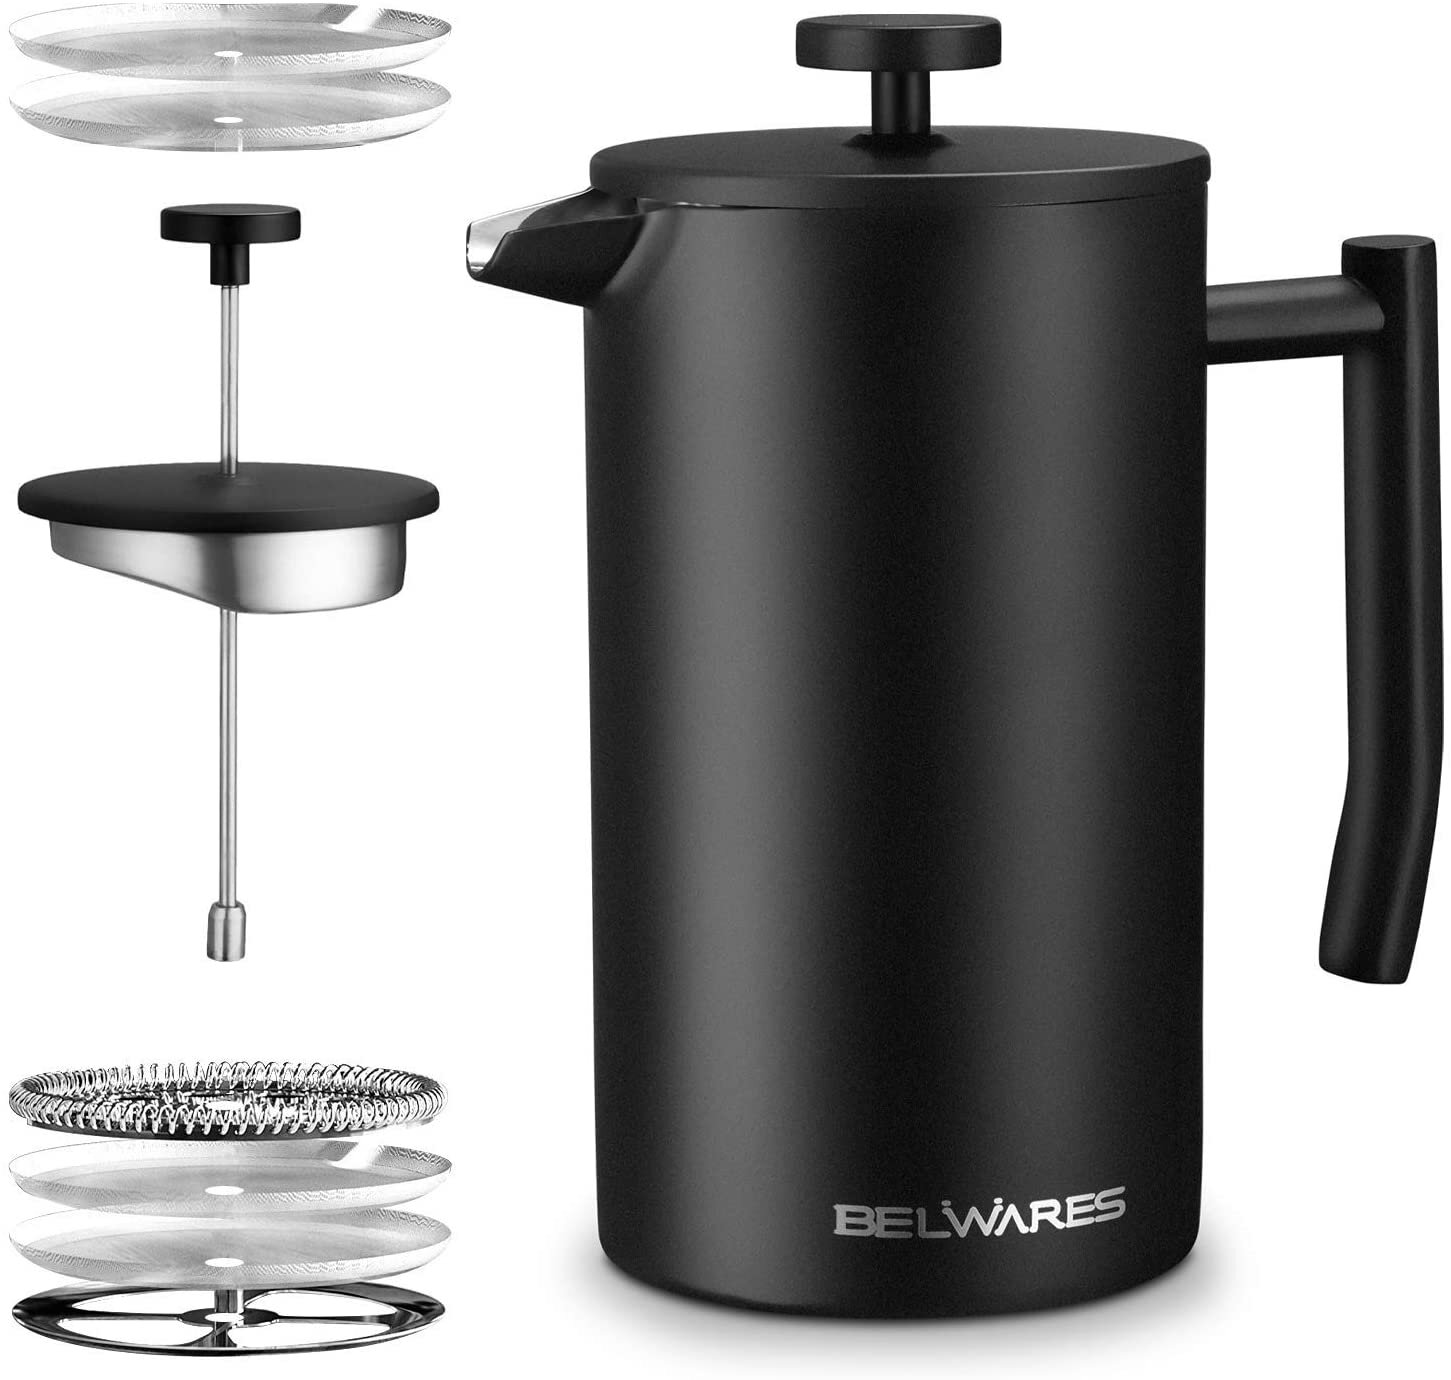
Black Stainless Steel Coffee Press Maker, French Press Coffee Maker for Camper Van.jpg

Black Stainless Steel French Press Coffee Maker

All the function of a classic, glass French press in a durable stainless steel design. Perfect for camper van rental guests, this sleek coffee brewer is photo-op ready!

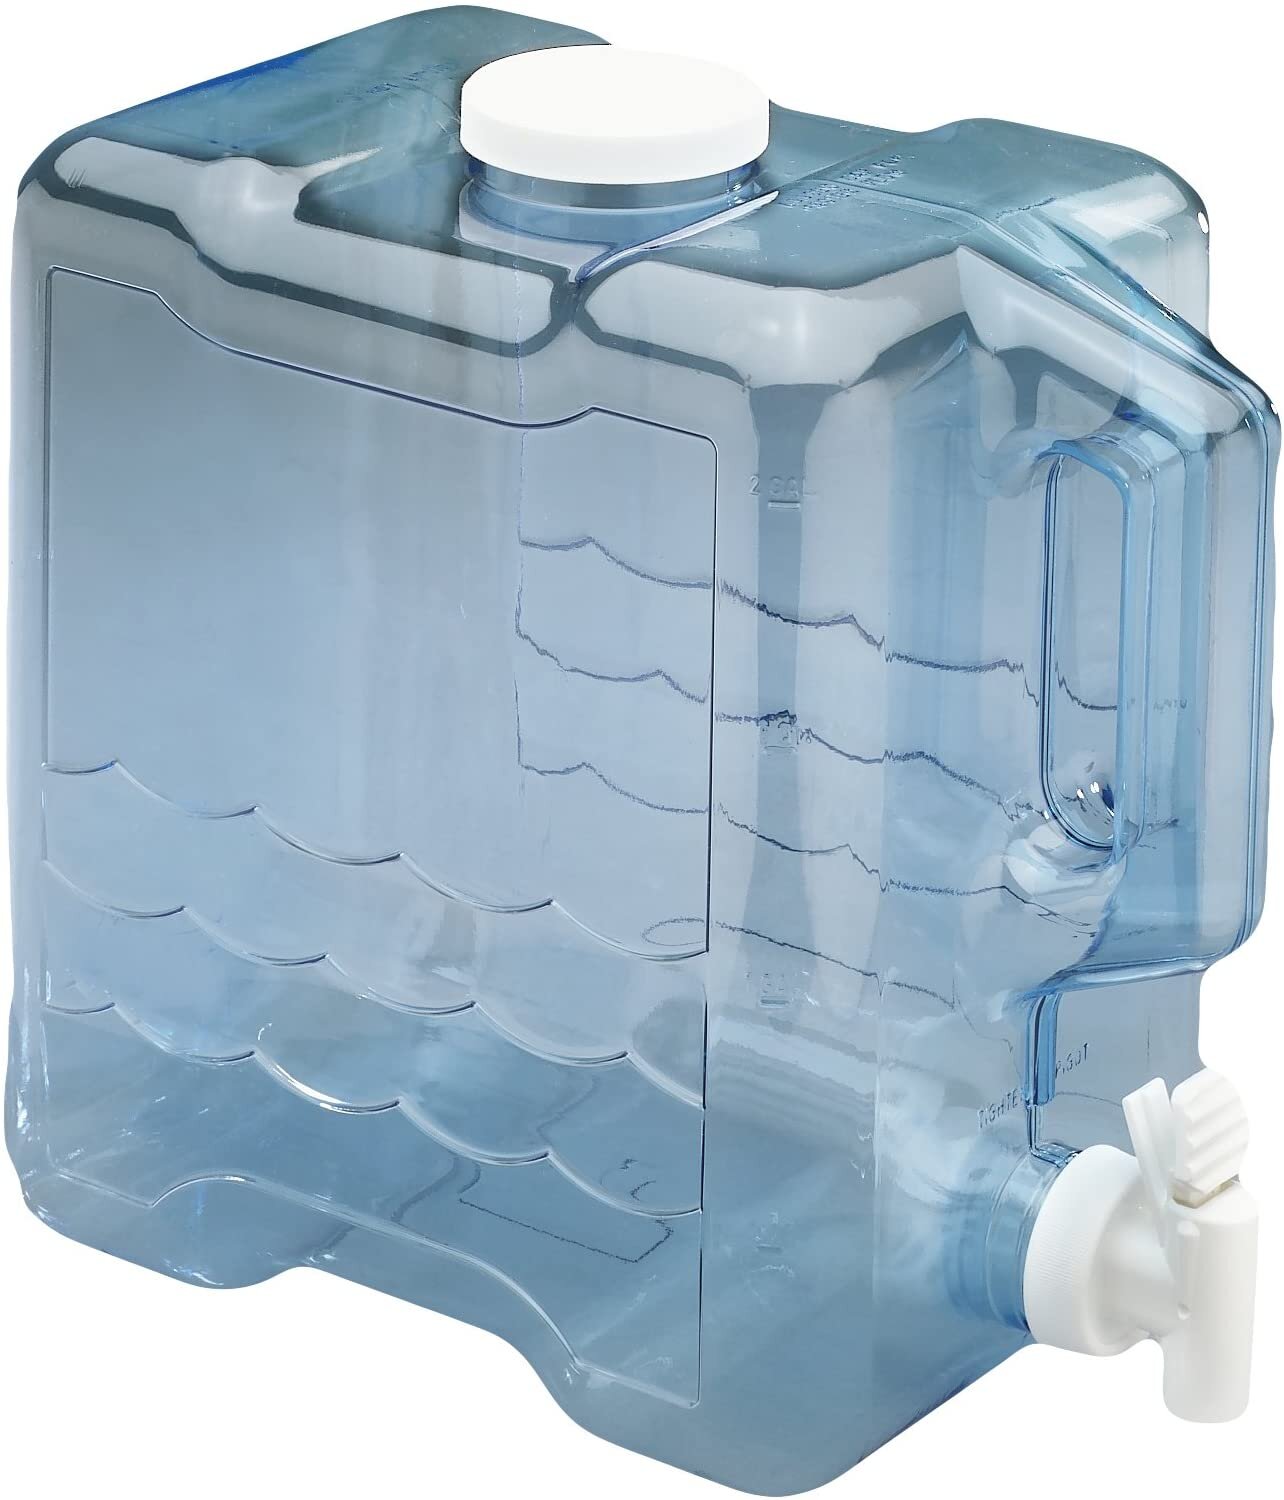
2 Gallon Slimline Beverage Container.jpg

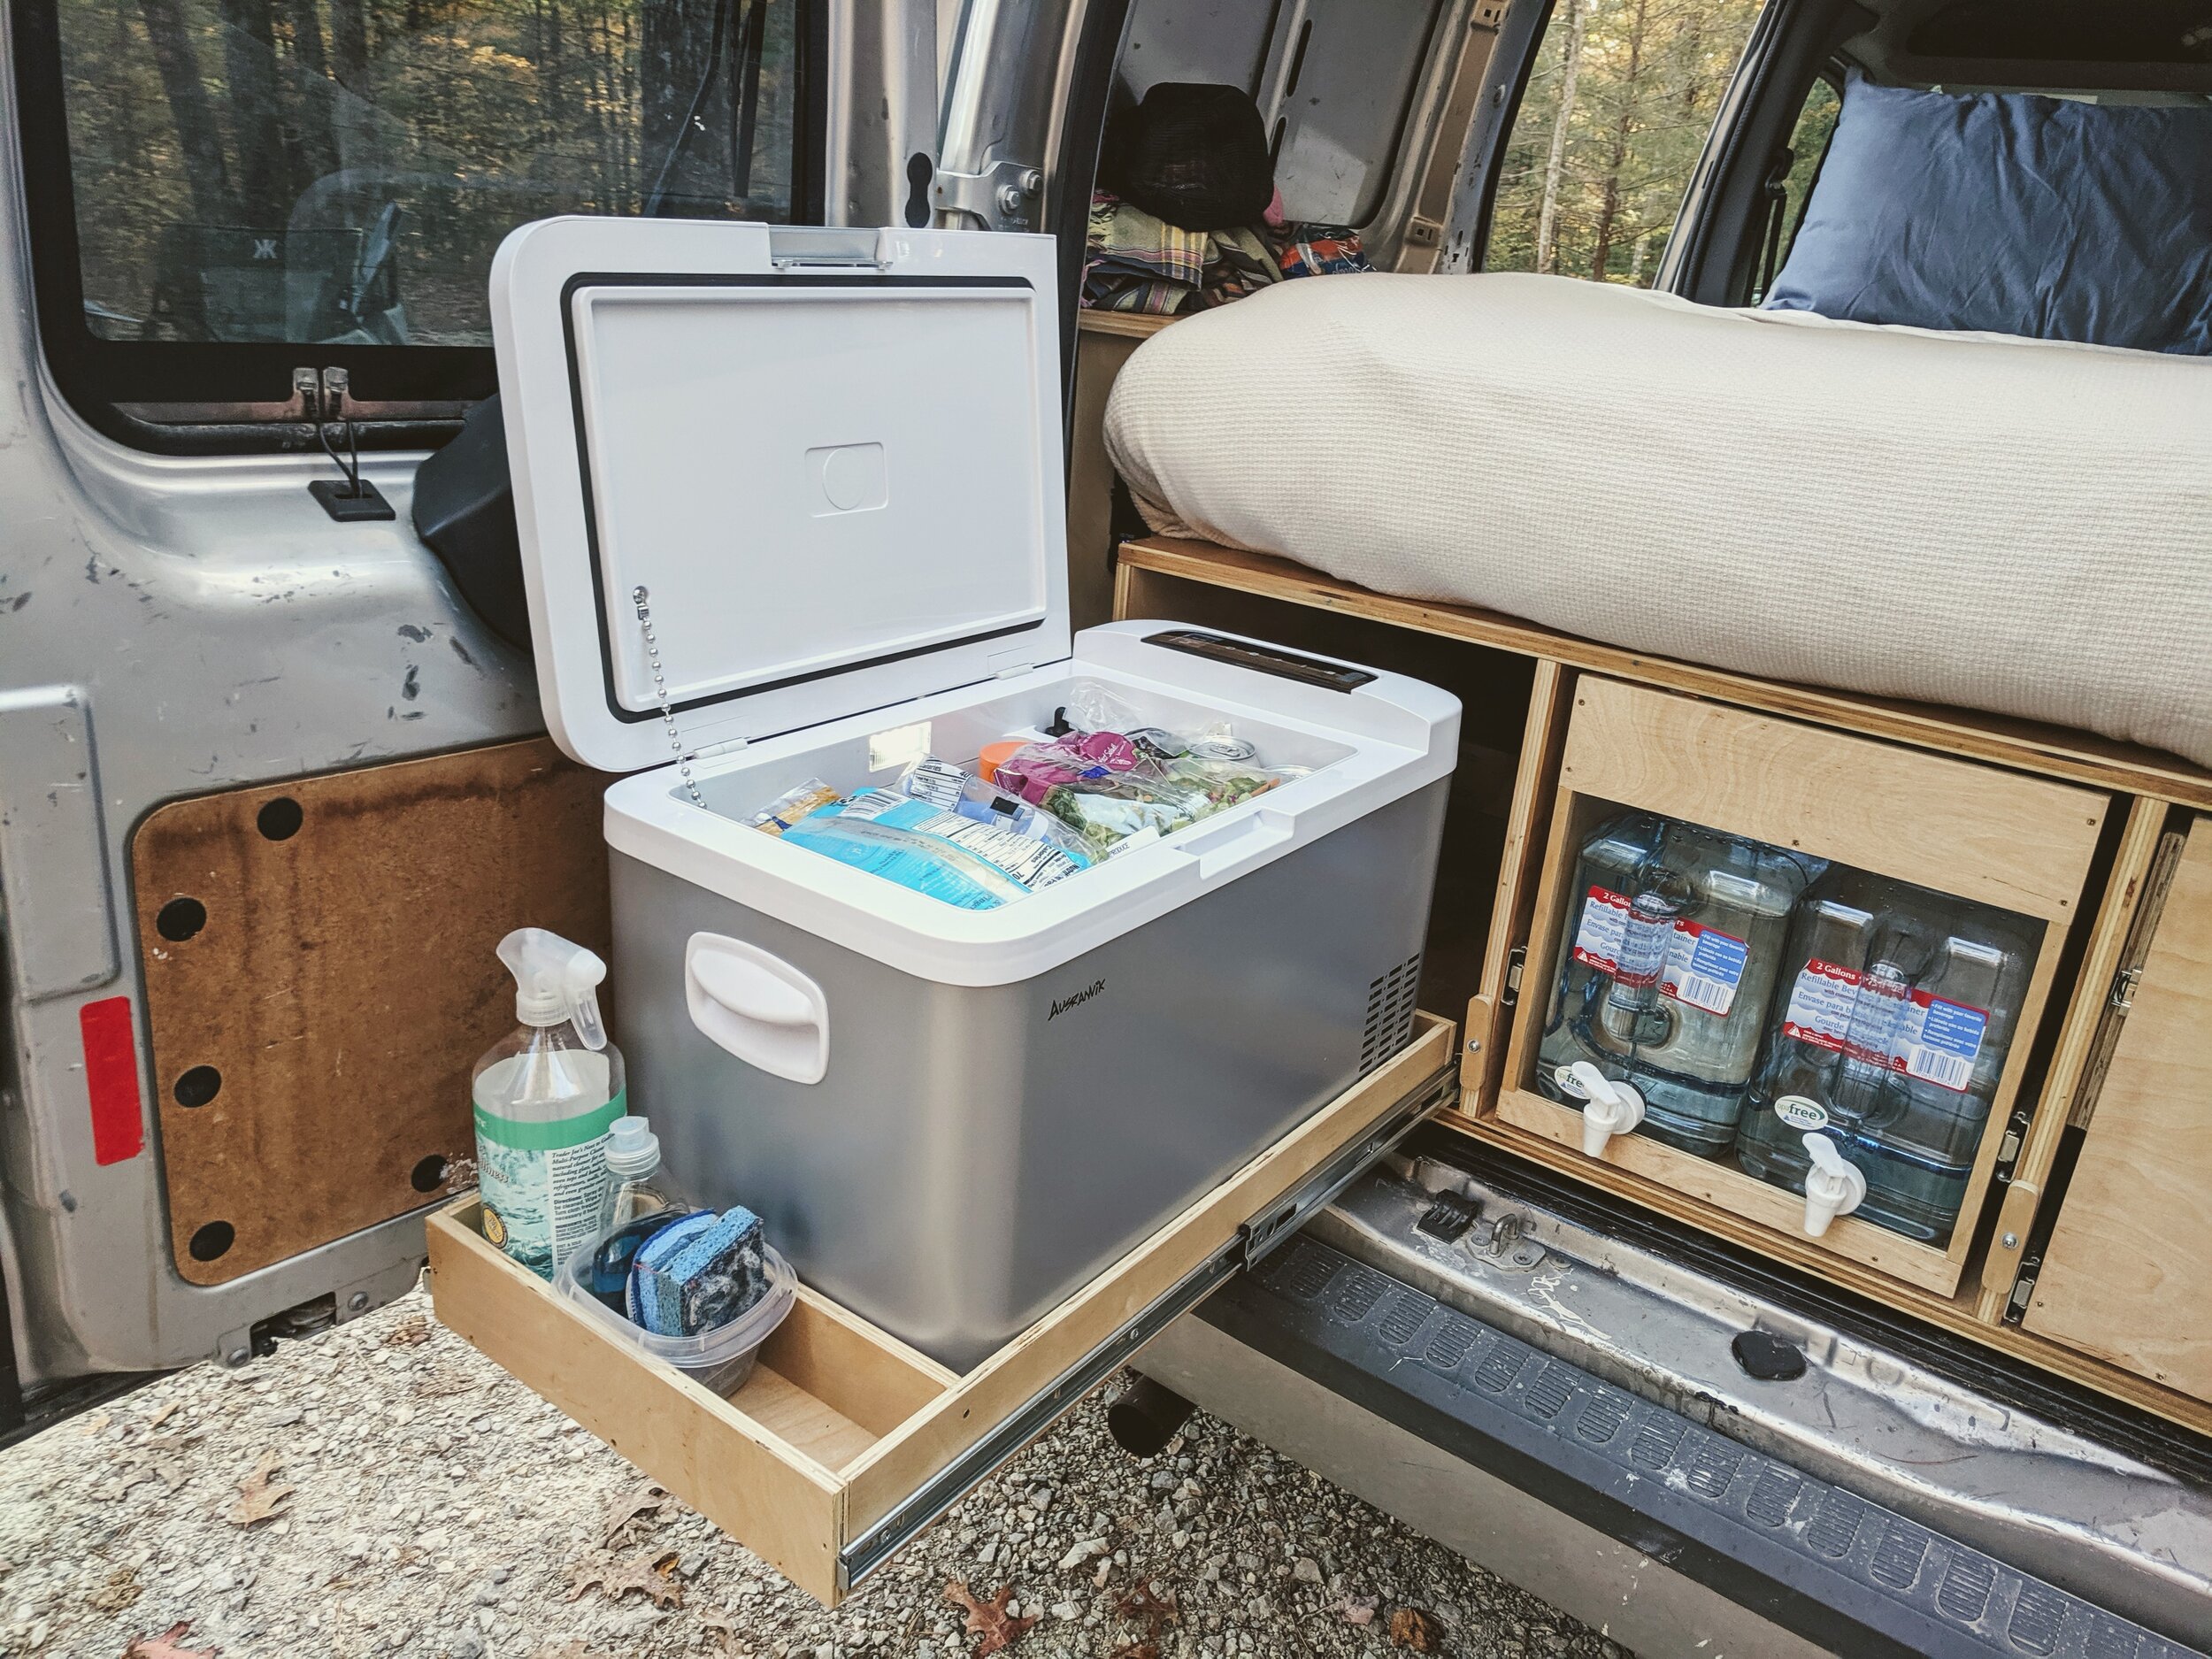
2 Gallon Slimline Water Container

This durable and compact beverage container fit into lots of tight spaces, has a durable dispenser spout, wide mouth fill top, handle for carrying to and from cam and is BPA free.

coleman gas camping stove.jpg

Coleman Propane Camping Stove

An oldie, but a goodie! This classic 2-burner stove is our go-to for camper van travel. Easy to stow and provides all the cooking power you need for a fraction of a more high-end unit.

And don’t forget to outfit your rig with a couple bottles of back-up propane.

Ausranvik 37 Quart Black Portable Camper Van Refrigerator Freezer.jpg

Ausranvik 37 Quart Portable Refrigerator Freezer

This 12/24V DC and 110V AC Compressor unit is the perfect camper van addition. Forget about buying bags of ice! This compact fridge packs all the comparable temperature controls in a cooler size unit perfect for tight storage.

Portable Camper Van Utensil Kitchen Set-9 Piece Cookware Kit.jpg

Portable Outdoor Utensil Kitchen Set-9 Piece Cookware Kit

This functional and well made kitchen utensil kit is packed with all the essentials for your camper van rental guests. The kit even comes in a durable cotton tote so all the pieces are easily stowed and makes inventorying between renters a breeze.

Zinus 6 Inch Gel-Infused Green Tea Memory Foam Camper Van Mattress.jpg

Zinus 6 Inch Gel-Infused Green Tea Memory Foam Mattress

Not only is this mattress extremely comfortable, it is efficiently compressed into one box that’s easily shipped and maneuvered into any tight space, like an RV or camper van. Once inside, the mattress can be unrolled and will regain its shape in 72 hours. We also found this mattress easy to custom cut and fit.

first aid kit camper van rental gear.jpg

Swiss Safe 2-in-1 First Aid Kit

This soft case first aid kit is perfect for overhead stowing. It also comes with a separate mini kit that can be tucked into a backpack for hiking.

Camper Van Guest Portable Chair.jpg

Kijaro Dual Lock Portable Camping Chair

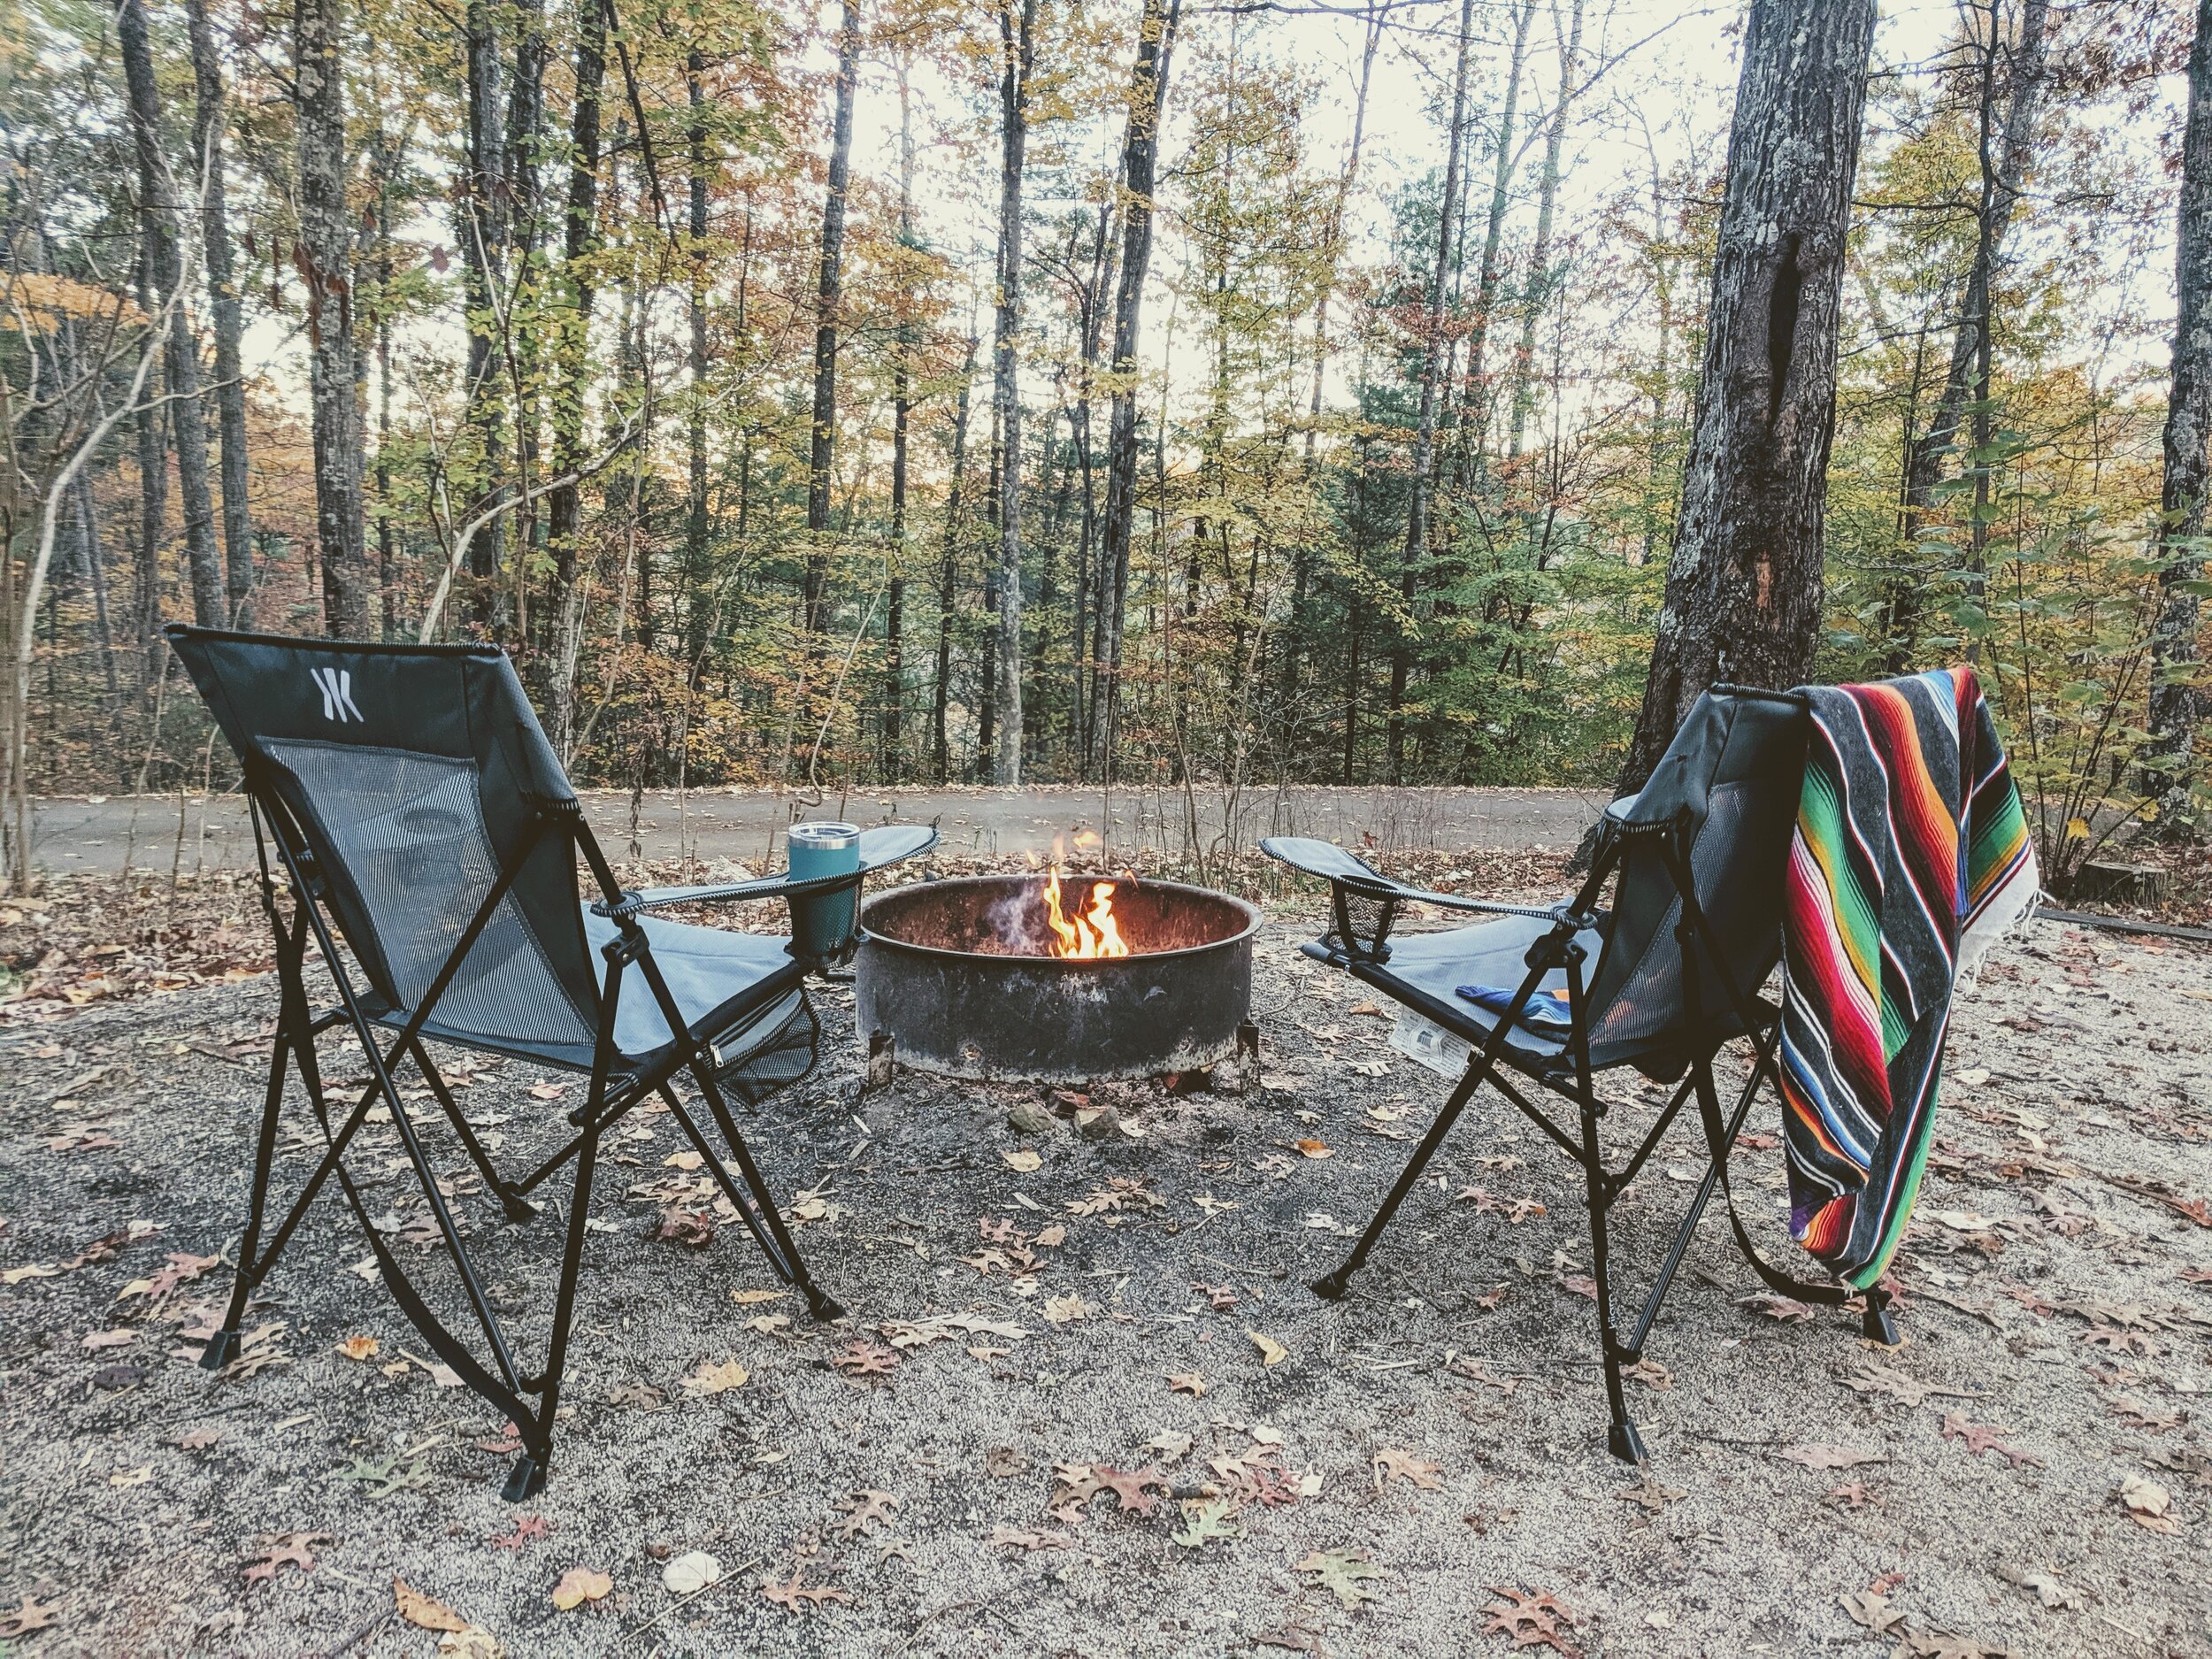
By far our favorite portable chair for our camper van rental guests. These chairs fold down for easy storage, but have the best no-sag seat support up-to 300 lbs and locks open for extra stability/ locks shut for easy transport. Offered in every color under the sun!

Winterial Camping Cookware and Pot Set, 10 Piece Set for Camping.jpg

Winterial Camping Cookware and Pot Set, 10 Piece Set

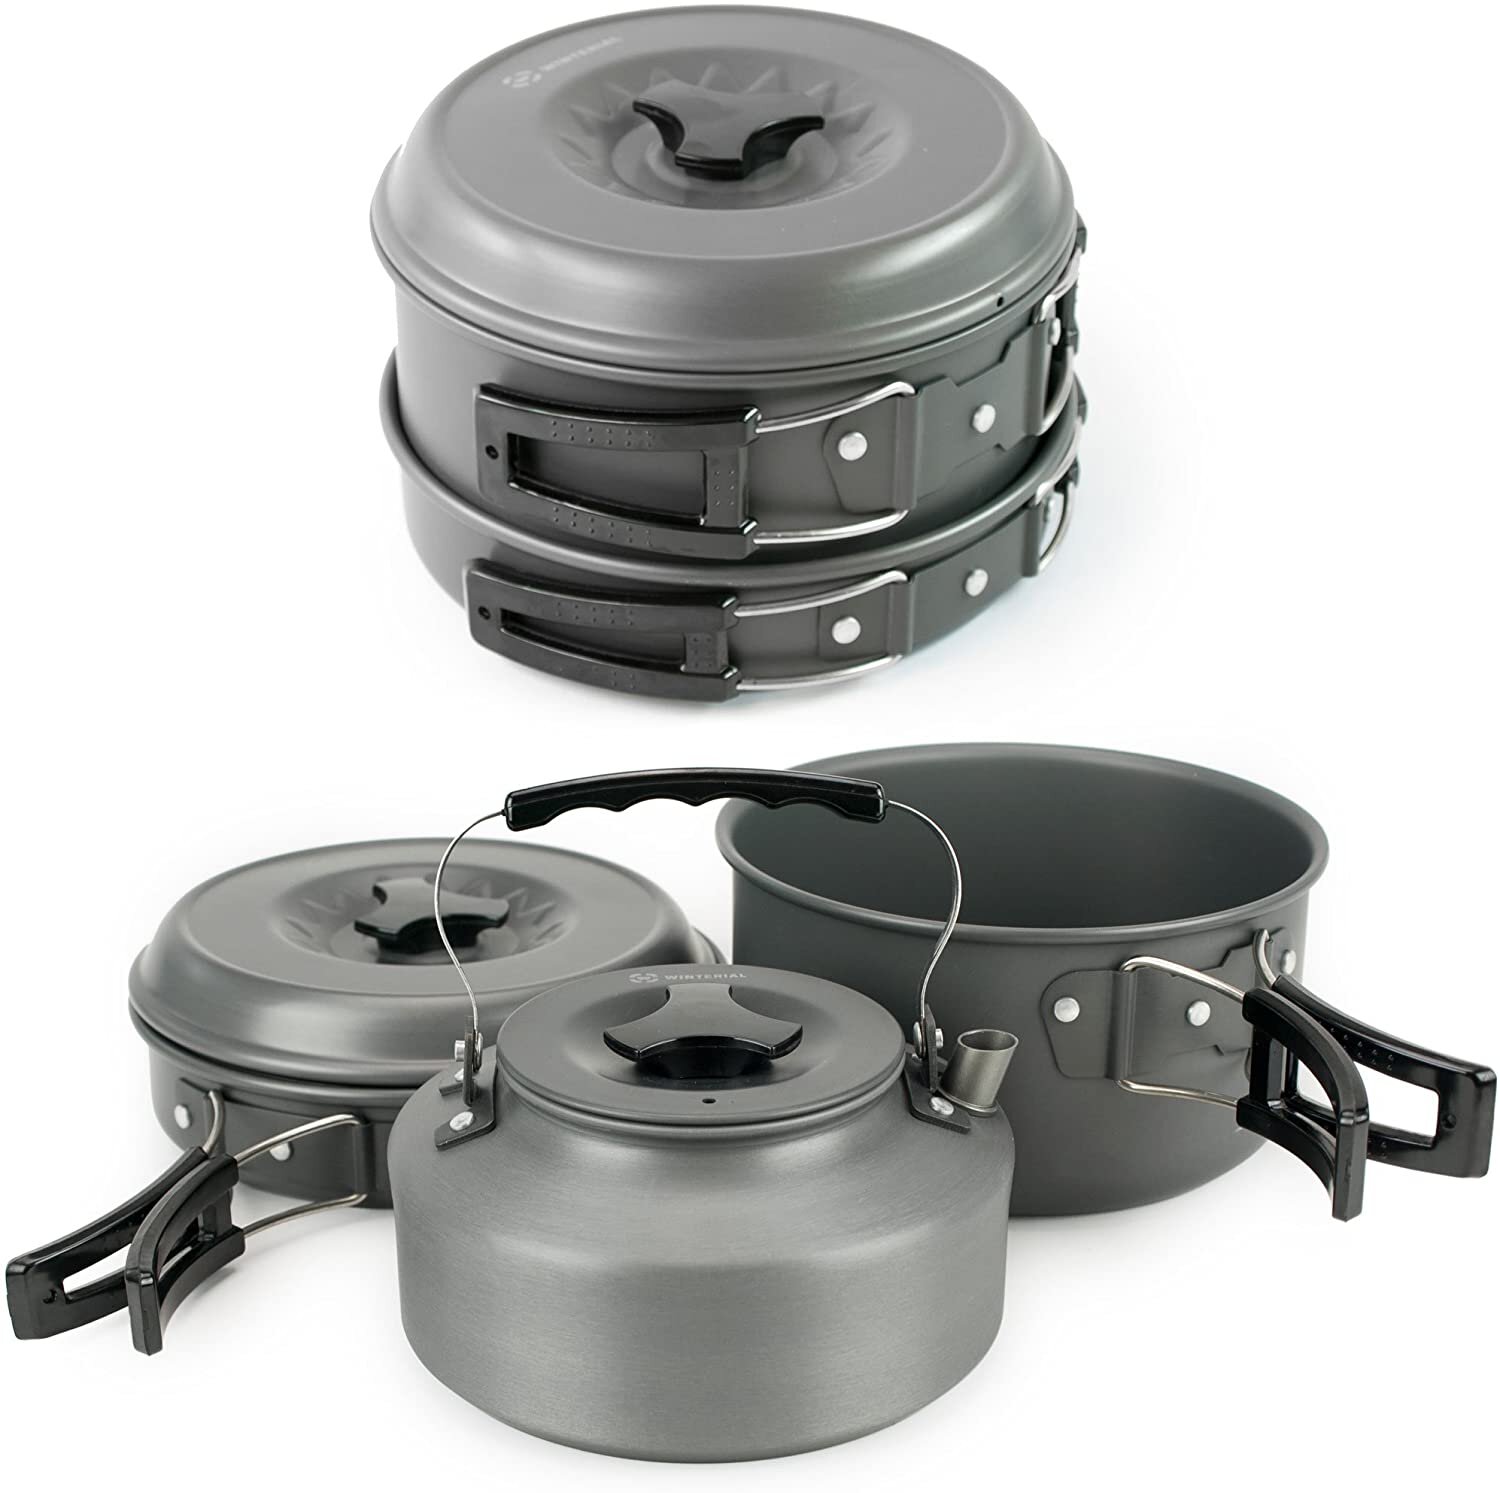
Pot, frying pan and tea kettle are made of solid and light aluminum oxide, which is high-temperature and friction-resistant. This lightweight set is our go to for our camper van rental. It’s durable, stackable and made of non-stick Teflon making camp clean-up easy.

VAN LIFE: The Camper Van Fleet Is Growing

We are so excited to announce the addition of two more Ford Transit Connect vans to our rental, camper van fleet.

We’re also shifting the rental business under a new Content + Co subsidiary: Content Outdoors LLC.

Over the course of the next 2-months we will be sharing the step by step process of transforming these vans into 2-person, road trip companions!

If you’re interested, you can check out our original series of converting our first girl, Dolly: Electrical, Comfort, Storage and the big reveal.

7a629321-72f8-4786-bc10-90acd56728ab.jpeg

The twin newbies are 2012 Ford Transit Connects. A couple years newer than Dolly, and with less original mileage. But, our conversion will be nearly identical.

A special thanks you to Mike, Joe and Joe at Michaels Motor Sports in Neptune, NJ for making the car buying process so seamless that we bought two!

Stay tuned for updates!

A Guide to Prepare Your Short-Term Rental for Reservations Post Covid-19

COVID-19 Awareness: We recommend checking the World Health Organization’s website for the most accurate and up-to-date information.

It goes without saying that the Covid-19 pandemic will reshape our lives in ways we can not begin to imagine. But, as property Owners and Hosts, we have to anticipate the future of short-term rentals (STRs) NOW in order to prepare for reservations post-Covid.

As STR Hosts, first and foremost, we are business owners. If you’re like us, you will not be receiving any federal or state small business relief. Which is why revenue driven businesses, like STR owners, should be working on disaster plans, without the promise of outside help.

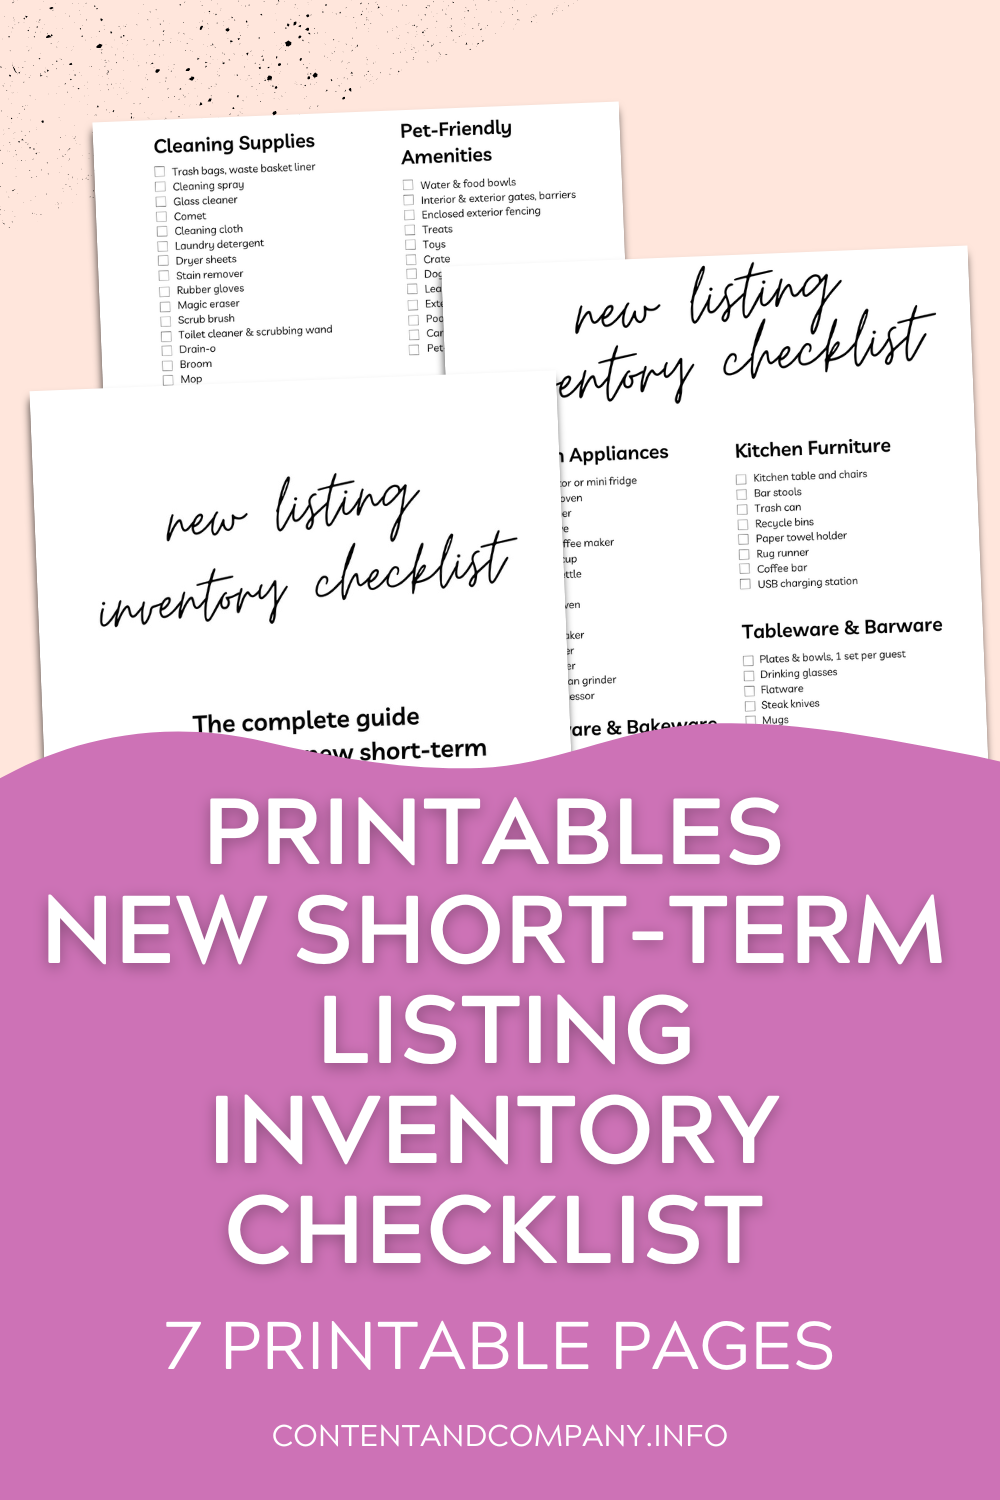
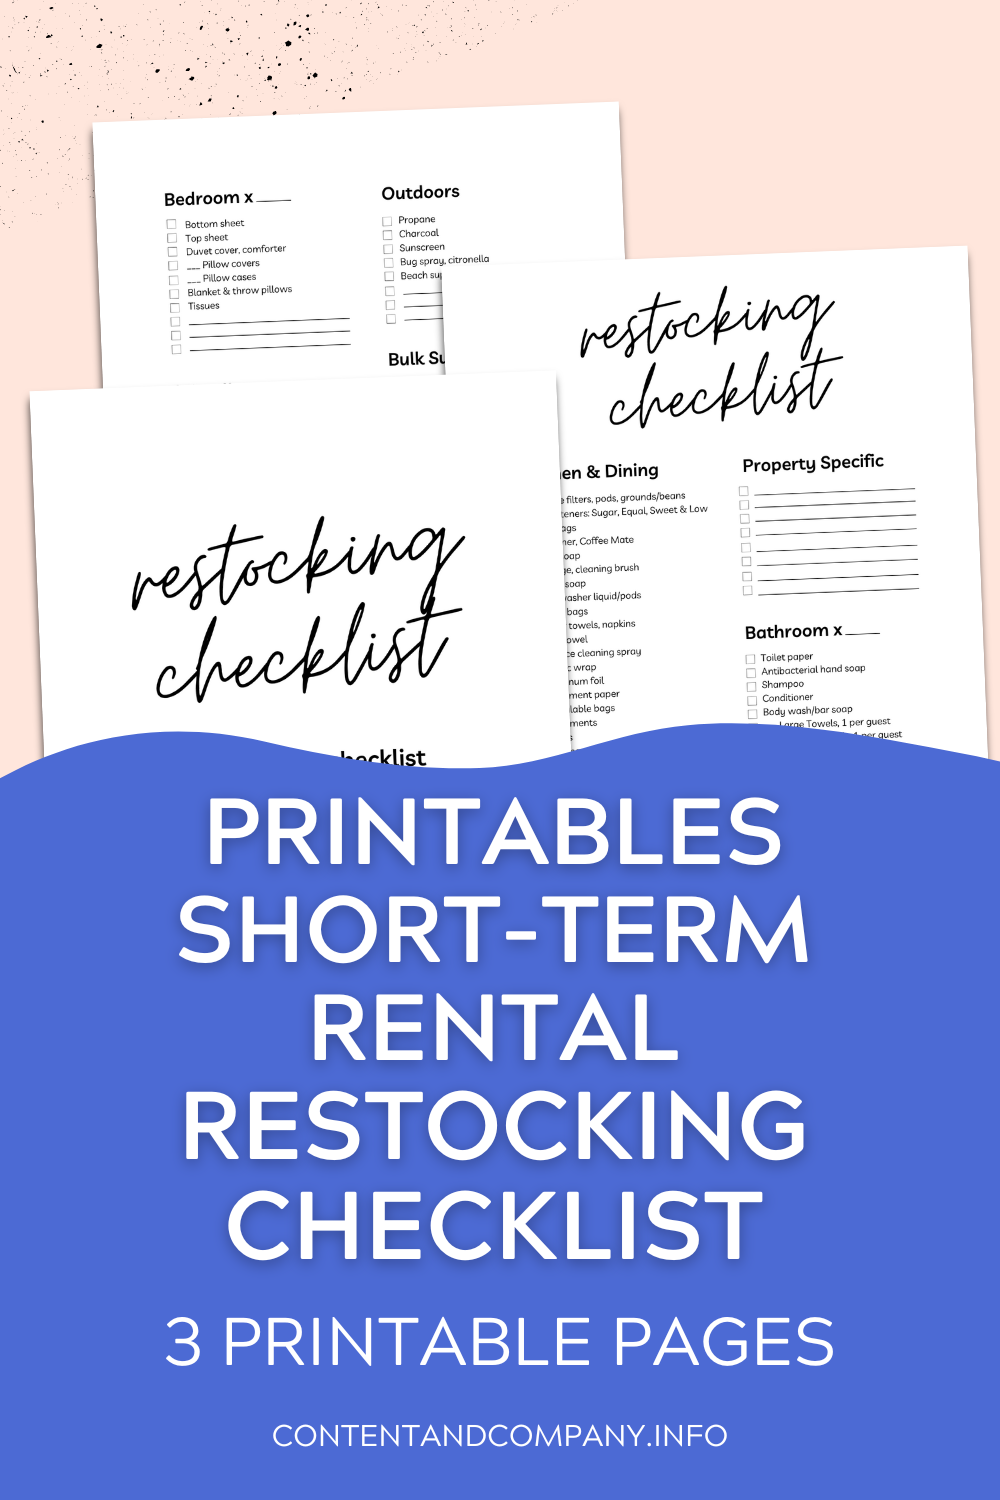
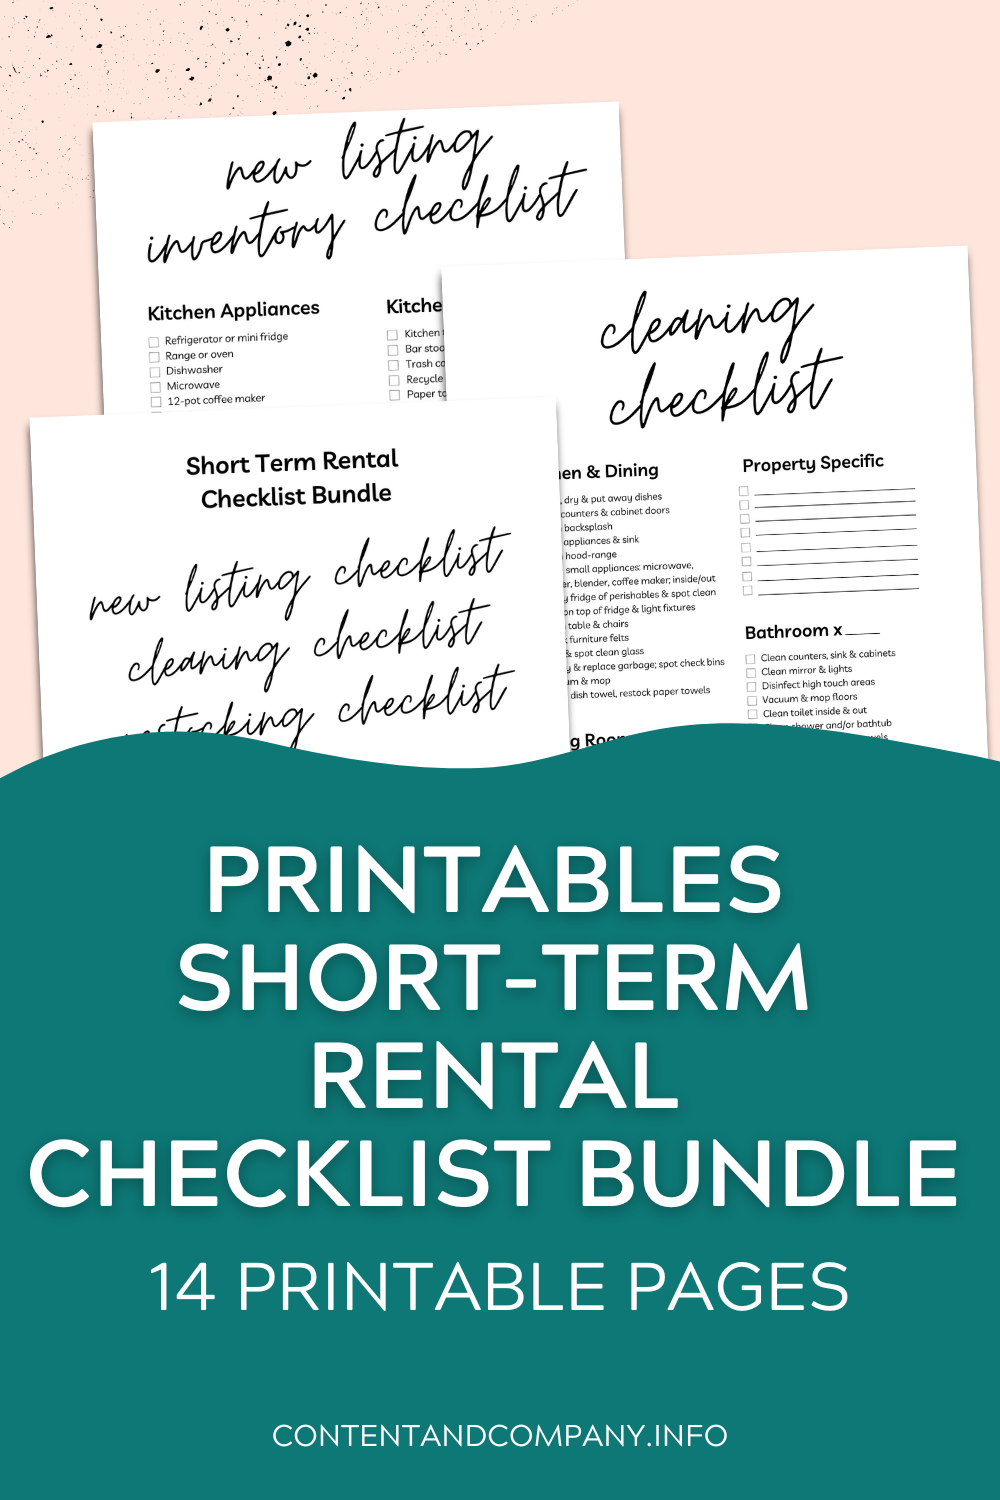
If you’re just starting out as a Host, we recommend you download our printable New Listing Inventory Checklist, Cleaning Checklist & Restocking Checklist to ensure you’ve prepared each space of your listing for success.

All 3-Checklists are also available as a bundle & ON SALE NOW.


What will the new normal of short-term rentals look like post-Covid?

Can we weather the storm of local event cancellations, interpret government restrictions, market our listings despite a recession and lack of disposable income or anticipate traveler heath concerns?

A Guide to Prepare Your Short-Term Rental for Reservations Post Covid-19.jpg

Reservations will return to your inbox.

Will you be prepared?

John and I have come up with a few forward thinking ways to navigate the ever changing landscape of the STR industry and are sharing:

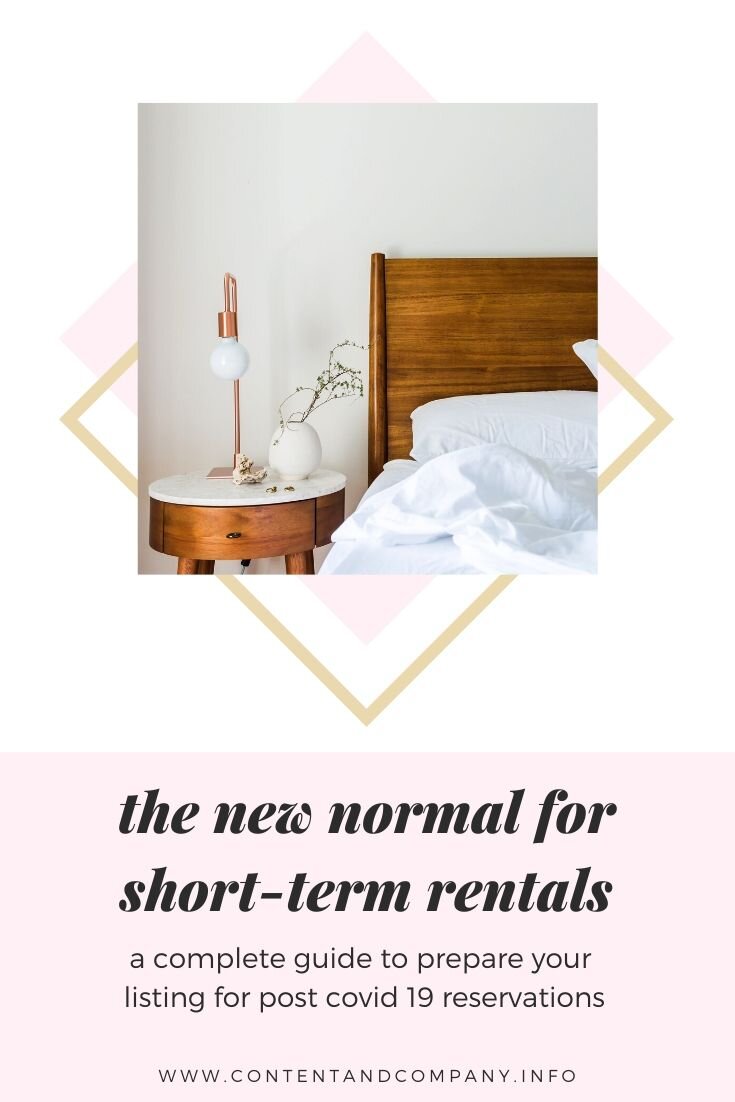
A Guide to Prepare Your Short-Term Rental for Reservations Post Covid-19


Mitigate Host Health Concerns

First and foremost, your health and the health of anyone what aids in welcoming guests to your property is top priority. If you’re not healthy, ready and able to manage the reservation process, the whole system falls apart.

Focusing on your health will inevitably trickle down to the health of your guests. Here are a few suggestions to start with:

24 Hour Rule

The CDC recommend waiting 24 hours before entering a space occupied with someone what may have been exposed to Covid. As Hosts, John and I assume everyone may have been exposed, so we strictly practice this 24 hour rule.

Check Your Supplies

Maintaining a steady stock of supplies is essential for hosting, but may also be difficult as inventory and access are suppressed.

Before accepting any future reservations, ensure that you can keep cleaning products, paper towels, hand sanitizer and toilet paper appropriately stocked.

There’s no sense accepting a reservation that you can not adequately accommodate, as this will likely lead to a negative review.

Even if you are not personally cleaning your properties, you will want the following items to enter and check your listing between reservations.

Here’s a checklist of Host essentials that should be adequately stocked before accepting a reservation:

  • Disinfectant wipes

  • Household disinfectant

  • Hand soap

  • Hand sanitizer

  • Disposable gloves

  • Face mask


Tweak Your Property Listing

It’s a FACT that a catchy listing title and well-written description can increase revenue. Which is why tweaking your description may be an important first step in welcoming guests to your Covid conscious property.

Perhaps there are areas of your listing that can be reframed to further appeal to cautious travelers.

For instance, these existing property attributed could be perceived as “Covid conscious”:

  • Privacy: Isolated in the woods. Full house exclusivity.

  • Location: Private beach access. Walking distance to shops and stores.

  • Amenities: Separate bathroom. Private entrance.

Once you’ve done an assessment, edit your listing description to highlight the features of your listing that could appeal to wary travelers that may have virus prevention top-of-mind.

Personally, we do not think it’s necessary to specifically mention Covid in your description.

Focus on the positives of your listing, not the negatives of the virus. Highlighting a few features that will help guests mitigate their own fears and concerns about Covid-travel without focusing on the pandemic specifically.

As an alternative, you may choose to simply share new information with guests that actually reach out with an inquiry. Remember, communication is key. If you decide not to tweak your listing, be sure to share any changes to your listing (in writing) before confirming a reservation.


Assess Your Nightly Rate & Minimums

Keeping a finger on the pulse of supply and demand for short-term rentals in your area could be key to your future success. As a next step, we suggest assessing your nightly rates and minimums.

Do a general “traveler” search on Airbnb/VRBO of other similar STR listings in your area and determine how your rates compare.

  • Can you determine the general number of STR available?

  • Have listings reduced nightly rates or increased nightly minimums?

  • Are competitor calendars open for reservations?


Another amazing resource we use is AirDNA. We use AirDNA as a platform for staying current with Covid trends, changes in rates, occupancy and a ton of other information.

Specifically, AirDNA just released new product features to explore booking trends and rates during COVID-19's recovery period. These new charts and metrics offer a significant advantage to property managers and hosts looking to stand out.

They have a free subscription or paid options that can help make powerful management decisions.

For John and I, we know the “bottom” nightly rate we are comfortable advertising. We have assessed our profit and loss, and know at what point we would rather not host than risk welcoming guests just looking for a cheap stay or perhaps, even a place to quarantine.

This is also a great time to determine your minimum stay parameters. We have actually done away with 1-night reservations after determining that a thorough Covid-19 cleaning was far too tedious for sometimes less than a 12 hour stay.

We have also implemented a 24-hour buffer between reservations to allow for additional cleaning and ventilation of guest rooms.


Protocols for Shared Spaces

Specifically for STR Hosts that have shared listings and common spaces, now if a great time to assess your comfort level (and that of your guest) . For instance, in our home, we have private guest suites with a shared living room, dining room (with a coffee bar and mini fridge), as well as several outdoor areas.

As we navigate reservations in a post-Covid world, we plan to only share the exterior spaces and plan to provide an individual “coffee” setup into each of the guests suites, as opposed to a shared setup.

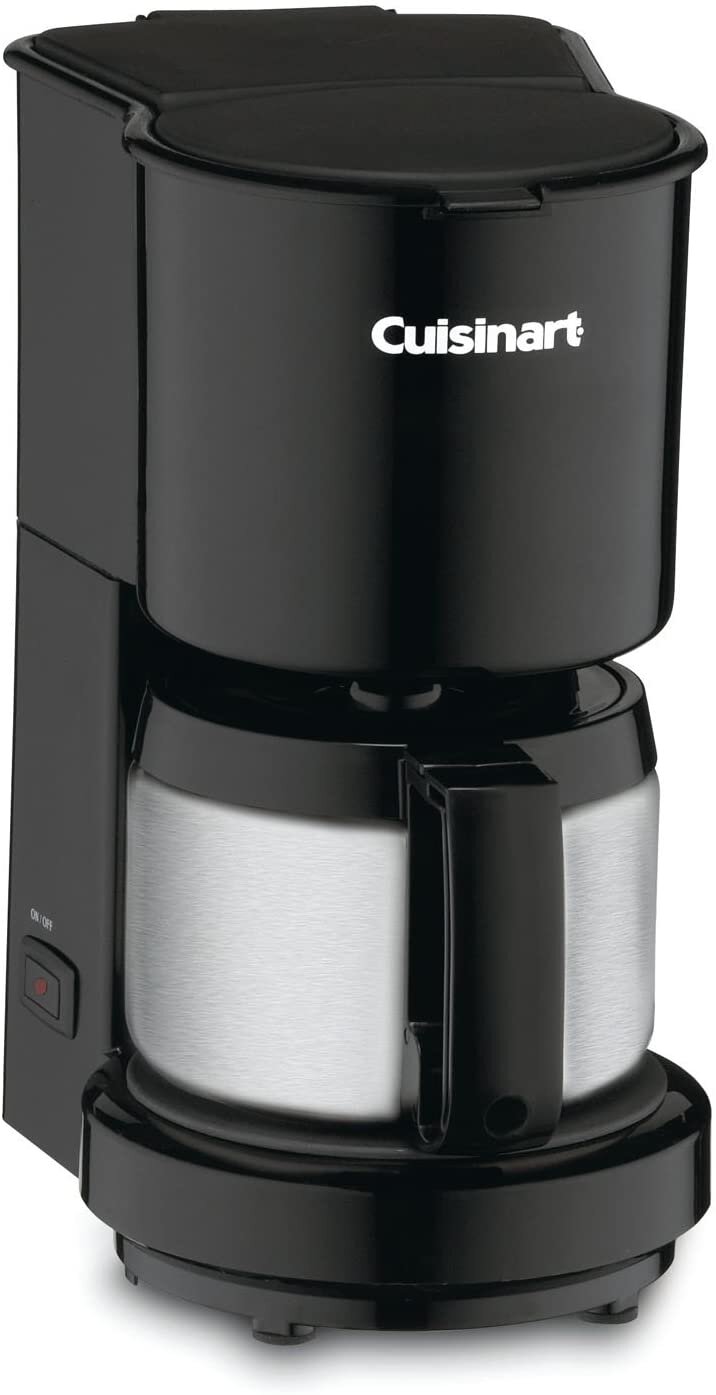
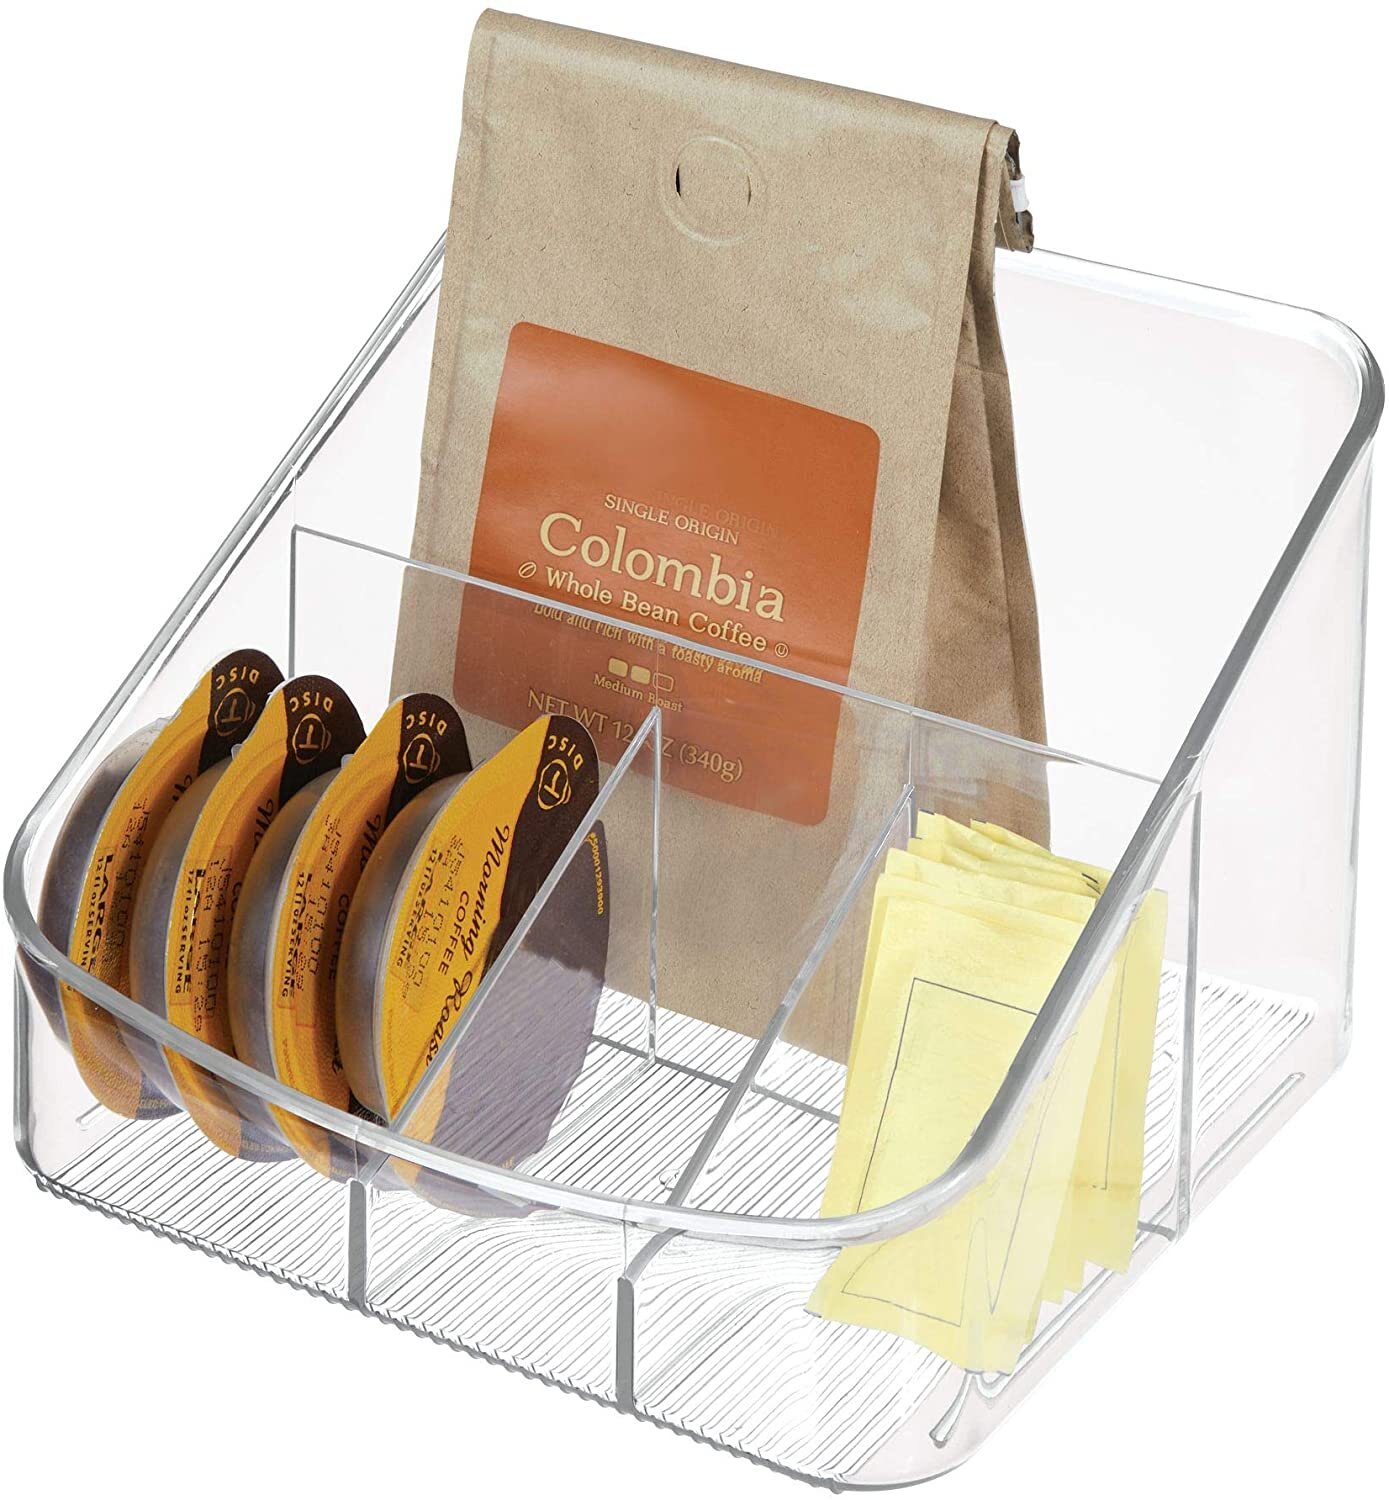
Each guest suite will now have the following coffee setup:


Edit Your Decor

Yes, decorative pillows, blankets and rugs add comfort to any space, but these accessories may be difficult to disinfect between reservations. Easiest would be to remove throw pillows and blankets from your spaces entirely.

However, these are a few creative alternatives that could be used:

Washable Throw Pillow Covers

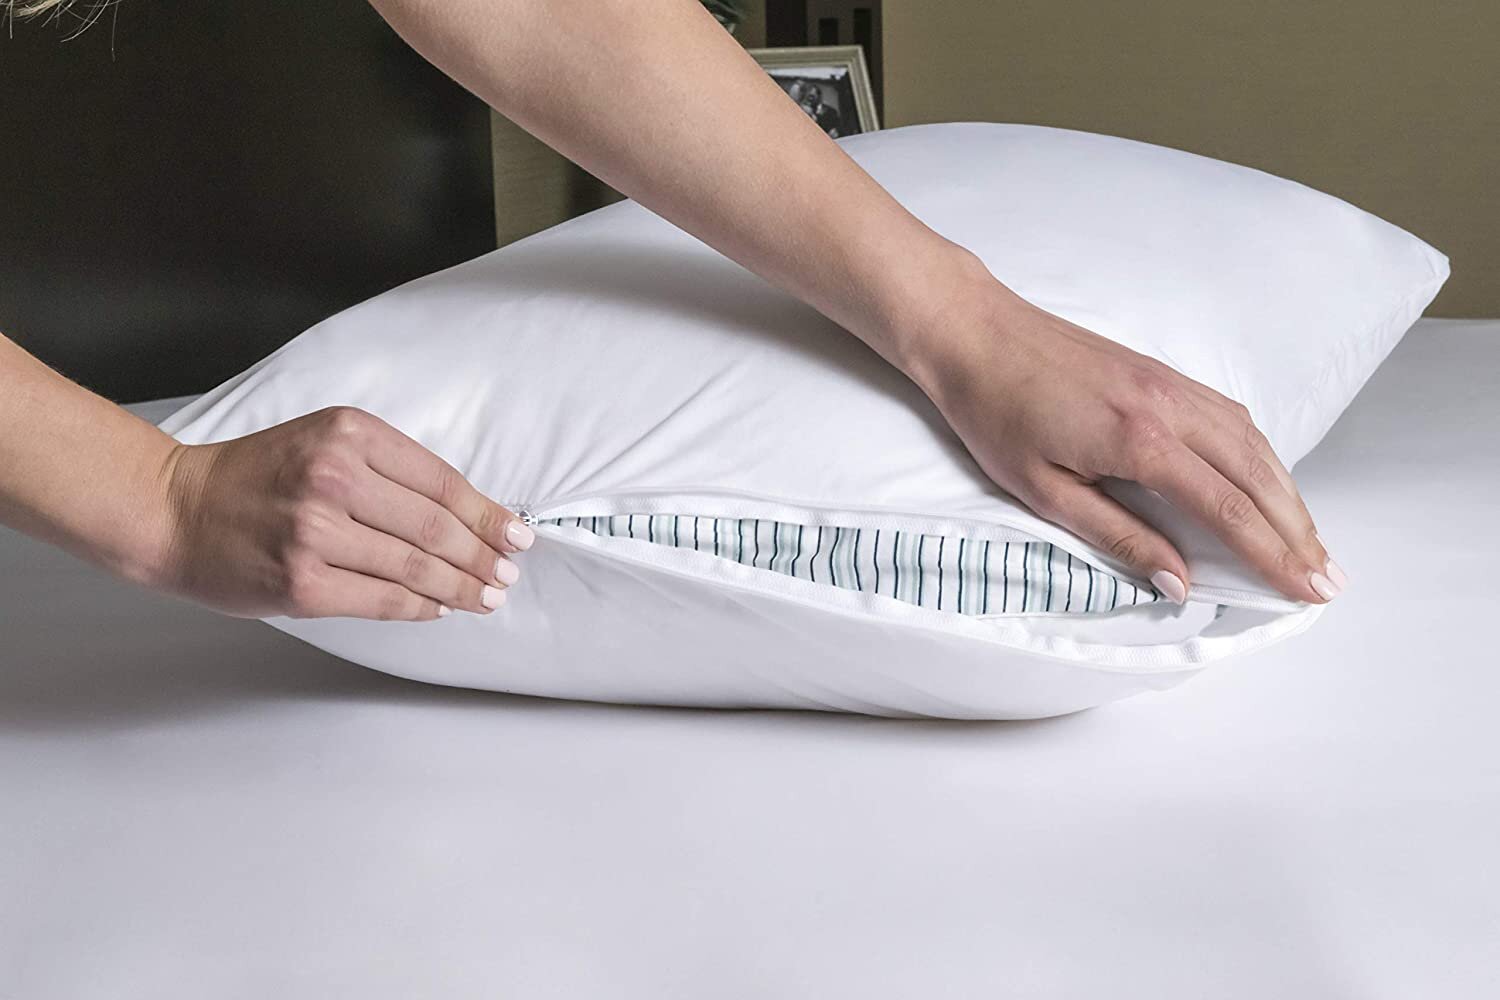
Replace decorative pillows with throw pillow inserts, washable covers or non-porous materials. Check the manufacturer’s washing instructions to ensure they are machine washable. Or choose a cover like leather or faux leather that can be wiped/disinfected.

Machine Washable Rugs

Rugs may be one of the most difficult home decor items to clean.

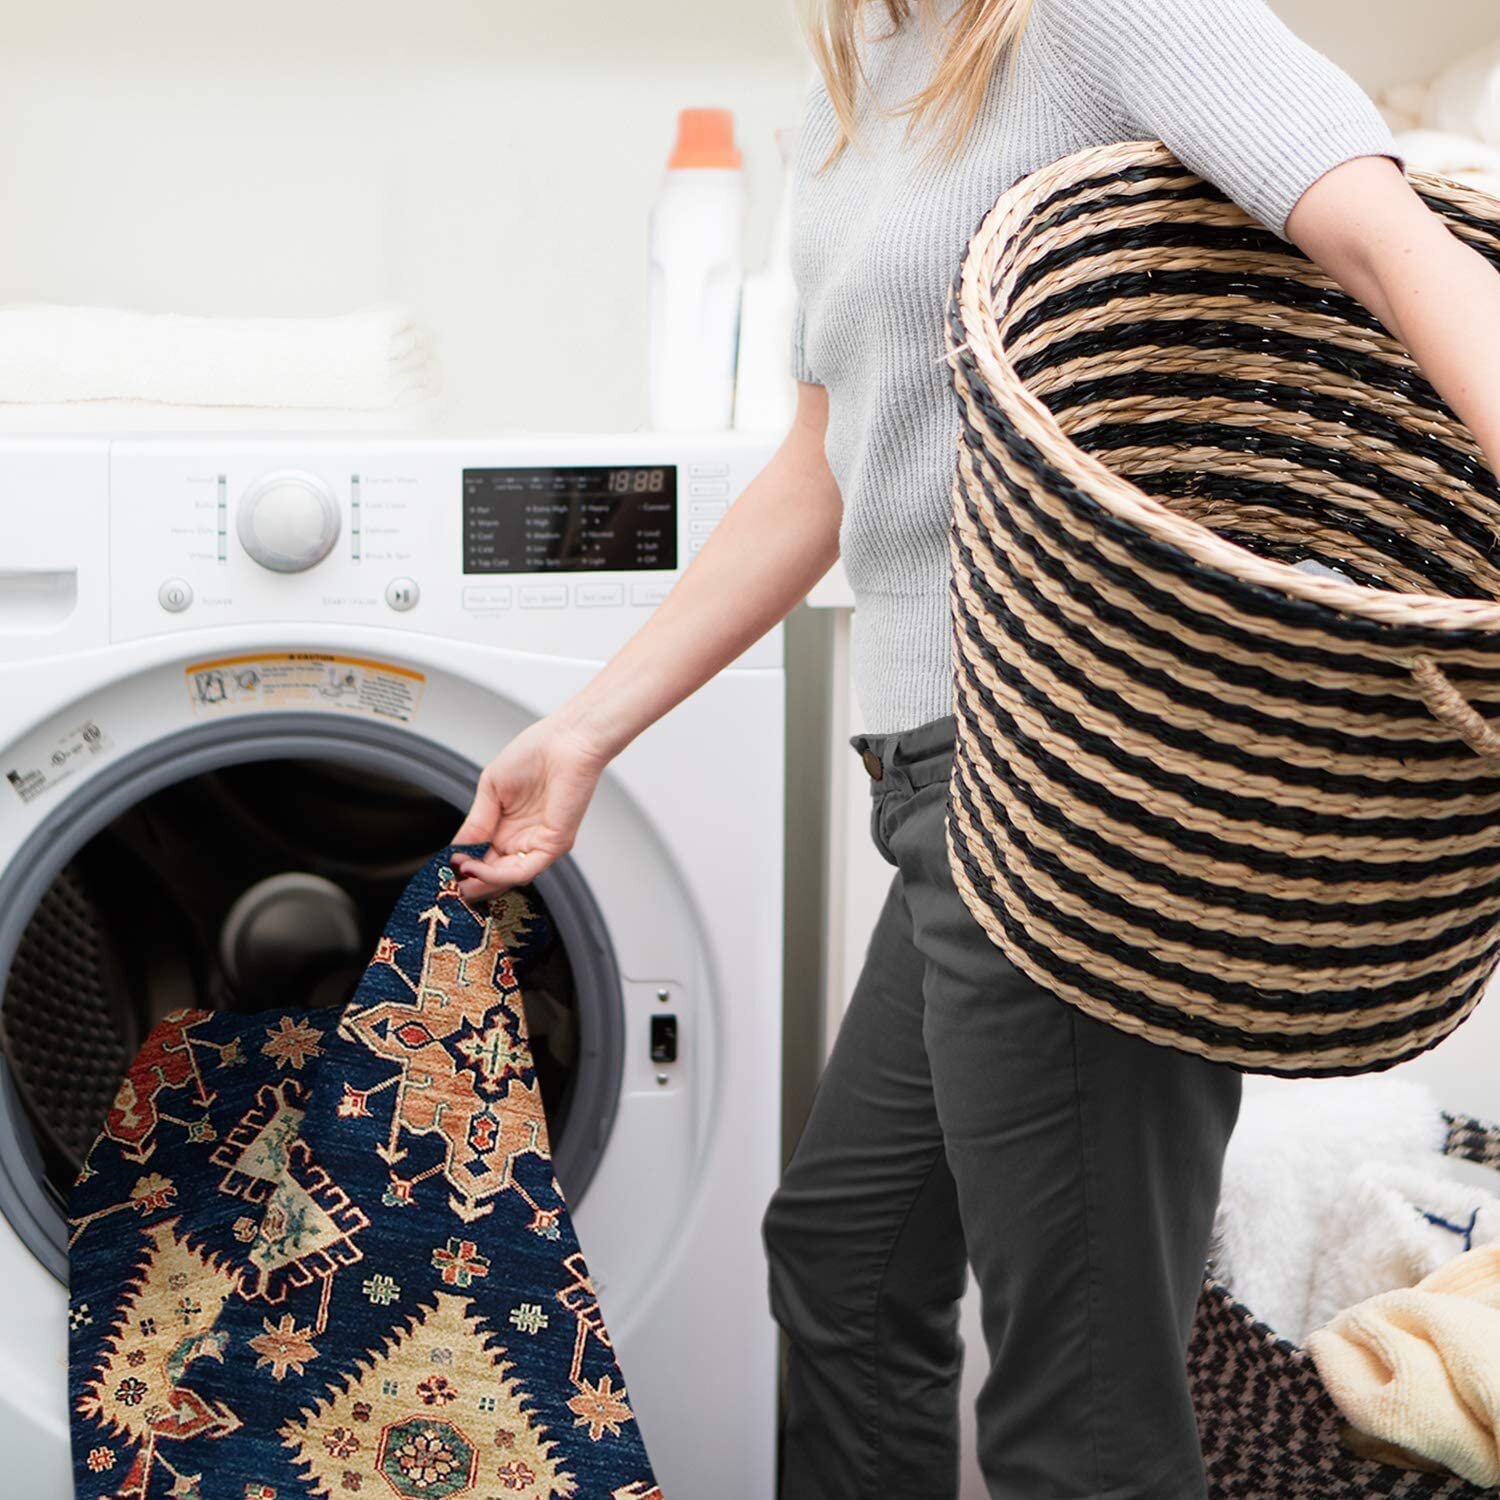
Instead of removing rugs, replace them with a machine washable alternative like those from Ruggable that consist of a decorative rug cover and non-slip rug pad.

These rug alternatives would be great in high traffic areas, areas where pets reside or in areas that children partake in floor-focused play.

Photo: Getty Images/svetikd

Photo: Getty Images/svetikd

Removable Duvet Covers

Gone are the days of simply throwing an unwashed comforter back onto a freshly washed sheets. In many seasonal rentals, this is still common practice.

We are here to tell you that it’s time to upgrade your bedding to include comforters with a removable duvet cover that can be properly washed between guests.

Don’t have the means to upgrade? Here’s what we suggest:

Ideally, you should use a hypoallergenic comforter insert that can be washed every few guests, covered by a duvet that is washed between each guest.

Here’s a great video about changing a duvet cover that every Host should know.

If you can’t upgrade to new inserts and covers, run your existing comforter through a steam disinfecting cycle or have the comforter dry cleaned by a professional. Then, purchase a duvet cover in the size of your existing comforter, and a color/pattern that matches your existing sheet sets.


Assess Your Cleaning Process & Fee

Airbnb had recently announced an enhanced cleaning initiative for Hosts, which you can check out here. Before welcoming guests, now is a great time to assess your existing cleaning protocol and determine if changes should be made.

Cleaning Process

Whether you are personally cleaning or have hired a service, ensure your listing is updated to reflect a “covid clean” job. Take the time to educate yourself or your service of the new standards. Before covid, cleaning was acceptable. Now, disinfecting based on the CDC guidelines should be adhered to.

Part of this cleaning process should also include the addition of buffer days between reservations. Airbnb suggests 72 hours between reservation in order to adhere to their enhanced cleaning protocol.

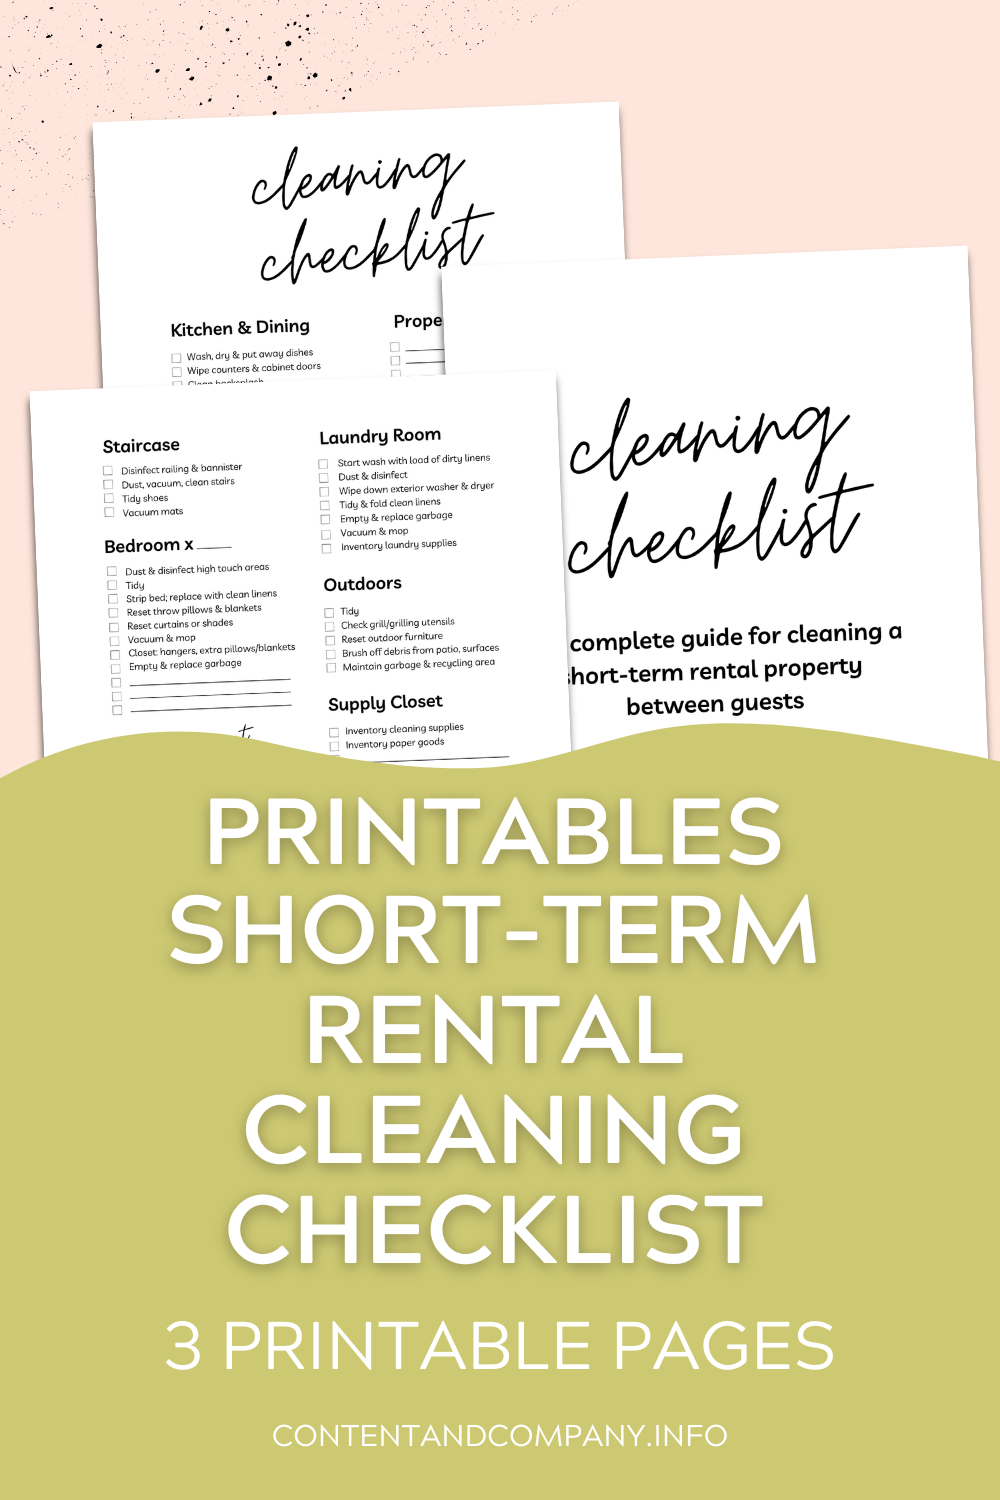
Download our Cleaning Checklist to ensure you’re prioritizing every space in your home during the turnover process between guests.

Printable Cleaning Checklist

〰️

Printable Cleaning Checklist 〰️

Cleaning Fee

Time is money. Therefore, you should assess the total time it takes to adequately clean your listing and determine if your existing cleaning fee accounts for the new HIGH standard of “covid clean”.

In the long run, guests will understand paying more if it means your listing is meeting a 5-star standard.


Secure Your Guest Amenities

Every Host has dealt with some form of theft. Whether it be a missing hand towels or the disappearance of hand soap, now is a great time to access how you provide guests with essential items like soap and toilet paper.

Here at Content, we have a separate closet with all of our guest amenities. We now keep this door locked and only stock our guest suites with the amount of toilet paper we deem necessary for the guest’s reservation.

Gone are the days of providing endless rolls of toilet paper for a 2-night stay.

No Host wants to limit their guests comfort, but during this current climate, where cleaning supplies and toilet paper are a hot commodity, you have to protect your investments.

Communicate to your guests that you are happy to supply more of any amenity, they simply need to ask.


Provide A Welcome Basket

Yes, of course you’ve gone above and beyond to ensure your property has been properly cleaned between guests!

But, that still doesn’t mean your guests are 100% convinced. Consider if you were the Guest, walking into a rental property. Would you assume all the surfaces had been disinfected?

In a pre-Covid universe, we would never leave cleaning products out for guests. But, in this post-Covid world, we’ve updated our existing Welcome Basket to include a few items that will help guests ease into vacation mode.


Offer Pre-Arrival Grocery Services

Navigating a new area can be fun, but nowadays the simple act of visiting the grocery store is a health concern. For our full house rental guests, we are offering basic, pre-arrival grocery services.


No guide is ever complete! What changes have you made to your short-term rental property to prepare for guests in a post covid world?

Comment below.

10 Simple DIY Home Projects To Do During Coronavirus

We are in uncertain times, dear friends!

Being encouraged to stay at home during the COVID-19 pandemic has its own set of challenges and extra responsibilities that we, as families, are all continuing to navigate. Working from home. Cooking at home. Schooling from home. Keeping sane...

Chances are, your days are pretty packed with all these new tasks, but perhaps there are a few untapped opportunities to uncover within your home.

We wanted to share some ideas that John and I have brainstormed to keep busy, here at Content, that we hope will spread some creativity and optimism within your home, too.

There may be no better time to look around and identify a few COVID-19 DIY upgrades. We’ve brainstormed these projects that are “coronavirus friendly” which means:

  • Basic DIY skill level / easy to tackle

  • Not necessary to hire / invite a professional into your home

  • Completed with basic tools

  • Accomplished with supplies and materials accessible via shipping/delivery

  • Nothing invasive (contruction debris, hazardous exposure) that will leave you displaced from an area of your home

Here are 10 Simple Projects To Keep Busy During Coronavirus

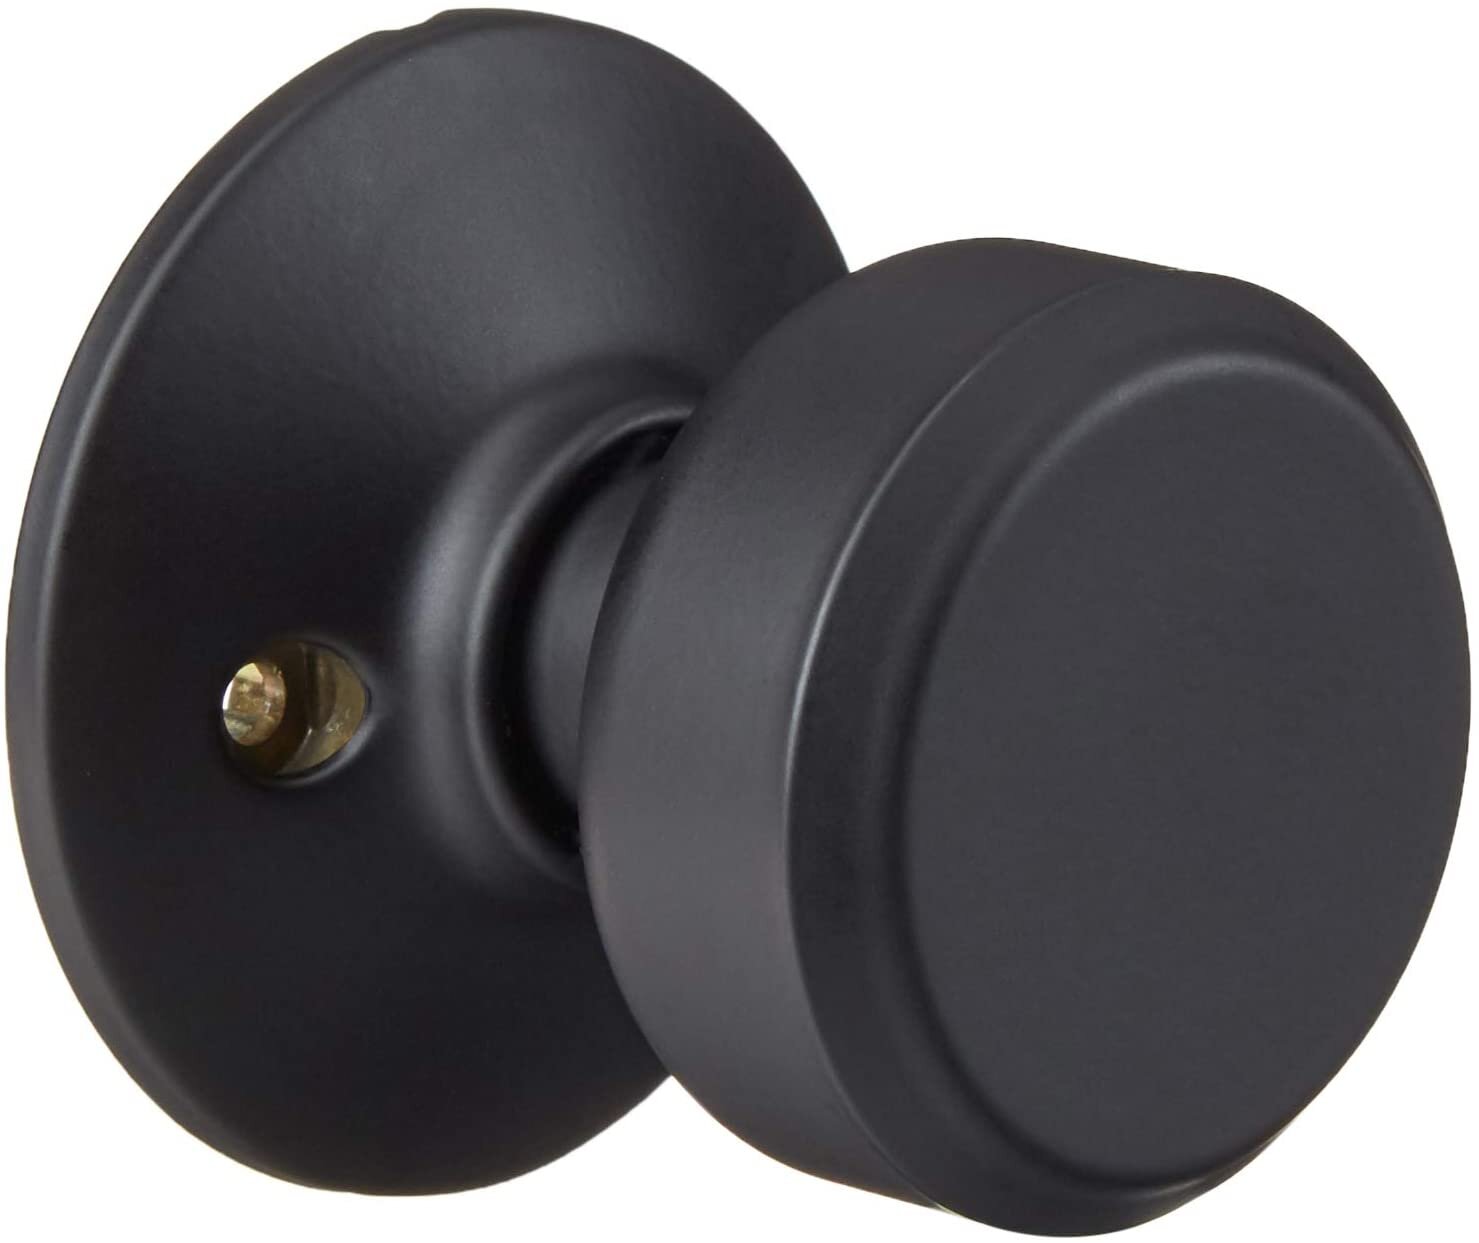
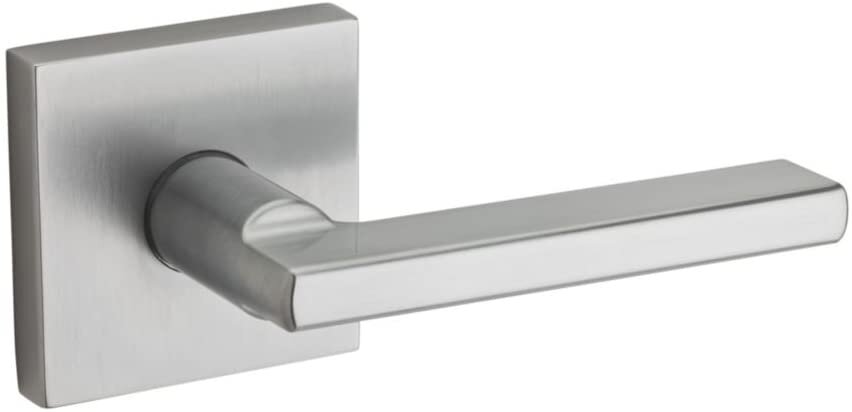
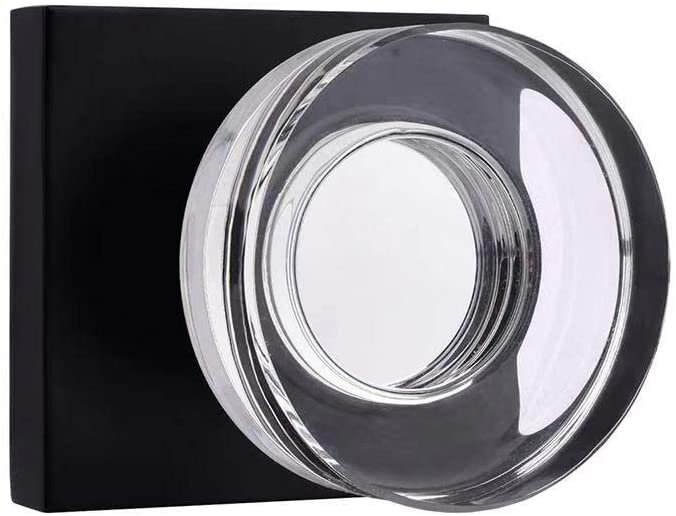
1. Replace Door Knobs

Replacing interior door knobs is a quick and easy way to add restored interest to any door in your home. There’s no lack of options when it comes to door fixtures.

Whether your interested in a change of finish or style, this simple DIY project requires a basic skill level and our favorite multi-tool screw driver.

You can check out our full round up of Favorite Door Knobs for Under $40 here, but here are a few of our top picks:


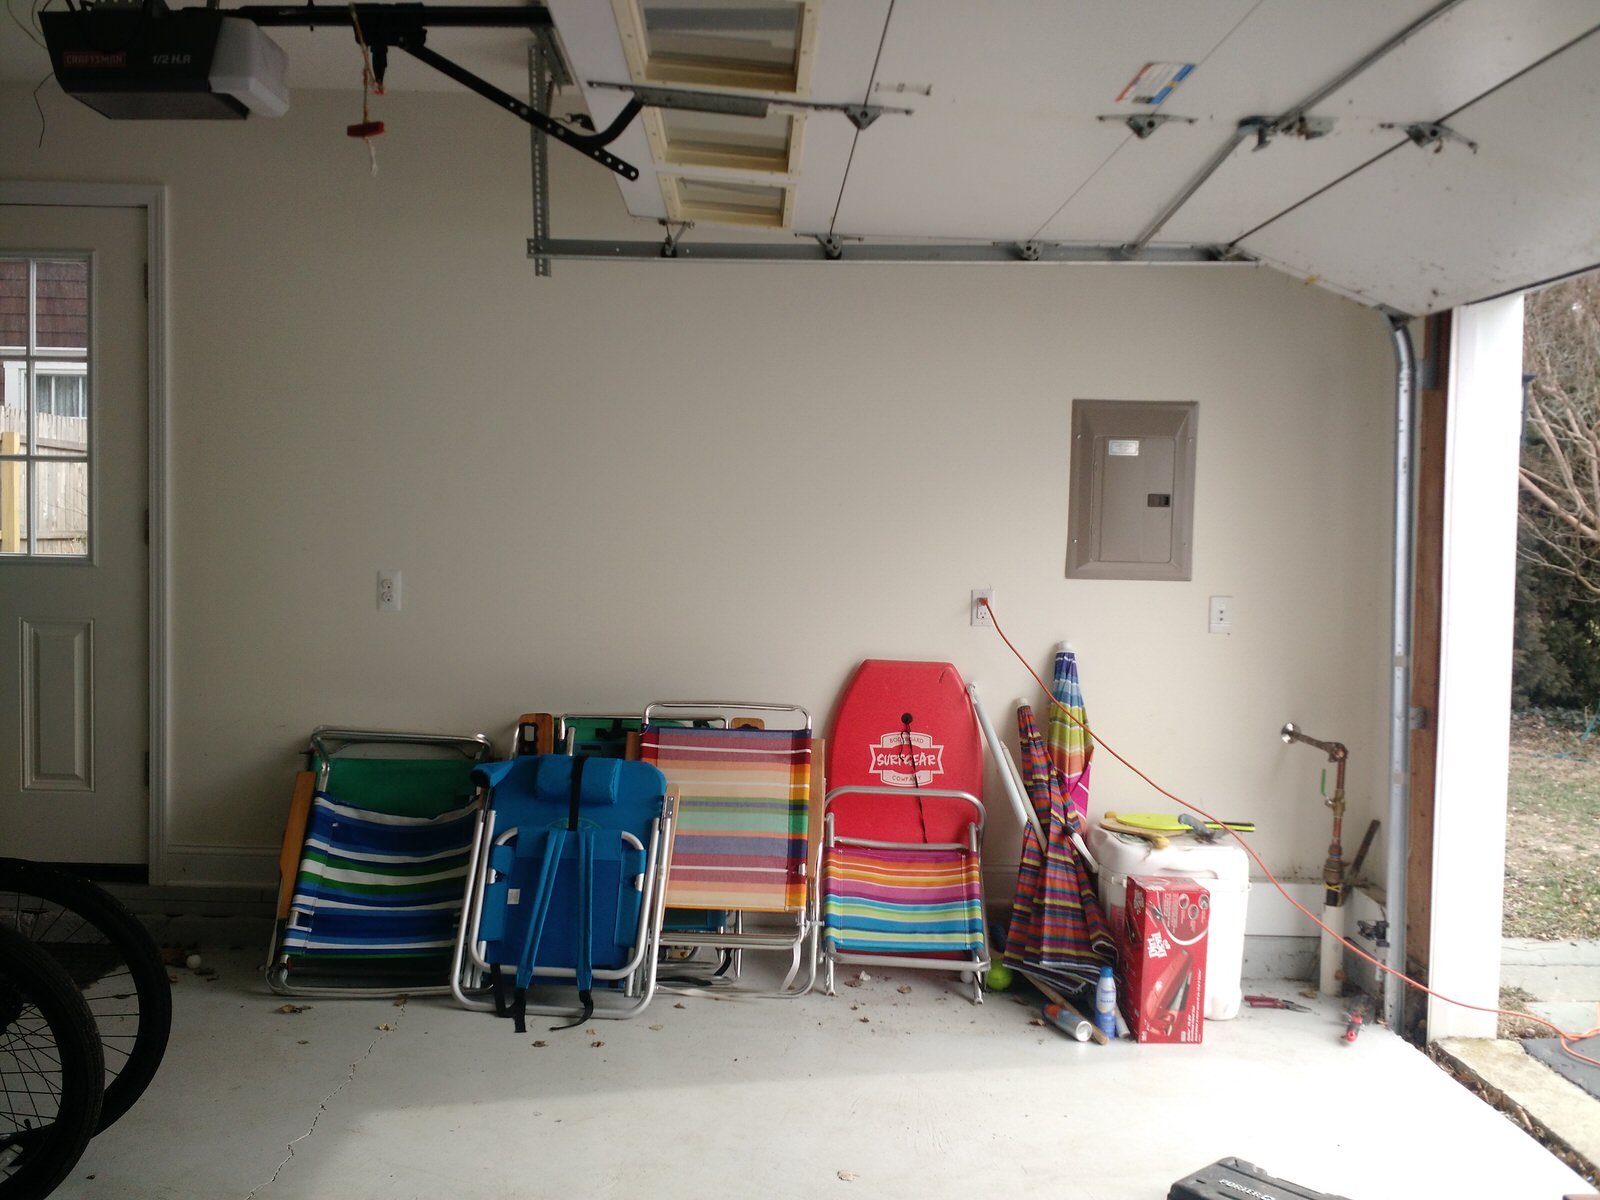
2. Organize Your Garage

Just in time for spring and summer, your garage is the perfect place to start organizing during coronavirus.

You don’t have to do a top to bottom clean out (unless you’re really going for it!), but rather start by identifying a couple areas that could use attention.

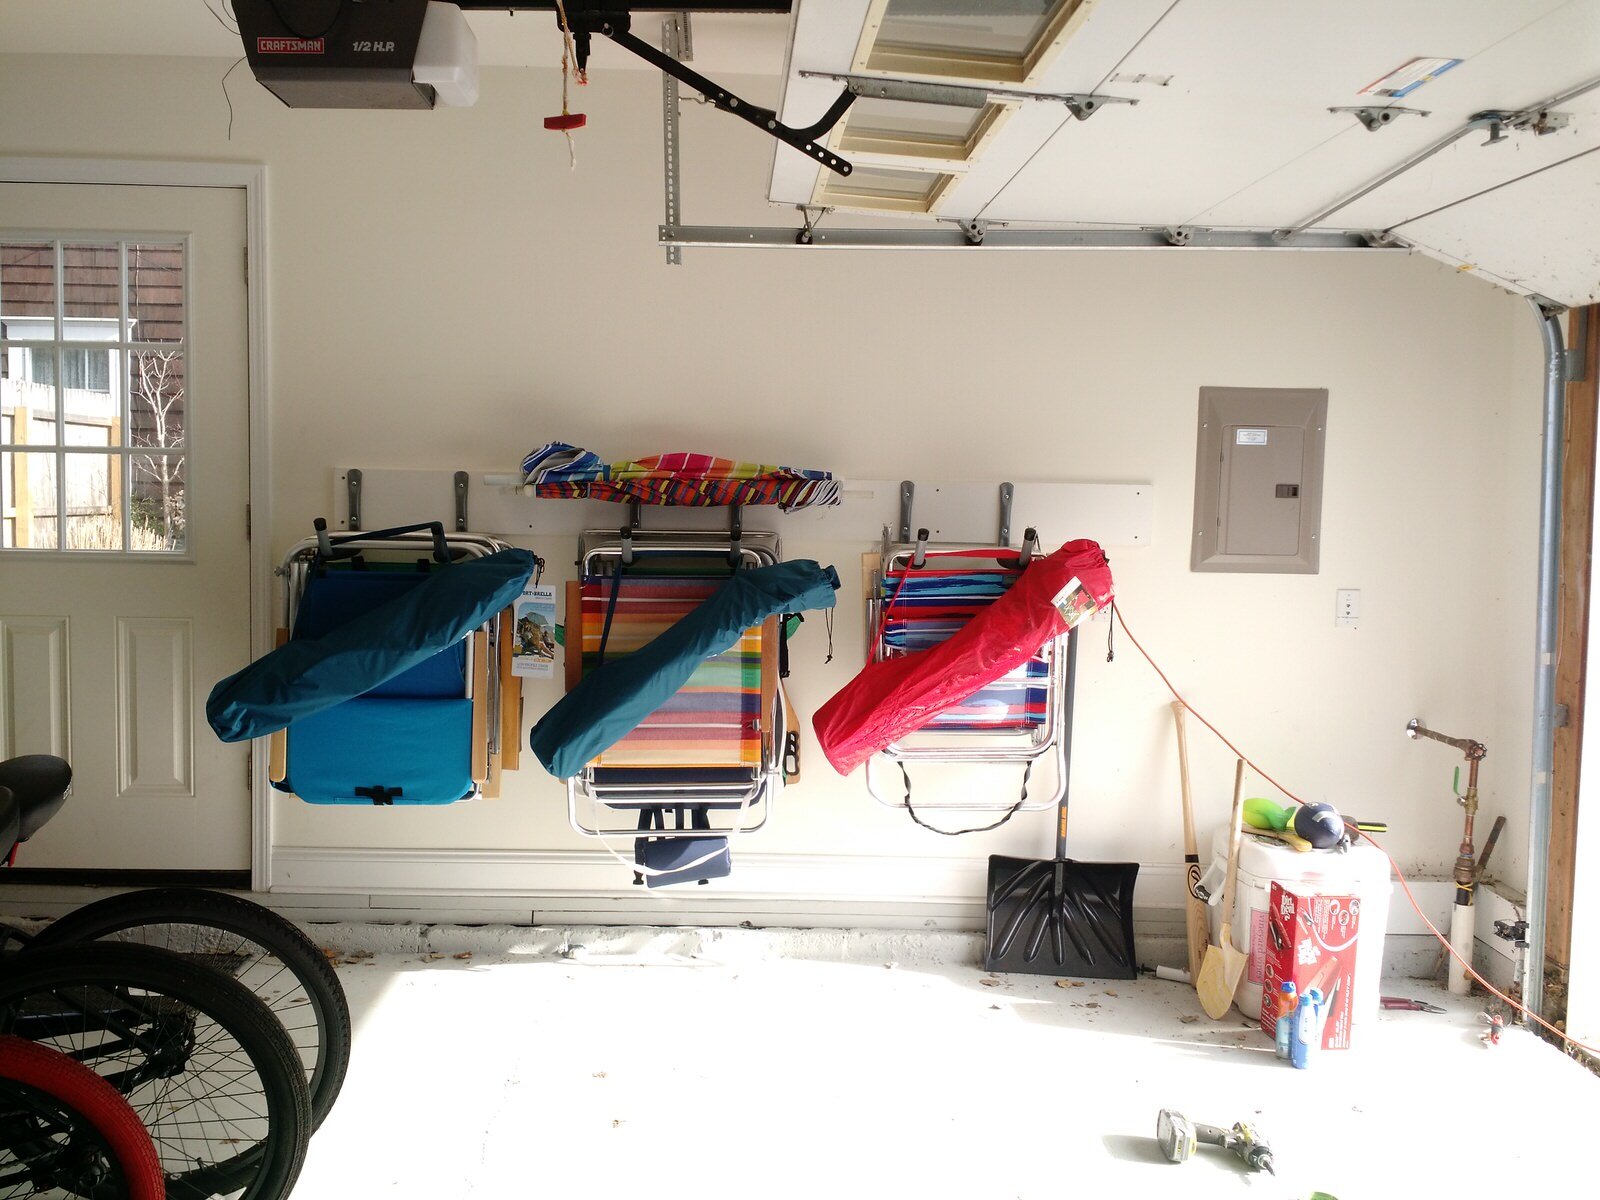
For instance, start with your beach or sporting equipment. Often, the simple act of lifting items off the ground will free up space, make the area look more visually appealing and enable you to clean more easily.

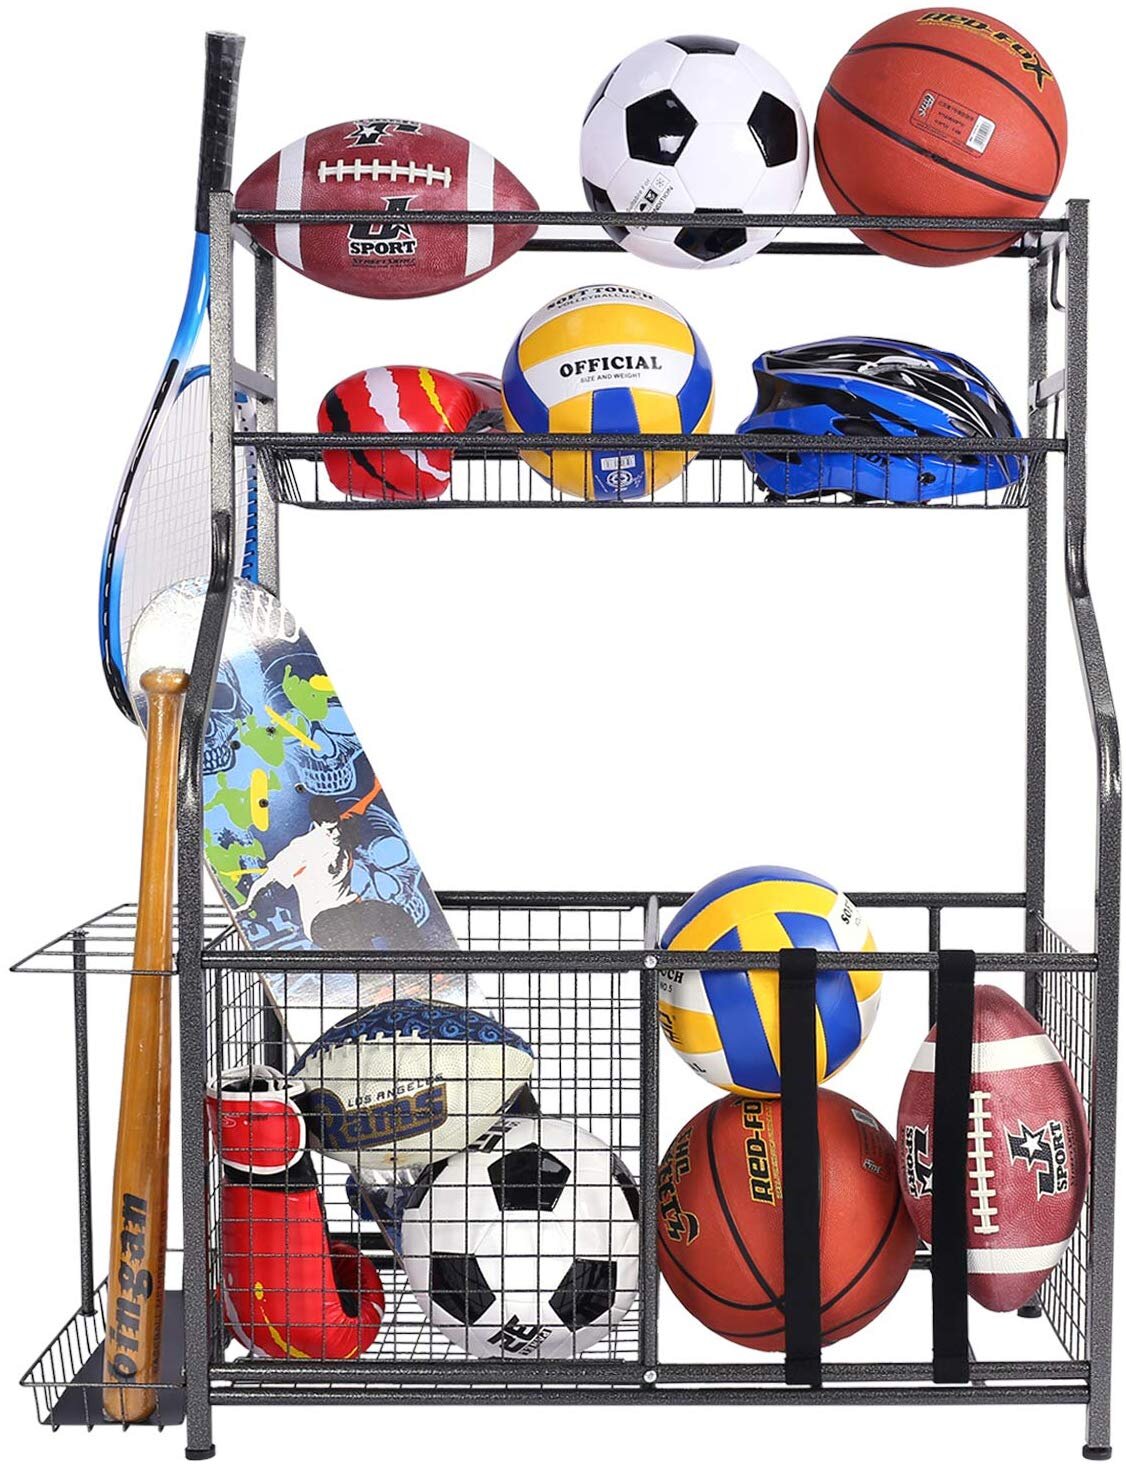
While helping a customer in their home, we used a combination of hanging storage systems, tool storage, surf board racks and sporting equipment racks like these.

Want more Garage Organization inspiration, check this out!


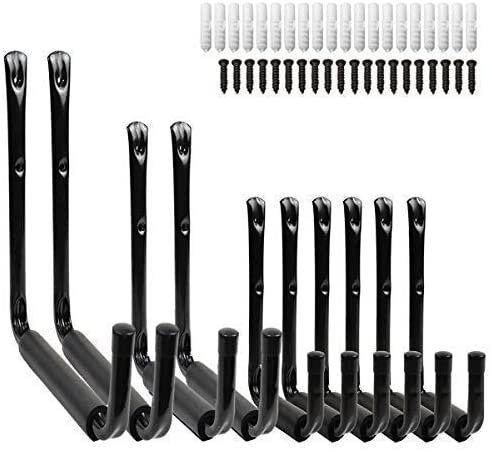
For a classic folding beach chairs, we used Jumbo Arm Utility Hooks with foam cushions to hang the chairs from the wall. These are SO easy to install onto an empty wall (using the included drywall anchors) or to incorporate into an existing organizational system.

These are best to install at chest height, so you can easily slip your lawn or beach chairs on-and-off. These are pretty heavy duty, and the weight load can handle an umbrella as well.

Looking to upgrade your beach equipment? You can check out all of our favorite beach accessories here!

3. Paint Your HVAC Vents

A quick coat of spray paint can instantly elevate factory ready HVAC vents which are typically available in white or beige.

Here, we’ve used Rustoluem Metallic Paint and Primer spray paint with a slight sheen to give these everyday HVAC vents a bit of interest and lux.

**Be sure to paint in a well ventilated area (outside is best) and let the vents fully dry for 24-28 hours before reinstalling them.


4. Upgrade Kitchen Cabinet Knobs and Handles

The simplest upgrade to any kitchen is new hardware on cabinet doors and draws.

Here in our South Street Kitchen Renovation, we used a combination of knobs and pull handles in a antique brass finish.

Content South St Kitchen Reno Veronica Lola Photography 2018-53.jpg
farmhouse kitchen knobs and drawer handle pulls.jpg

In the kitchen at Content, we used a combination of porcelain, button knobs with a center black screw and oil rubbed bronze drawer pulls.

You can find the source of all Content’s kitchen renovation here.


A Note About Purchasing Handles:

Before deciding on new drawer pull handles (with two screws), take a basic measurement.

Start by checking the screw “spread”, which is the space between the two bolts on the inside of the handle.

This measurement will dictate the easiest, upgraded handle you should purchase. Most will be standard sizes, but double check your existing setup so you can use the existing screw holes and simply swap the handle.

While you’re at it, double check the size of the screws that come with the new hardware. Are they long enough to pass through your door front? If not, add a longer screw to your order.


5. Paint Your Front Door

Adding a fresh coat of paint to your front door adds instant curb appeal and can elevate any exterior. Plus, if you’re working outside, you won’t be exposed to any lingering paint fumes while spending extra time at-home.

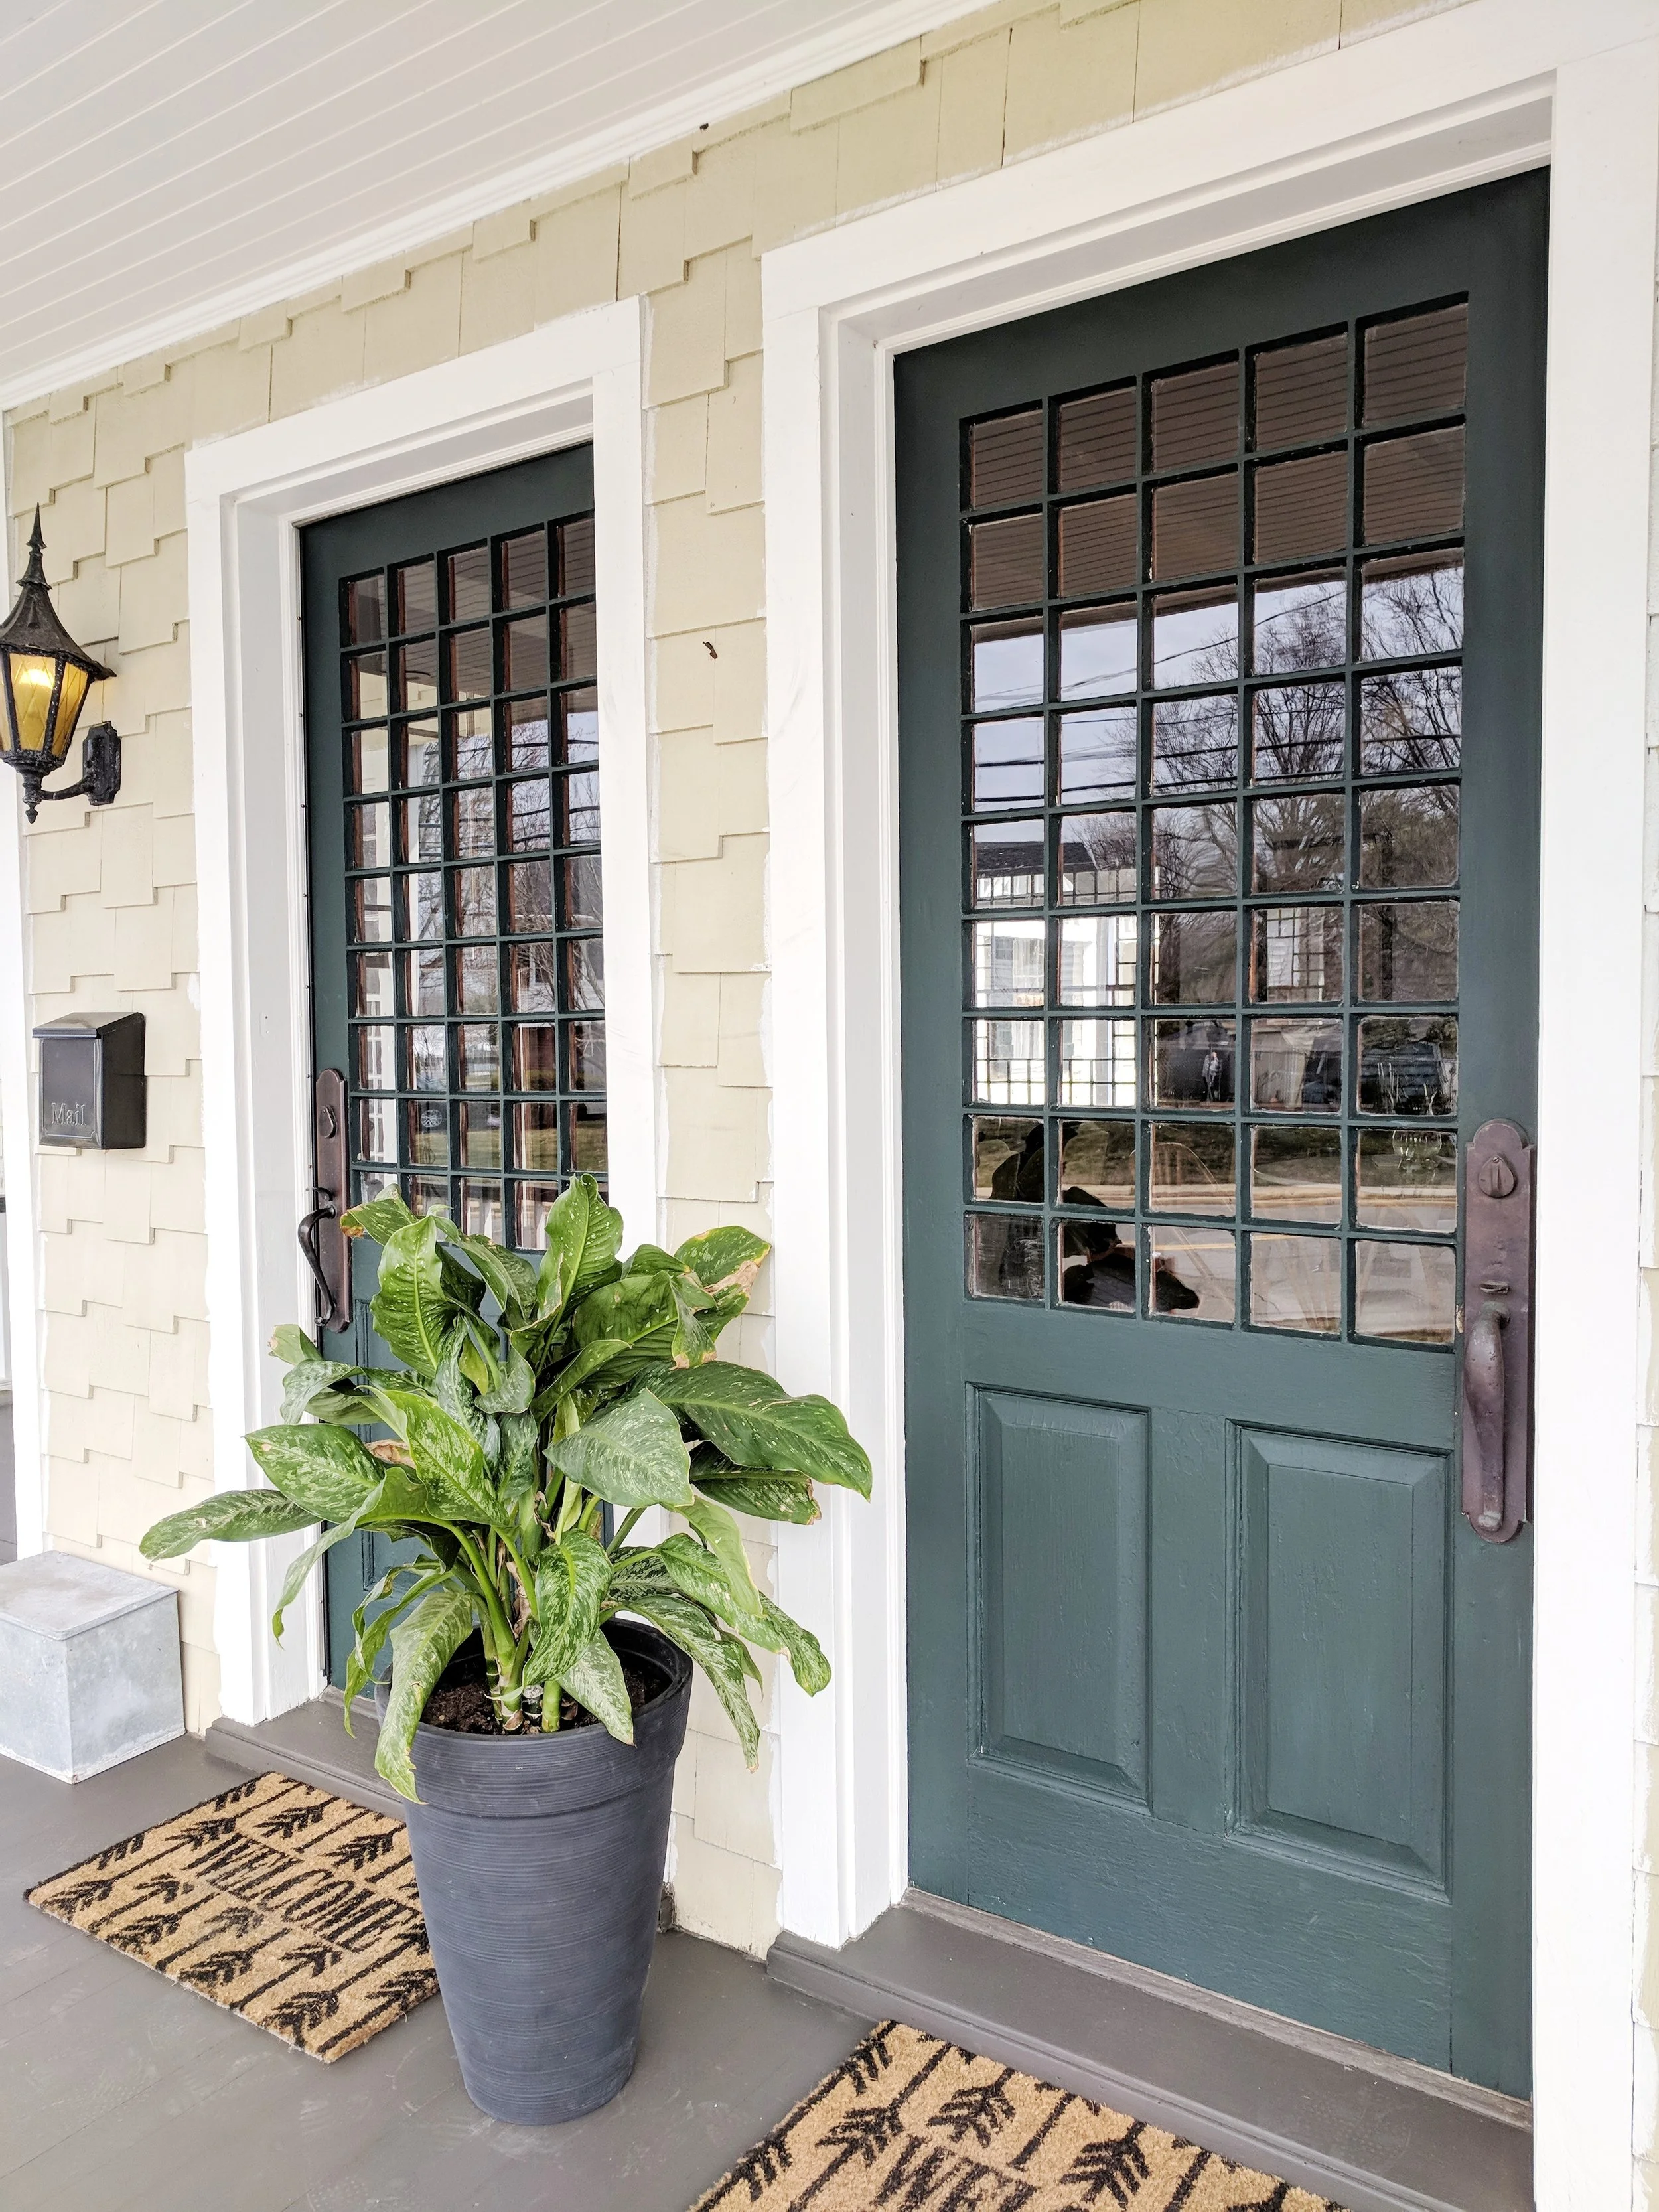
In a previous post we shared all our favorite tips to picking a new front door color and a few painting tips, including our secret weapon for painting french doors or doors with windows. Check out that post here.

If you’re not sure what paint color to choose, we’d suggest using a paint deck fan, like this one from Benjamin Moore, to focus your search.

However, if you do not have a local Benjamin Moore distributor, you can start your search at a local home improvement store:

IMG_20180412_152045-01.jpeg


6. Replace Light Switch Plates

If you’ve been cleaning like we have, your home’s most touched areas may be getting more attention than ever before. We noticed some of our light switch plates were showing wear and tear, while a few were simply discolored.

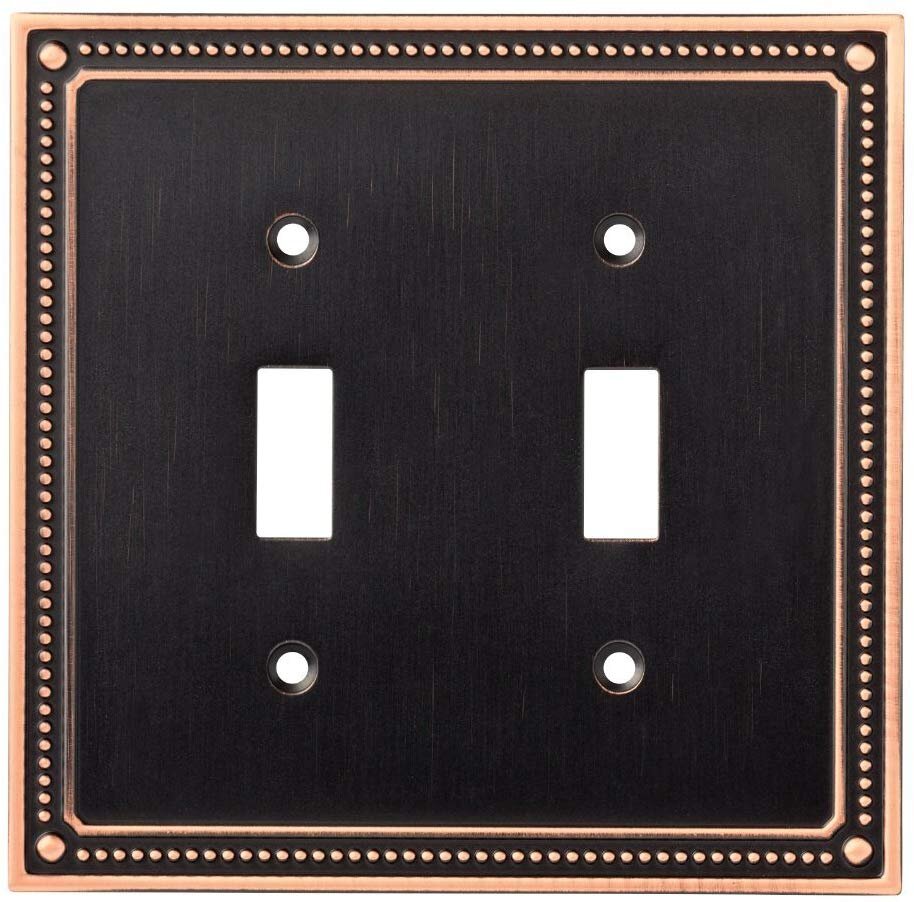
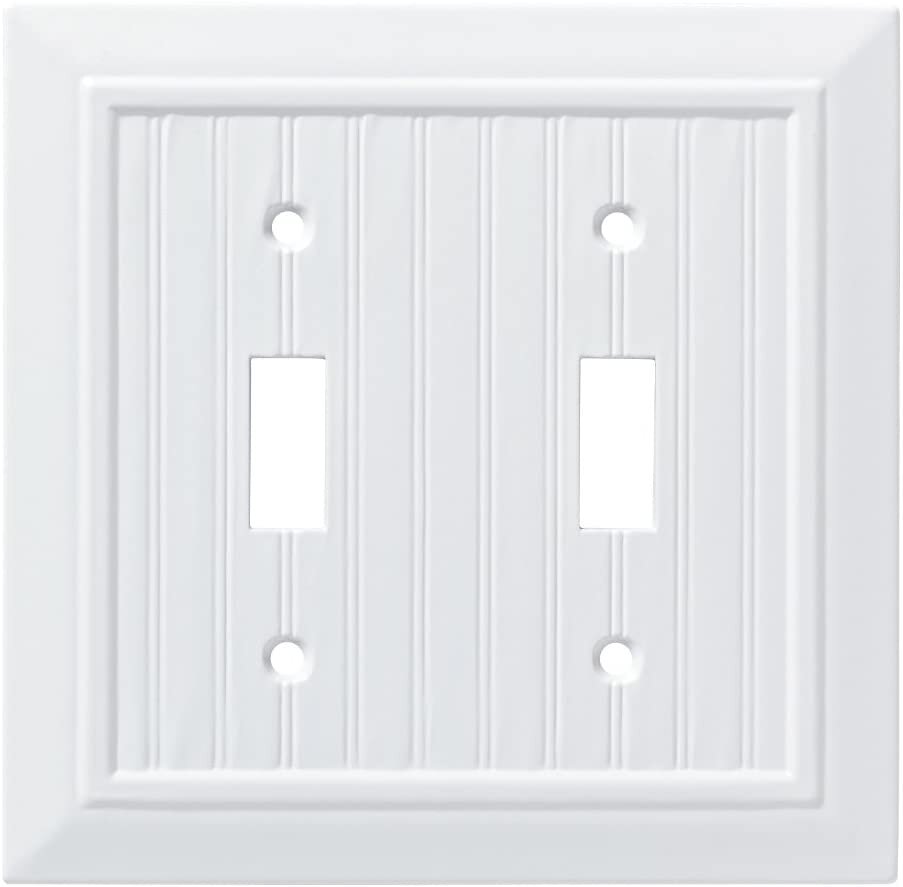
For simple white, we prefer these switch plate covers which can be purchased individually or in bulk.

For a monochromatic look, use a standard switch plate cover and paint it the same color as your wall color.

Swapping out light switch plates is an easy DIY that any homeowner can tackle. Simply do a inventory of the rooms switches. There are two main styles: Toggle (standard switch) and Decora. (flat, rectangle switch)

Additional Upgrade:

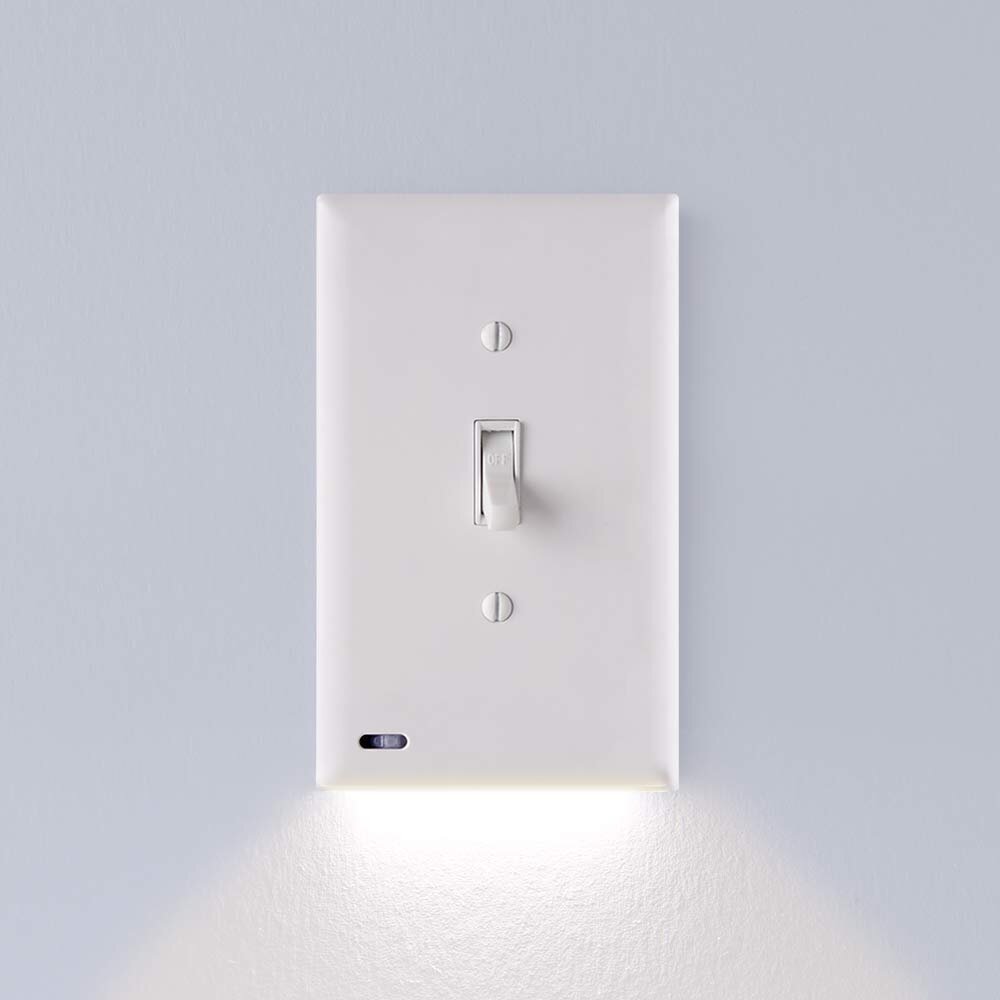
We installed these LED night-light toggle switch plates that illuminate the bottom of the switch plate when the light is off. These are great in the garage or in hallways, and are very easy to install!

7. Install A Mixed Media Gallery Wall

Don’t limit yourself to art! Hanging a gallery wall is a great way to incorporate different styles and media into your home decor. Hanging anything in a cluster is an easy way to add interest and dimension to an otherwise empty wall.

Here are a few household items you may already have in different shapes and sizes:

  • Baskets

  • Wreaths

  • Clocks

  • Mirrors

  • Frames art/photographs

  • Items of similar color

Once you’ve identified the items you want to cluster, find an arrangement that suits your style. We love this handy gallery wall template hack from MyDomaine.com.

For a tailored space, try for a more traditional layout, like “The Grid” or for an eclectic appeal, go for “The Incline”.

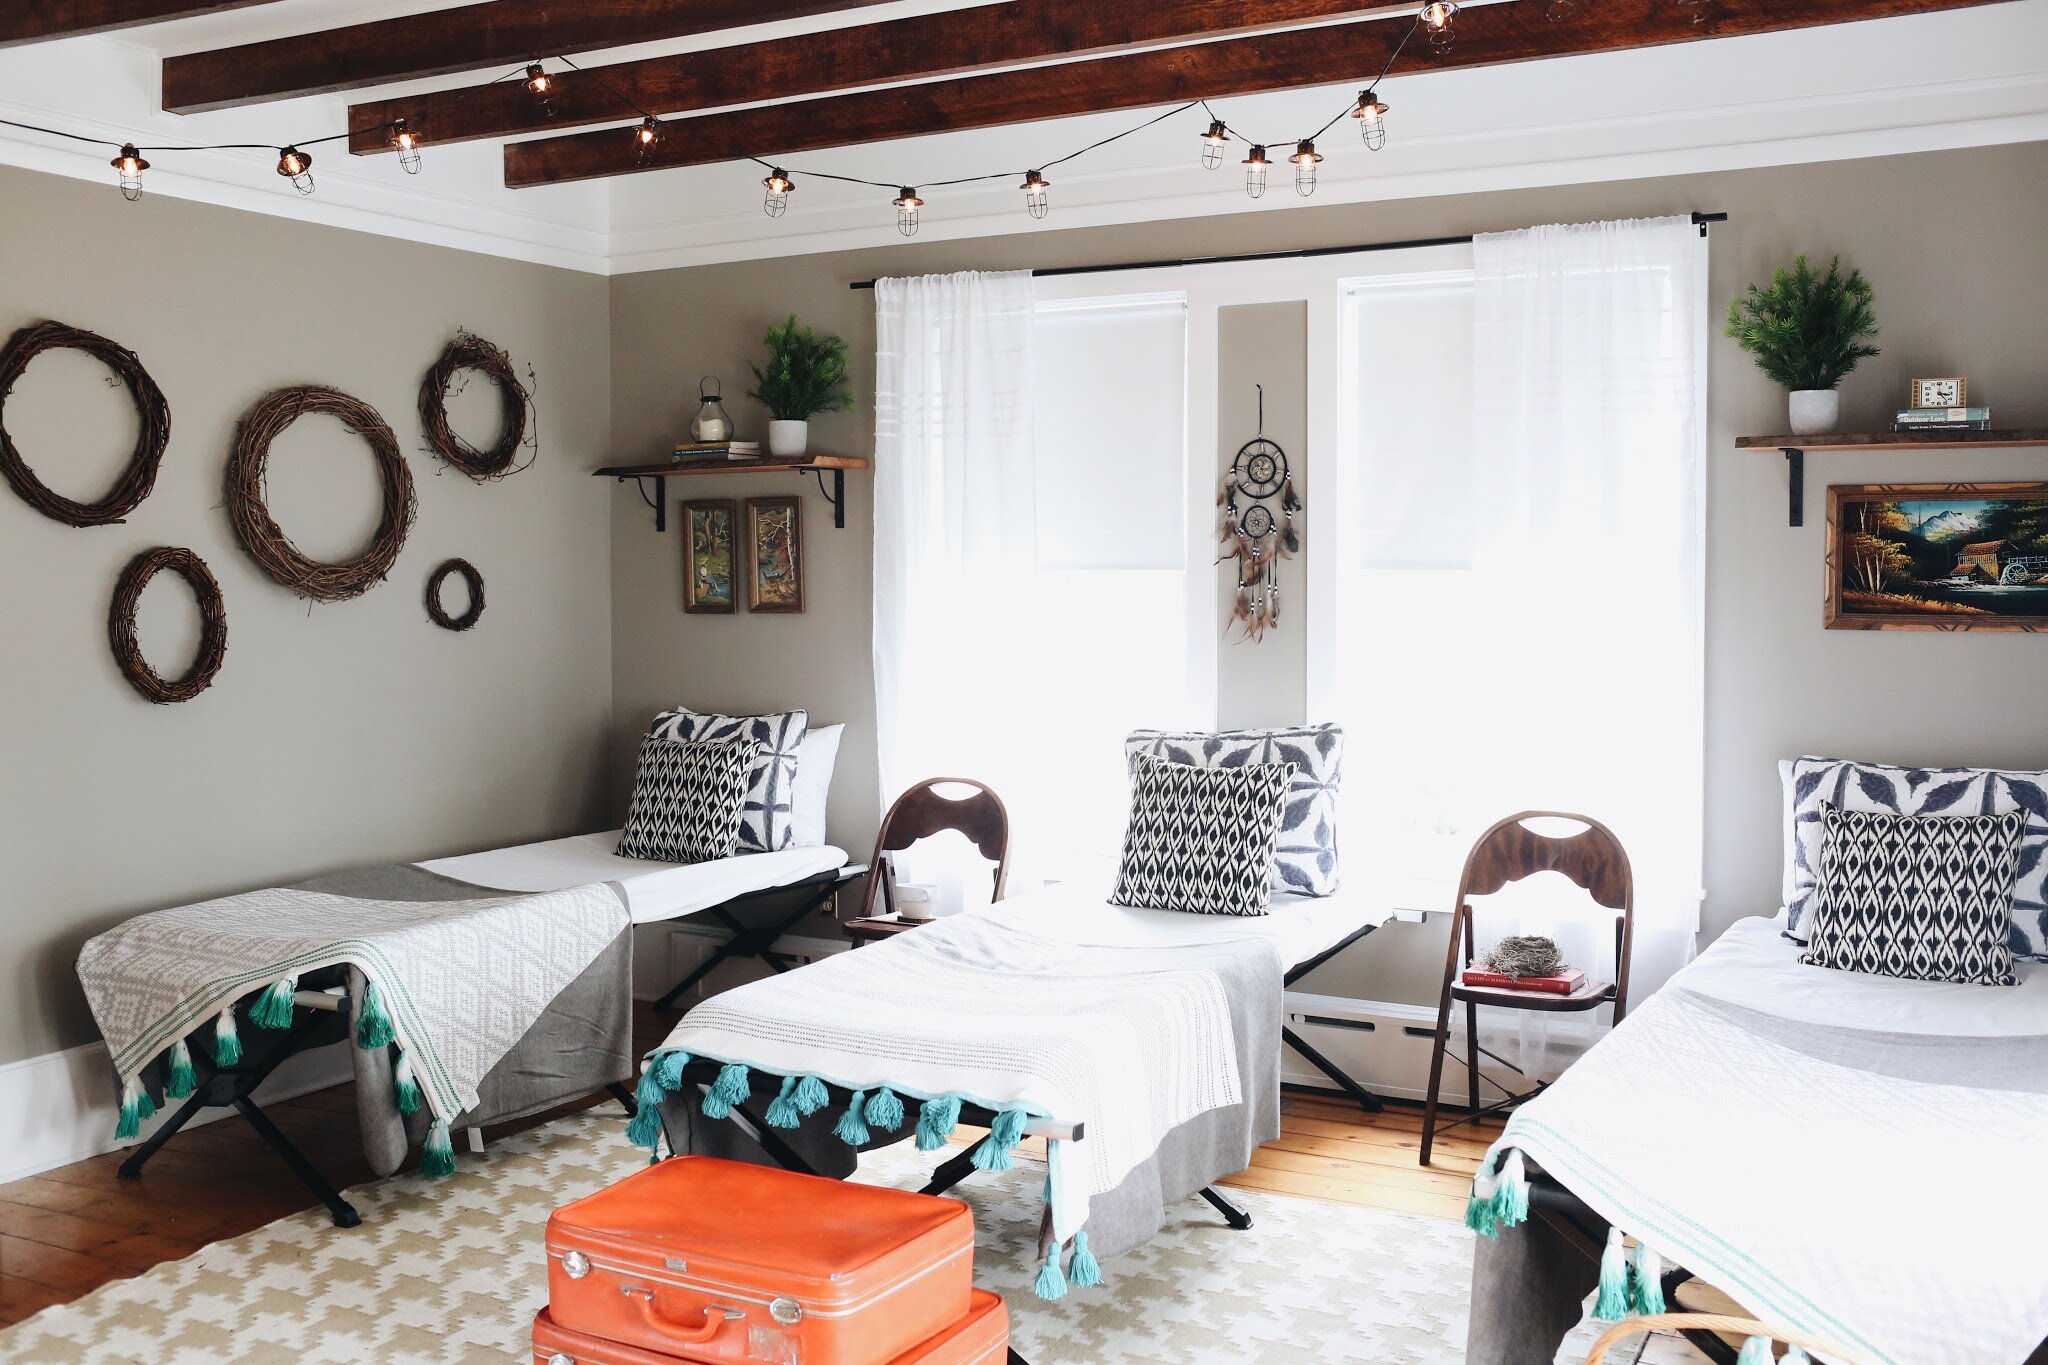
Here at Content, we’ve done a few mixed media gallery walls. One used a combination of the historical images and documents that were passed down to us from previous owners and family. The other, in the Camp Room was simply a cluster of grapevine wreaths.

camp+inspired+bedroom+with+camping+cots.jpg

8. Create A Coffee Bar

If COVID-19 has you working from home, you may be missing your afternoon coffee break. Elevate your home brew caffeine fix by dedicating an area of your home just for coffee.

If you don’t have a special coffee spot yet, identify a dining room buffet, bar cart or portion of your kitchen counter that could handle a few extra items.

Start by gathering items from your existing inventory. Put tea bags in mason jars or display K-cups in a wide opening jar. Display your favorite kettle or mugs on a petite, tabletop rack.

Click here for a round up of some coffee bar essentials.


9. Give Your Home Some “Spring” Decor

Just because you’re required to stay at home, doesn’t mean you can’t enjoy the view while you’re inside.

With spring trees just starting to bud here in the Northeast, our suggestions is to forage a few fresh sprigs from plants and shrubs to inject your space with spring decor. Any vessel or vase will do!

No need to cover every inch with Easter bunnies or baby chicks, but bringing the outside, in is a great way to feel connected to the natural world around us.

You can check out a similar round up of 10 Decorating Finds Under $30 To Refresh Your Home For Spring.


10. Replace An Existing Ceiling Fan

If you’re at a moderate DIY skill level, replacing an existing ceiling fan may be a great way to elevate your decor. This is definitely a two-person job, so make sure you have a buddy on board to help.

If you’re ready to tackle this project, check out this great YouTube video by Lowes with all the ceiling fan basics for sizing, purchasing and swapping out that ceiling fan with an upgraded and new style.

Click here for a round up of Interior/Exterior Modern Farmhouse ceiling fans.

Need more home improvement inspiration, check out more Easy Upgrades here.

Be well, friends! We hope these projects help pass the time until brighter days!

If you’re interested in some other DIY projects, check our related posts below.


REVEAL: Meet Dolly - Ford Transit Connect Camper Van Conversion

CAMPER VAN FOR SALE

〰️

CAMPER VAN FOR SALE 〰️

John and I are so excited to REVEAL the completion of our 2010 Ford Transit camper van conversion! We’re officially members of the #vanlife movement!

Over the past few months, we’ve shared all about the conversion process including the electrical, storage and comfort amenities added to make the van the perfect travel companion.

✅ Interested in the materials and products we used to complete Dolly’s conversion, check out the full list of here.

✅ Ready to DIY a camper van conversion of your own, just like Dolly’s? Click here to purchase our custom Ford Transit Connect Camper Van Conversion Build & Electrical Plans.

Cover Page - Ford Transit Connect Camper Van Conversion 2010-2013.jpg

Ford Transit Connect Camper Van Conversion Build & Electrical Plans

Generation 1 2010-2013

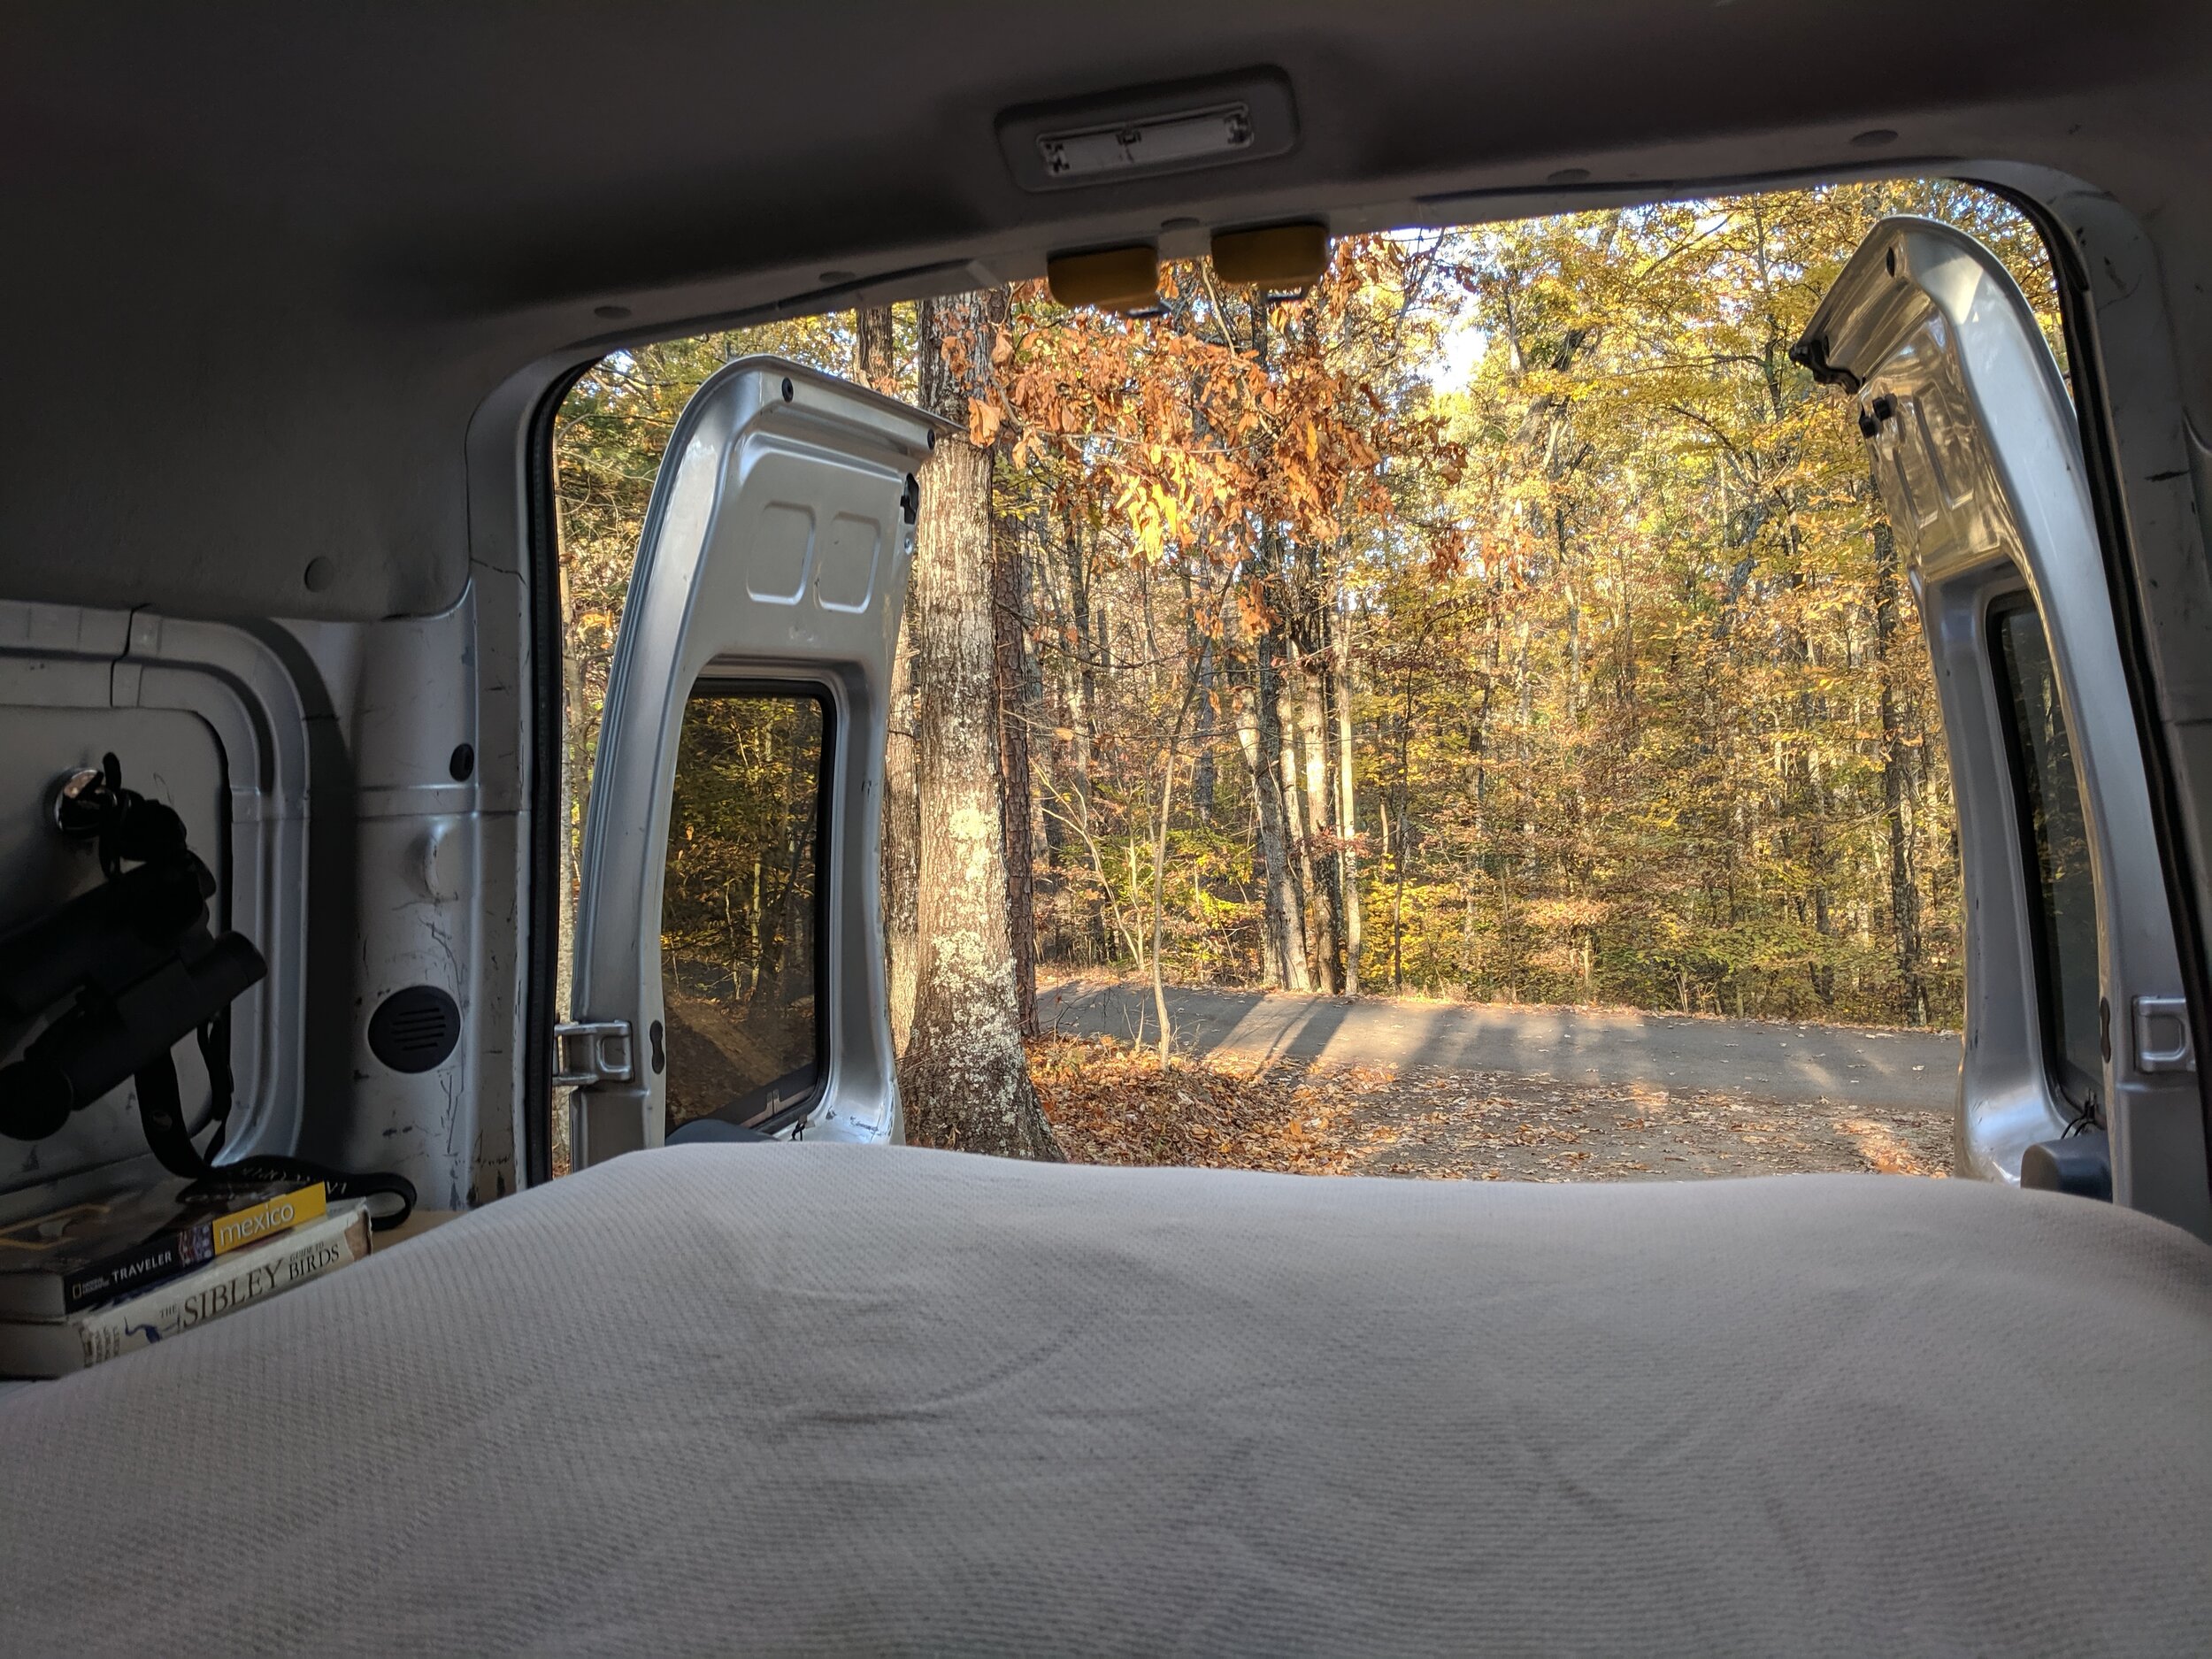
Part of this reveal is also a look into the van’s inaugural trip while we enjoyed leaf peeping in Smokey Mountain National Park.

Now that the hard work is complete, we’re teaming up with Outdoorsy to share the van with campers, like you! Dolly is available for nightly rental with pick up in New Jersey.

Check out Dolly’s full rental listing for all of the included amenities, rates and availability.


Meet Dolly!

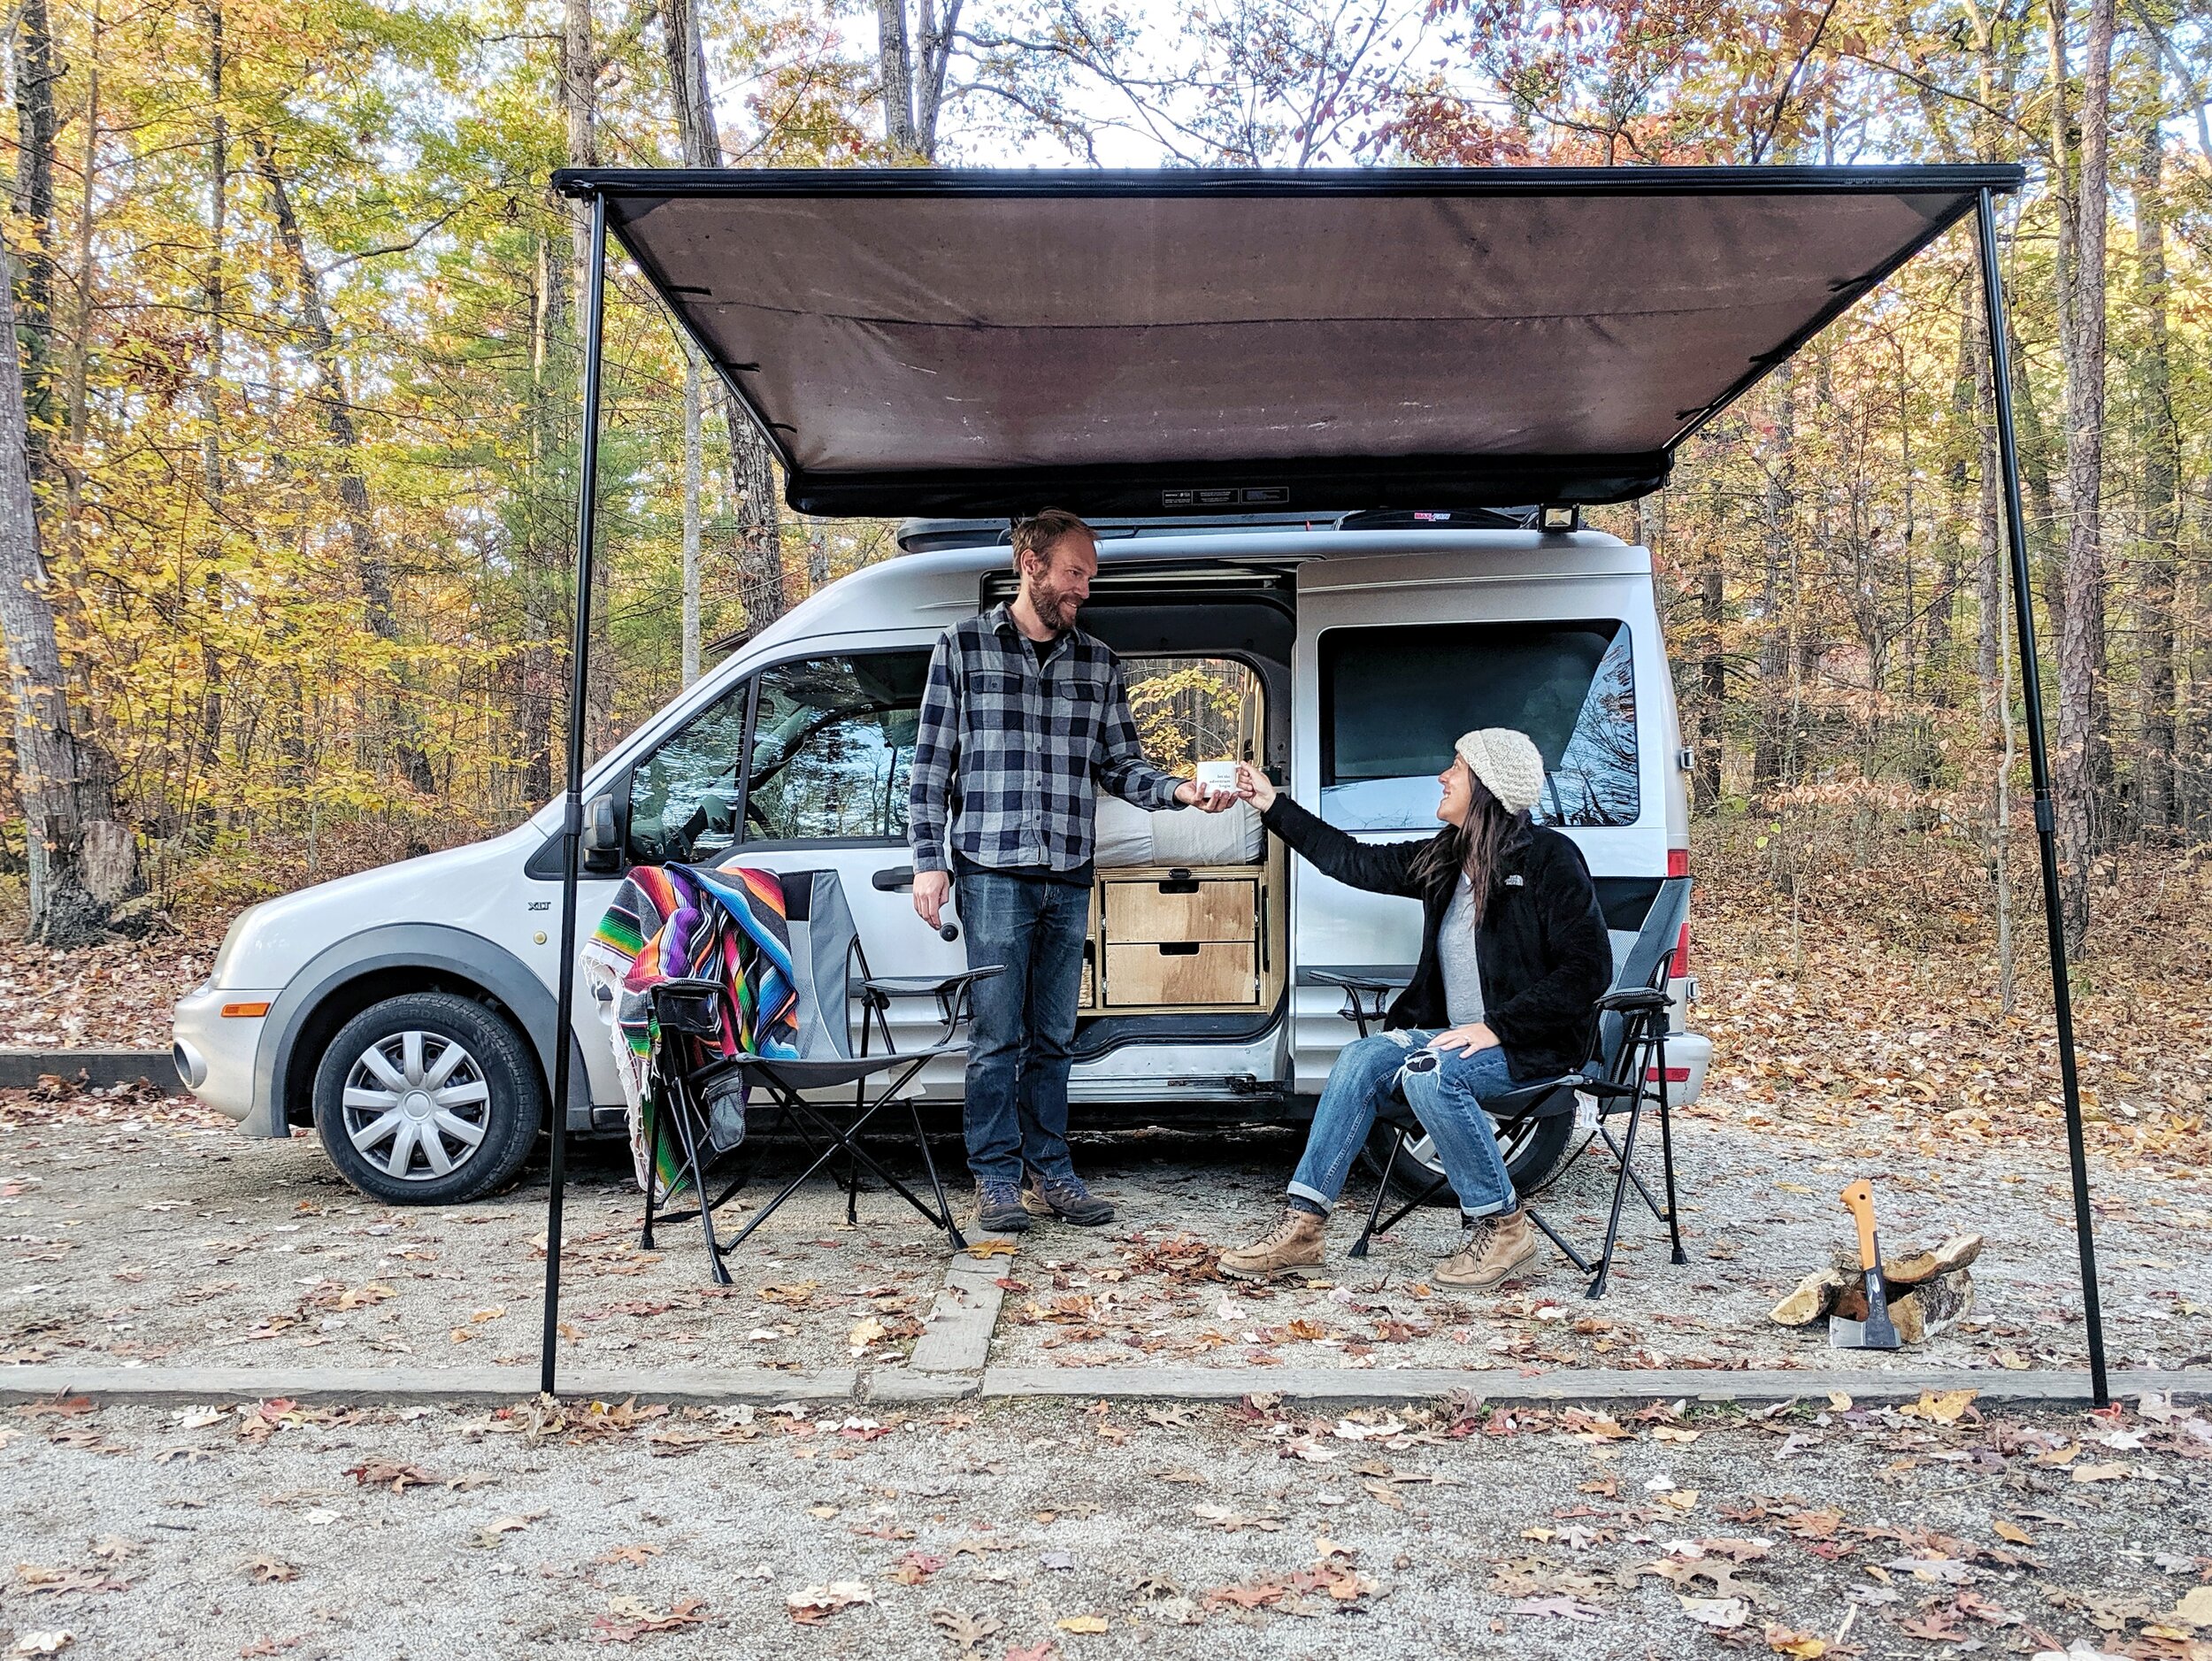
Dolly is a cozy, two-person road trip companion; ideal for camping, festivals, romantic getaways or urban adventures.

Besides being adorable, Dolly's best features are her petite dimensions (only 15 feet long) which allow for ease of driving, parking and maneuverability. Any driver would be comfortable navigating Dolly on the highway, back country road, campground or parking garage.

ford transit connect camper van conversion for rent outdoorsy RV, NJ, new jersey, NY, new york, PA, Pennsylvania


Plus, with exceptional gas mileage (27 mpg), Dolly is ready to make all your travel dreams, near or far, become a reality!

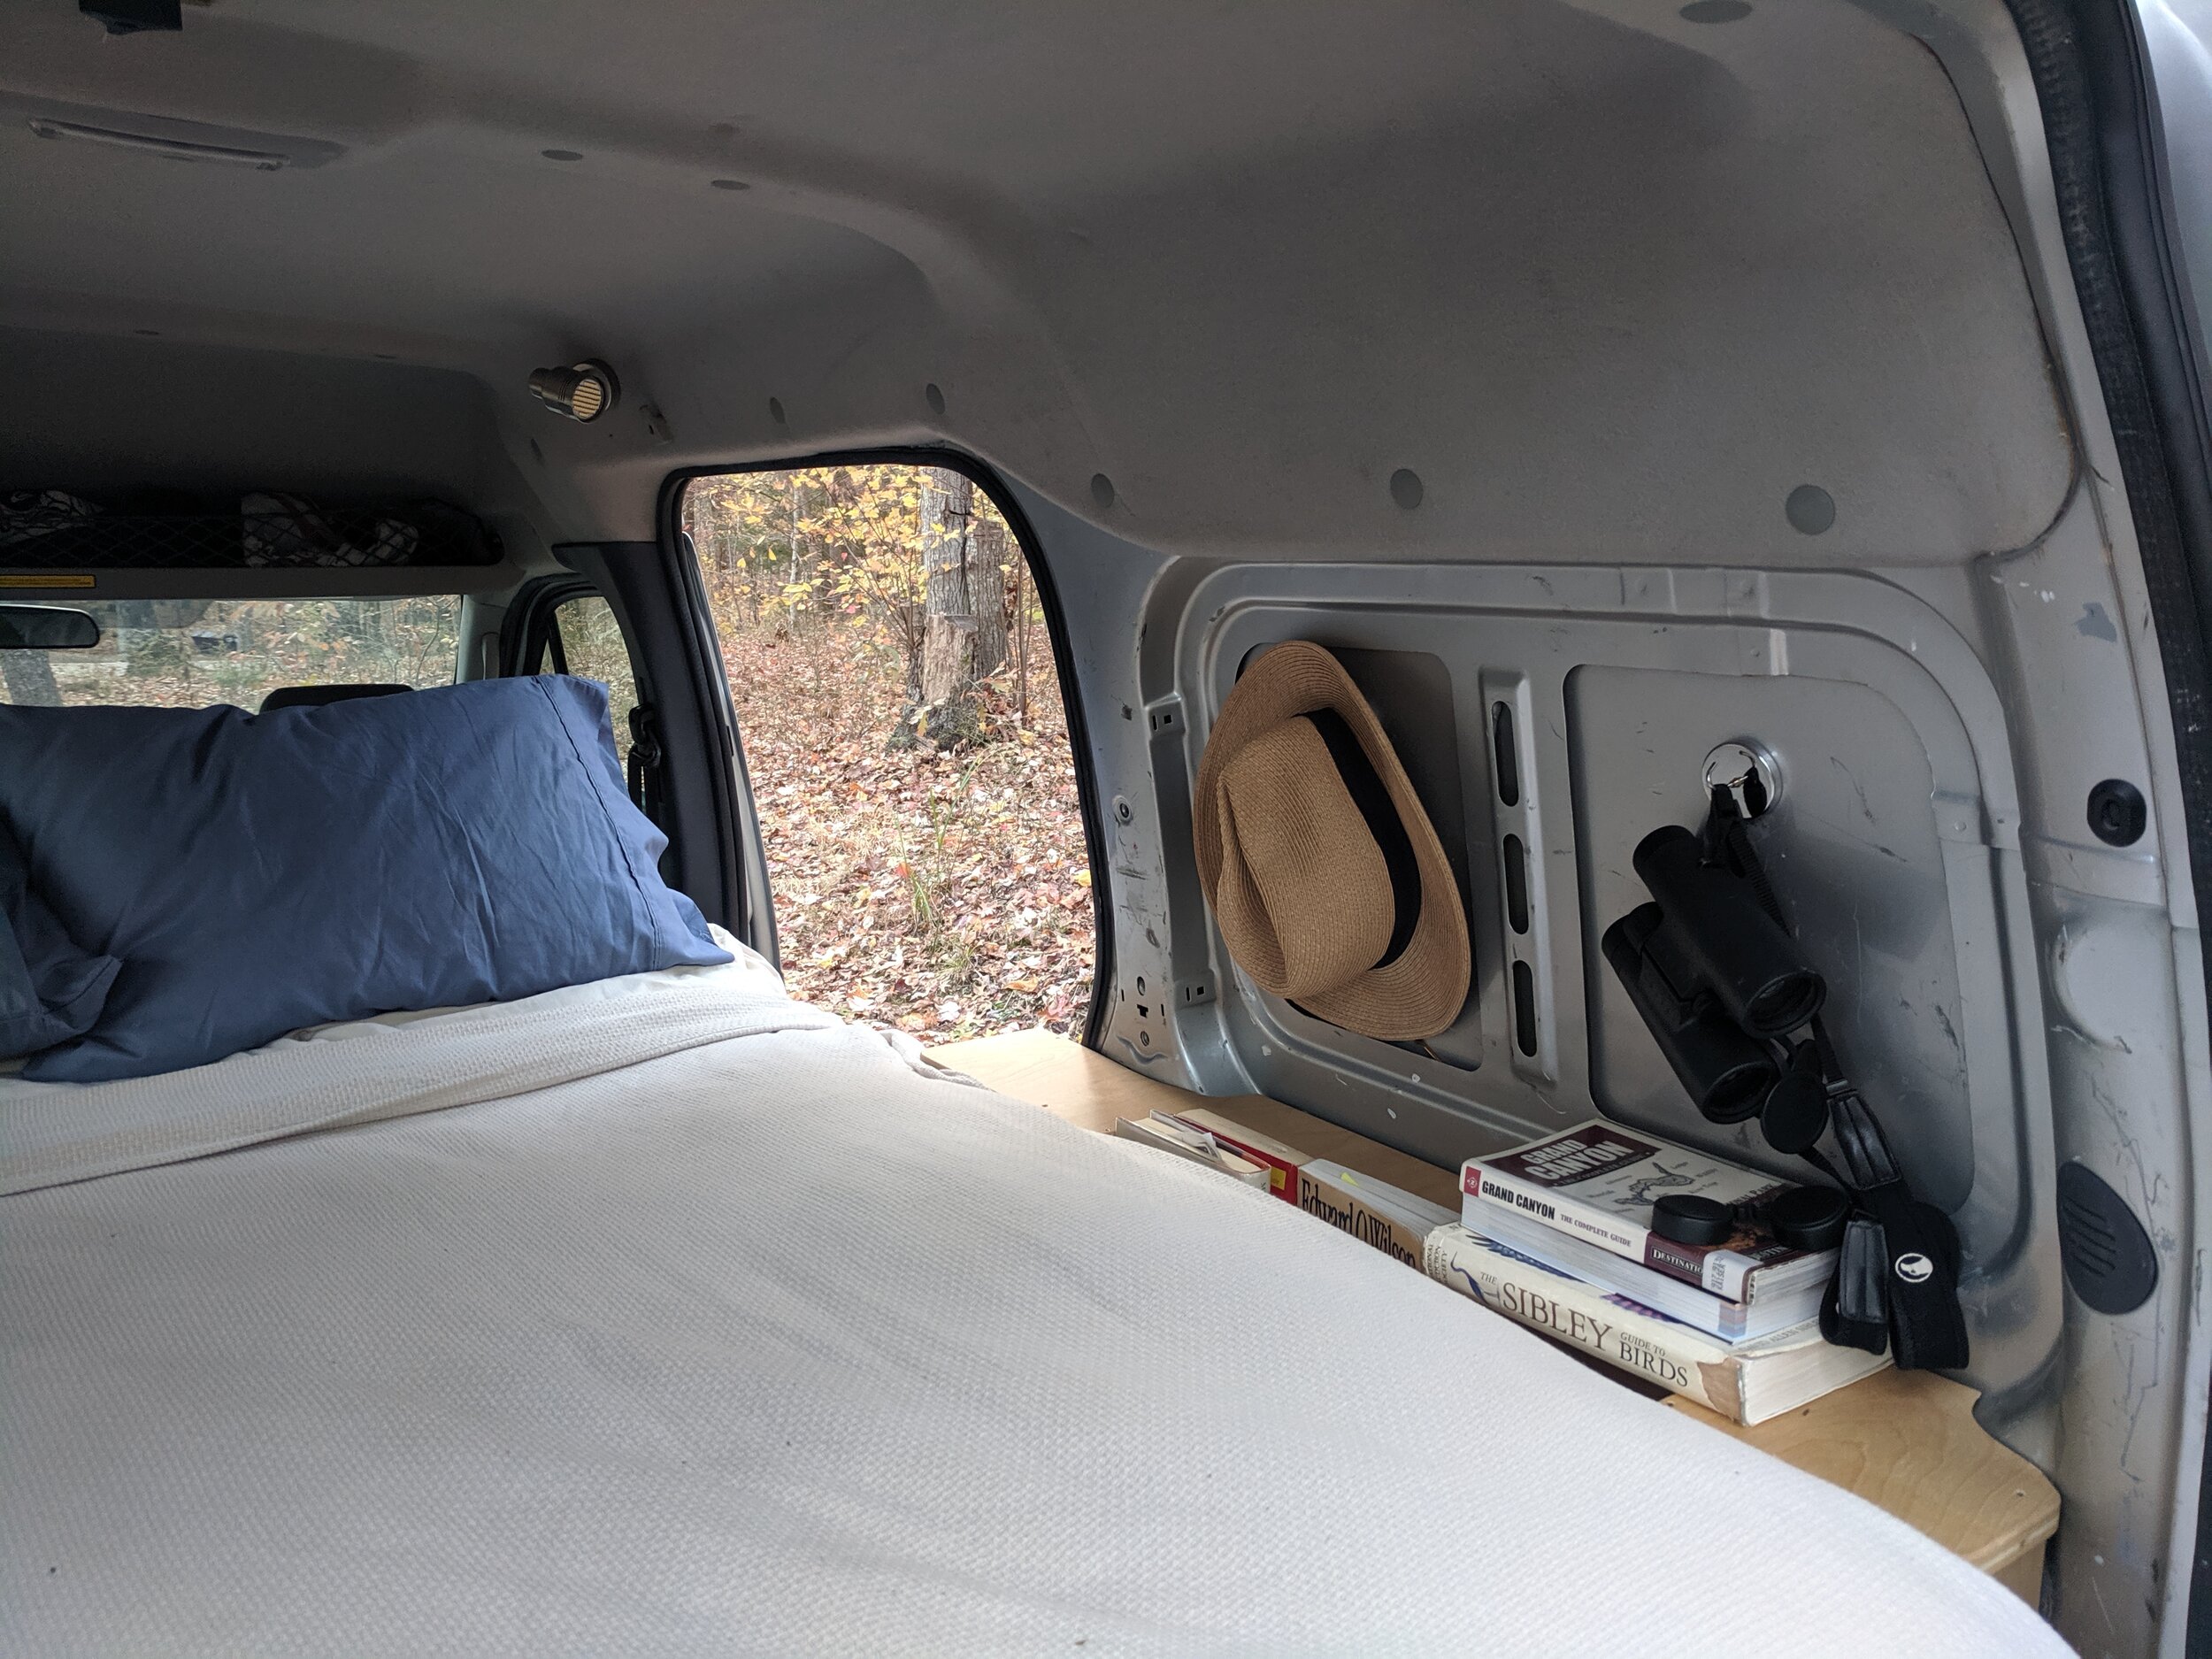
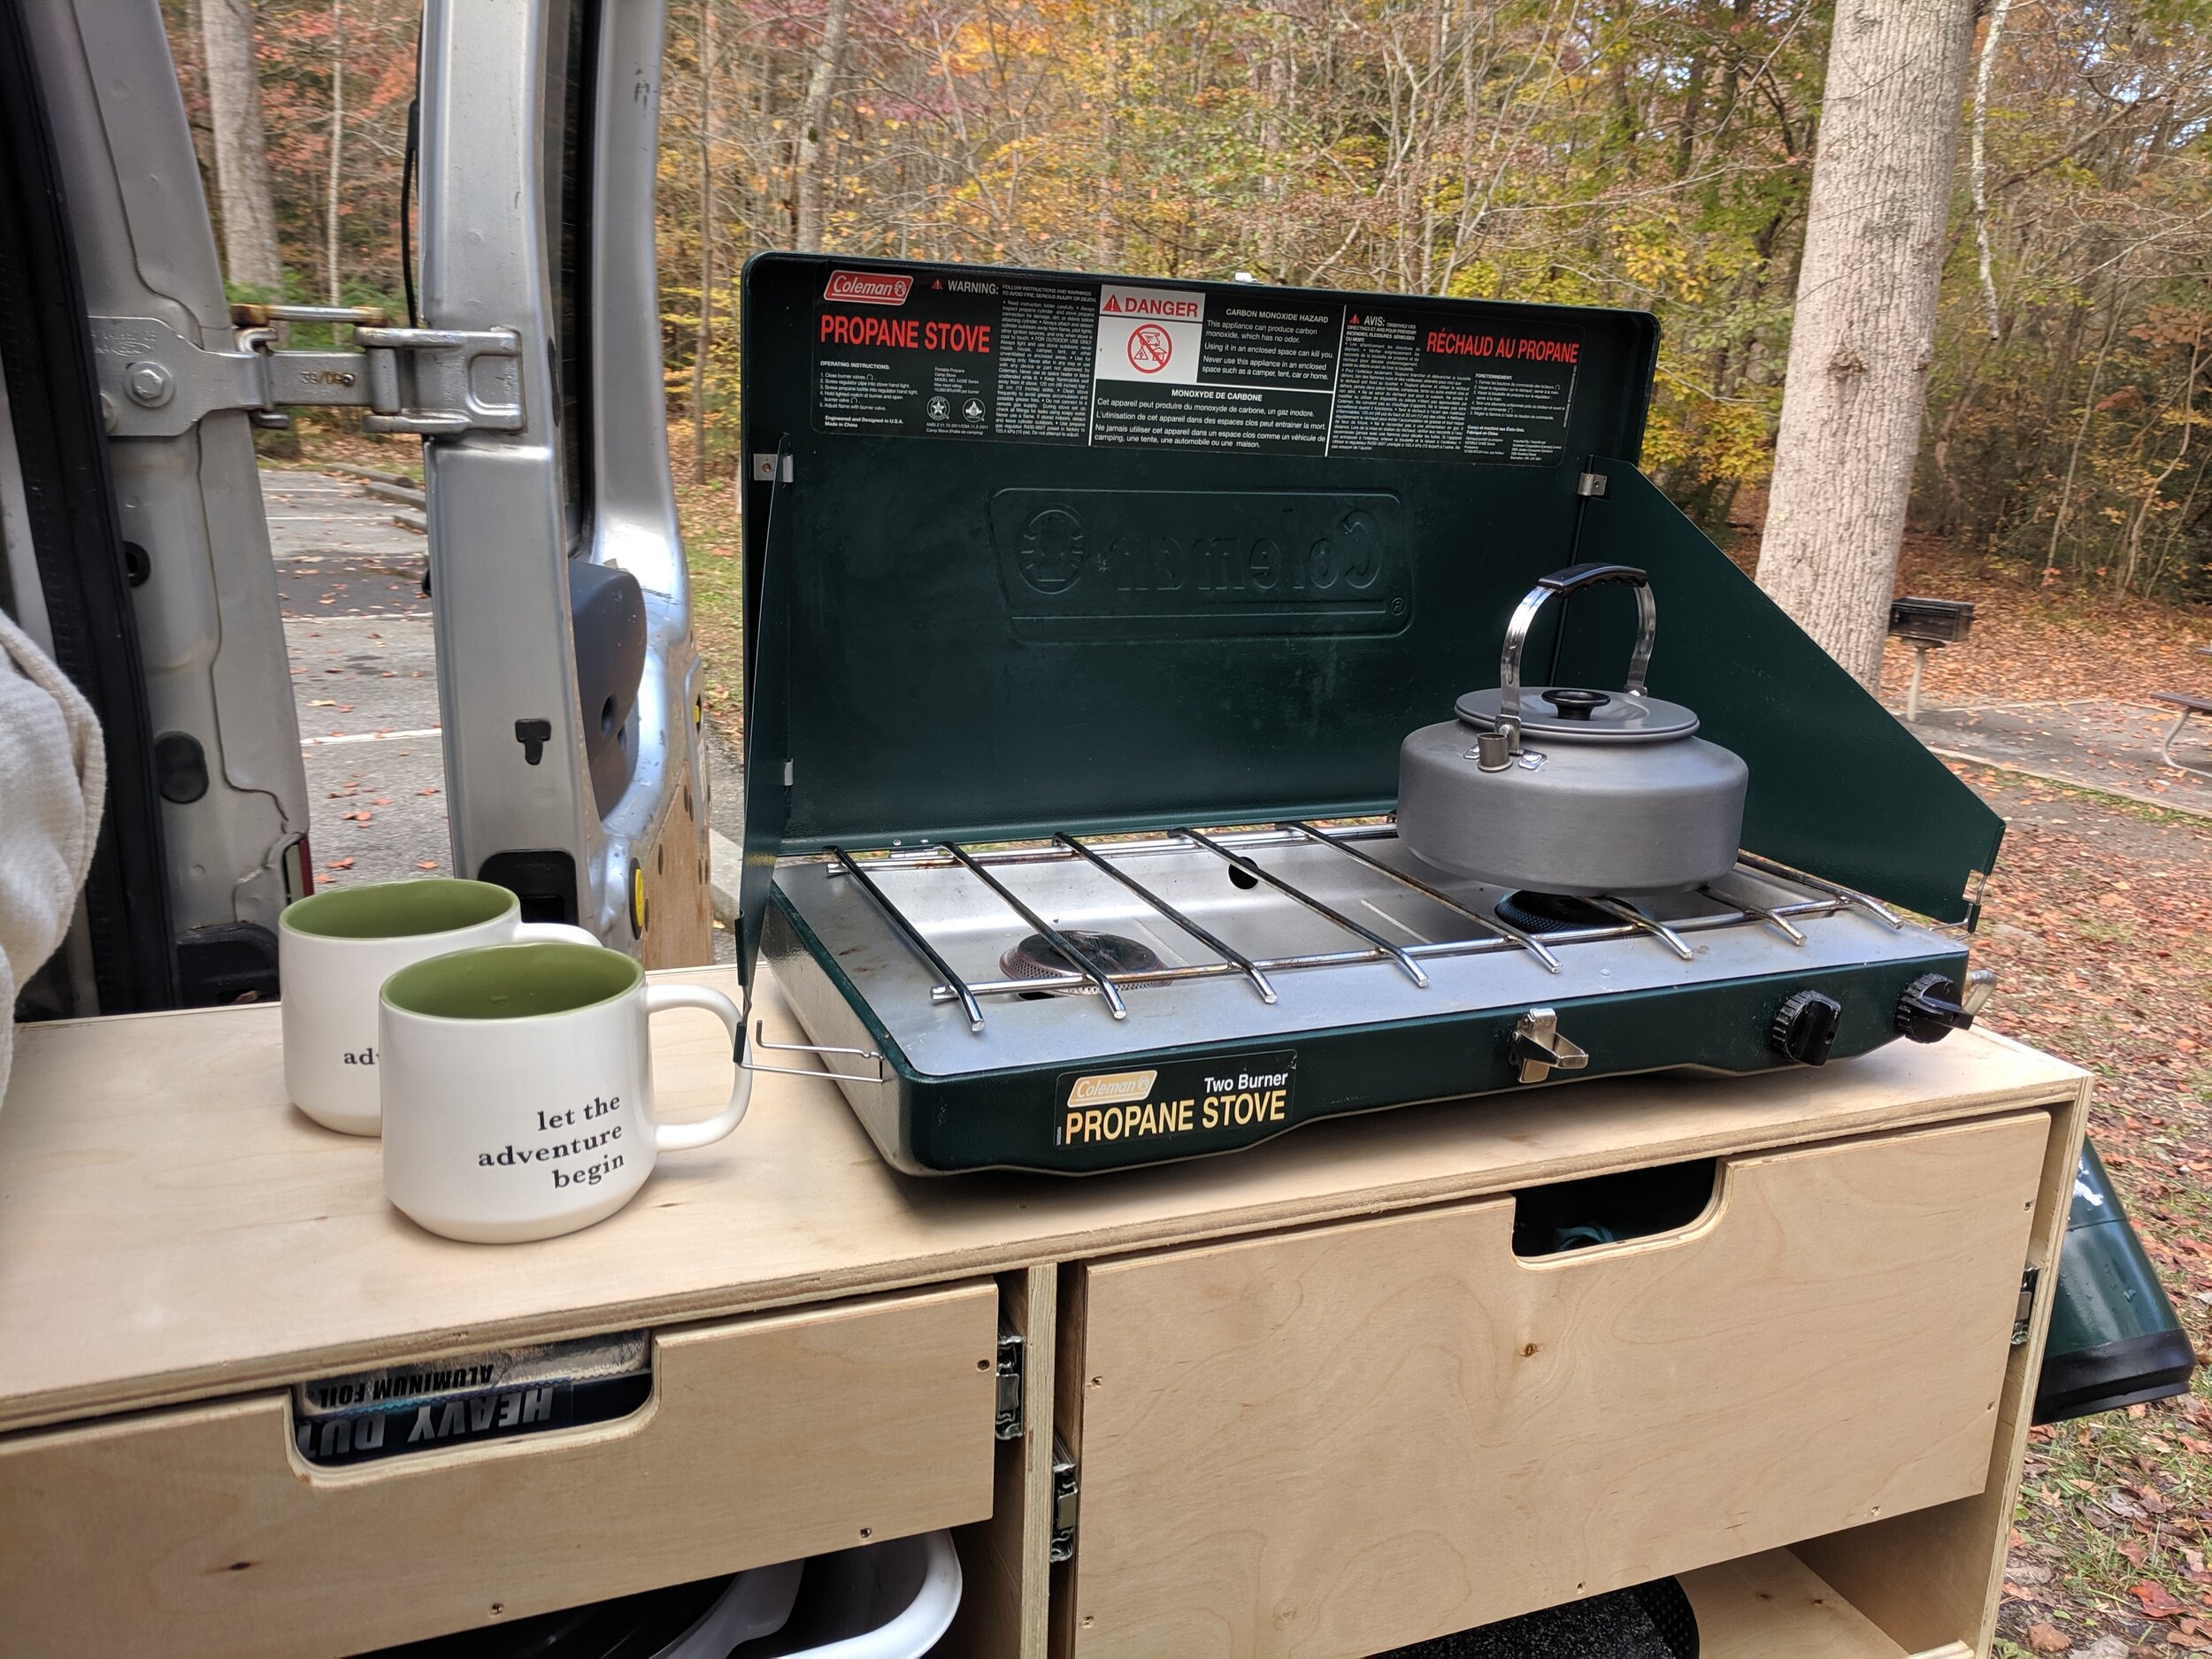
What should you pack? Not much... Dolly has all the basics (plus more) covered! Dolly's standard, rental setup includes sleeping, cooking, camping and leisure accessories.

Just get in & GO!

camper van conversion, for rent, RV, queen sized bed
camper van available for rent in NJ, NY, PA
2 person camper van for rent in NJ, outdoorsy, NY, PA

Want to rent Dolly?

Check out Dolly’s full rental listing for all of the included amenities, rates and availability.

✅ Interested in the materials and products we used to complete Dolly’s conversion, check out the full list of here.

✅ Ready to DIY a camper van conversion of your own, just like Dolly? Click here to purchase our custom Ford Transit Connect Camper Van Conversion Build & Electrical Plans.