How To Trim Two Windows as One

Hello everyone, it's John! I thought I would take over the blog for a "how to" post on one of my many projects at Content. I will apologize in advance since Courtney is a much better writer than I am, but maybe you'll learn something new or useful from me.
Woodworker note: Courtney edited this post, noting some of my technical terms were not exactly layman friendly (Not everyone is a woodworking sorcerer John!). You'll see these terms noted with an asterisk * and defined at the end of the post.
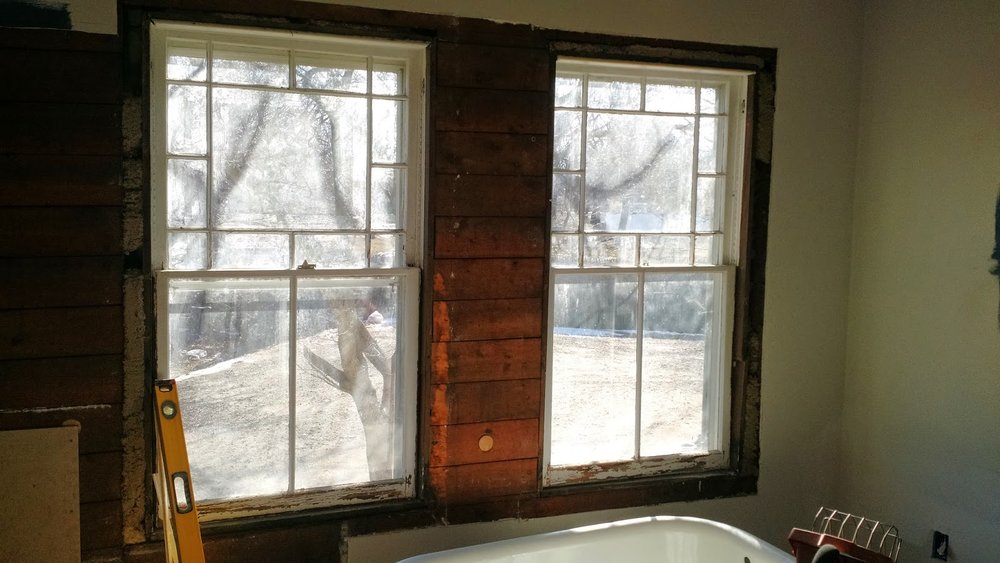
The project I am going to walk you through is a redo of the trim on the master bathroom windows. As you can see from the photo below, the trim isn't anything special....

Before: Original trim around master bathroom windows
There were a couple things that bothered me about the trim. One, the trim was just boring. Two, I hated the fact that the trim was at the same level as the drywall. Normally, trim around a window sticks out an inch or two, and does not sit flush with the surrounding wall. Unfortunately, after years of added repair, insulation, drywall and plaster, this is a very common occurrence in old houses.
After plenty of thinking, I came up with a plan. I wanted to combine the two windows as one to make it more of a focal point, framing the claw foot tub underneath. So, last weekend, I picked up a bunch of finger jointed* primed pine and got to work.
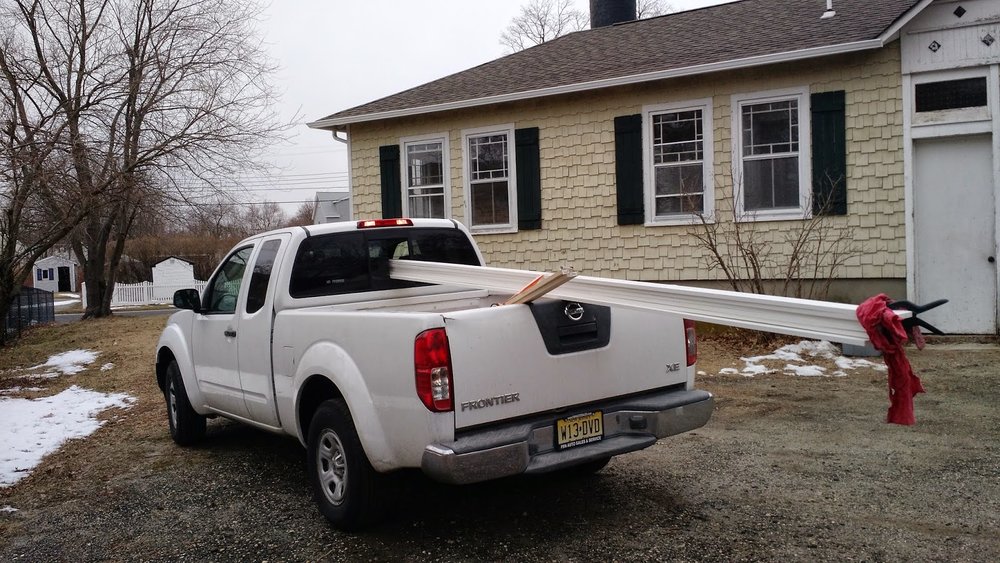
Everyone needs a pickup. A board or two.
Step 1
The first step was to rip out the old trim, repair the surrounding drywall and get it ready for the new trim work. Look at that old lath! We contemplated keeping this natural wood exposed, but as an exterior wall and we would never have been able to insulate properly.
Step 2
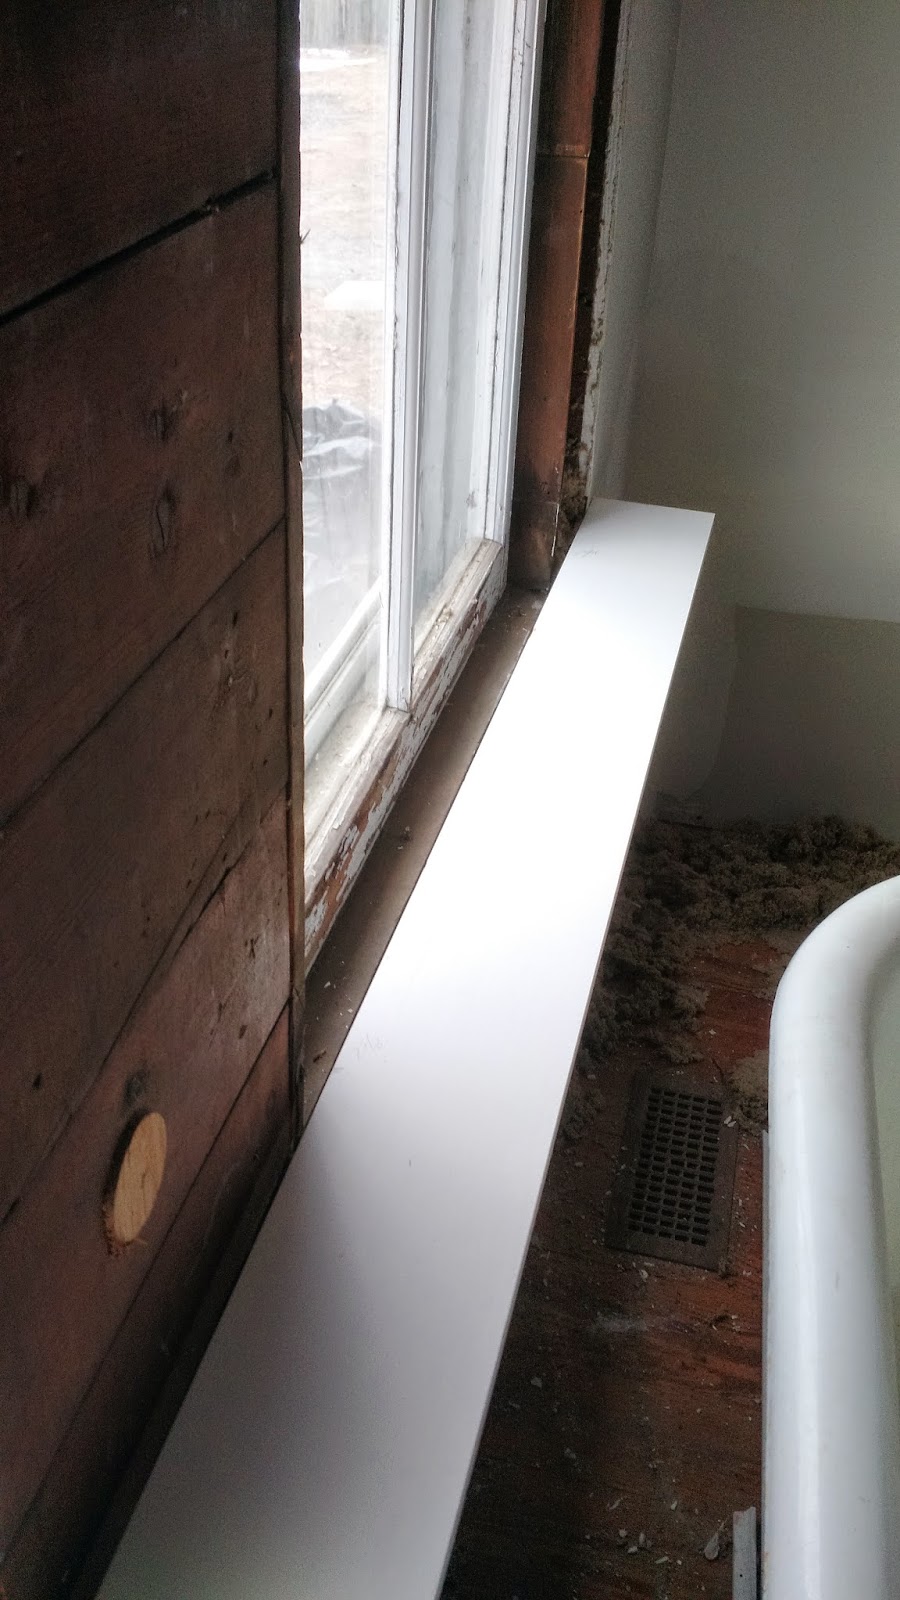
The next step was to fabricate the stool*. I used a 1" x 6" and cut it to length on the miter saw* and then ripped it down to 4 ¾” on the table saw*.

Stool to length on miter saw.

Ripping stool to width on table saw.
Once I had it to size, I brought it into the bathroom, held it in place, marked where the window openings where and took down the measurements so I could notch out the sill.
Marking Measurements
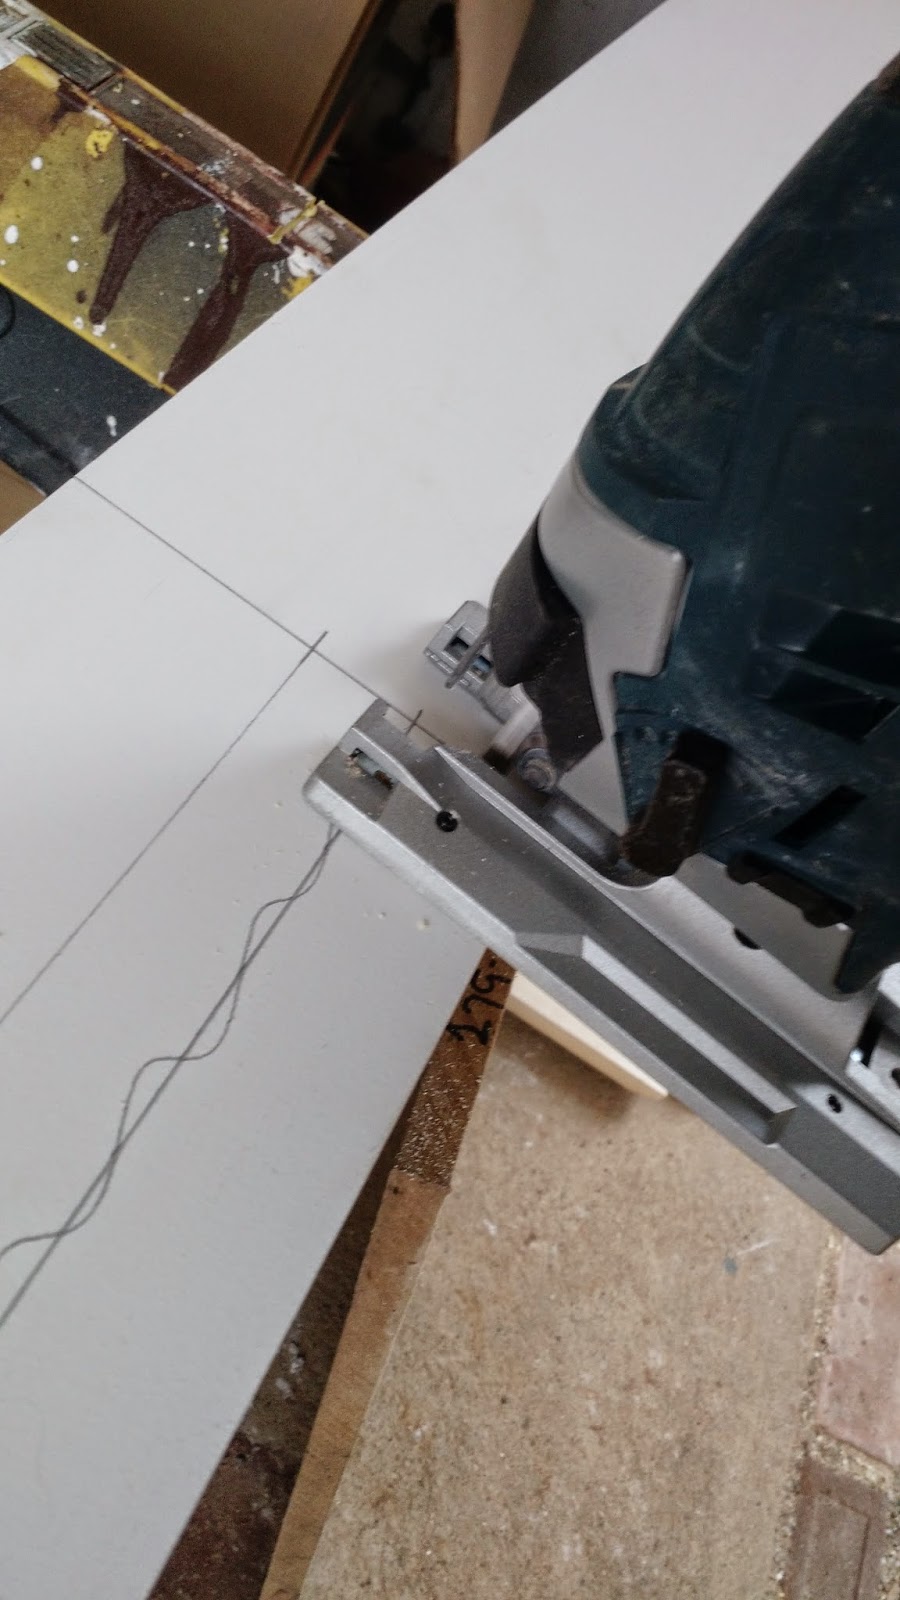
After I finished marking out the layout, I took it back outside to the sawhorses where lucky for me it was balmy 12 degrees out.
I took the jigsaw* to it and brought it back inside for a test fit. All seemed to fit fine (looking back I know I should have made an adjustment or two).
Next stop was the router table to put the profile on it.
The bottom edge got a wavy profile and the top a simple roundover to give it the completed look. Back at the window I leveled it and nailed it in.


Routing Stool Profile
With the stool in place it was time to turn my attention to the area between the two windows. I decided that I wanted to do some large beading in the space between them.
To accomplish this, I cut a piece of 1/2" birch plywood to fit the area between them. After deciding on the positions of the beading I took the piece of ply to the router table where using a 1/2 straight bit I put in 1/4" deep dados* the length of the plywood to accommodate 1/2 dowels (more on that later).
Once that was done I fit it between the windows and nailed it in place.
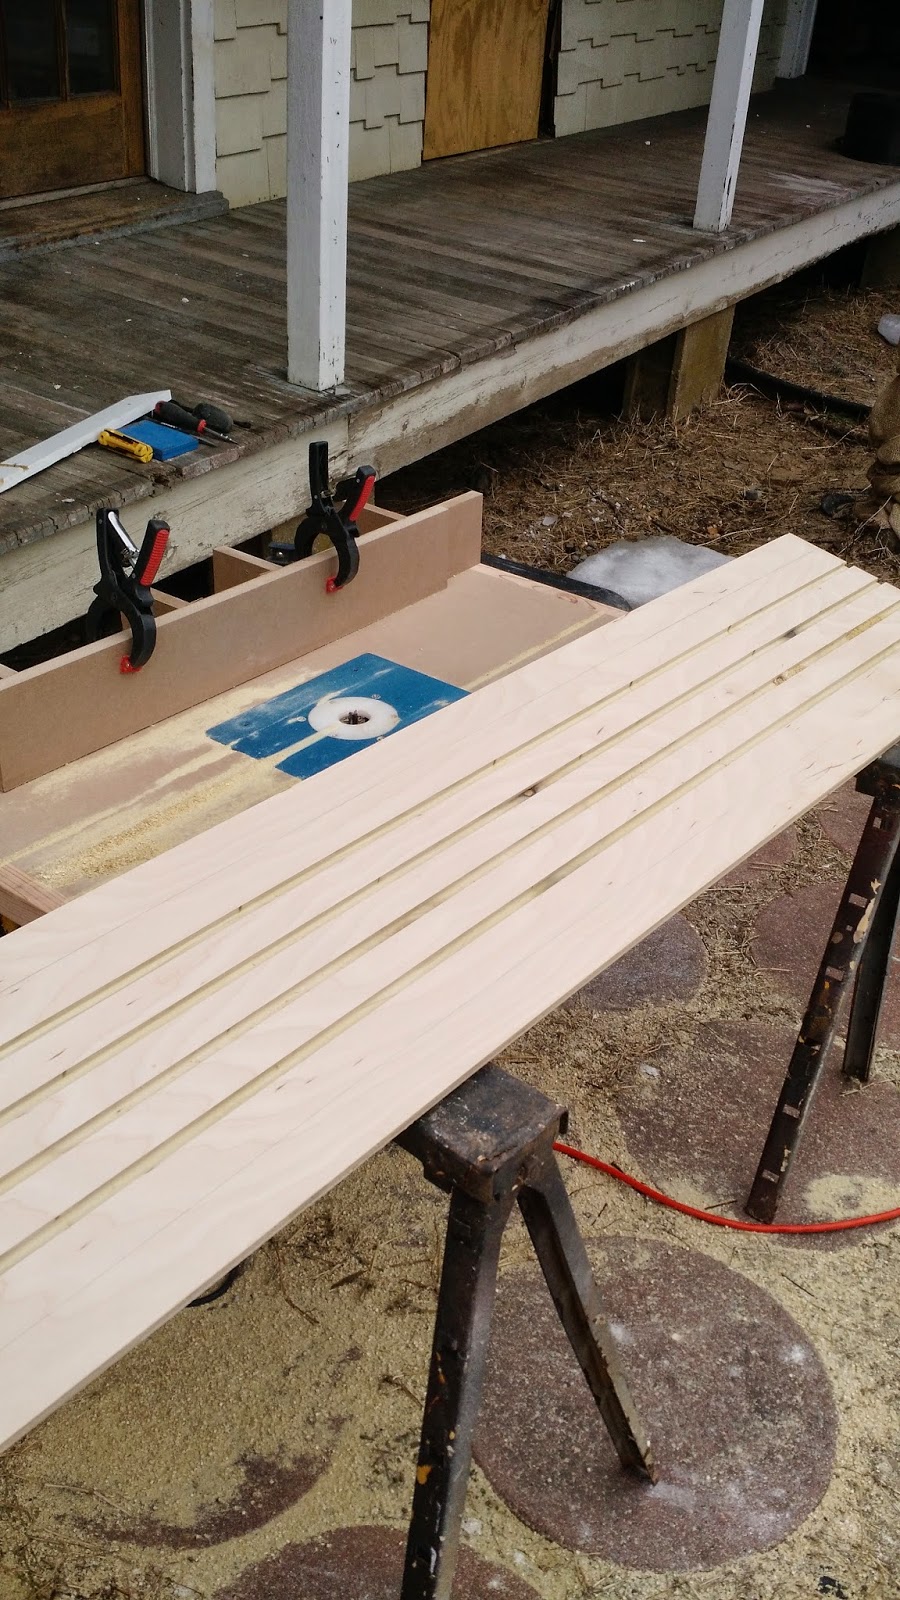
Plywood panel cut to size with dados

Stool and Plywood Panel in Place
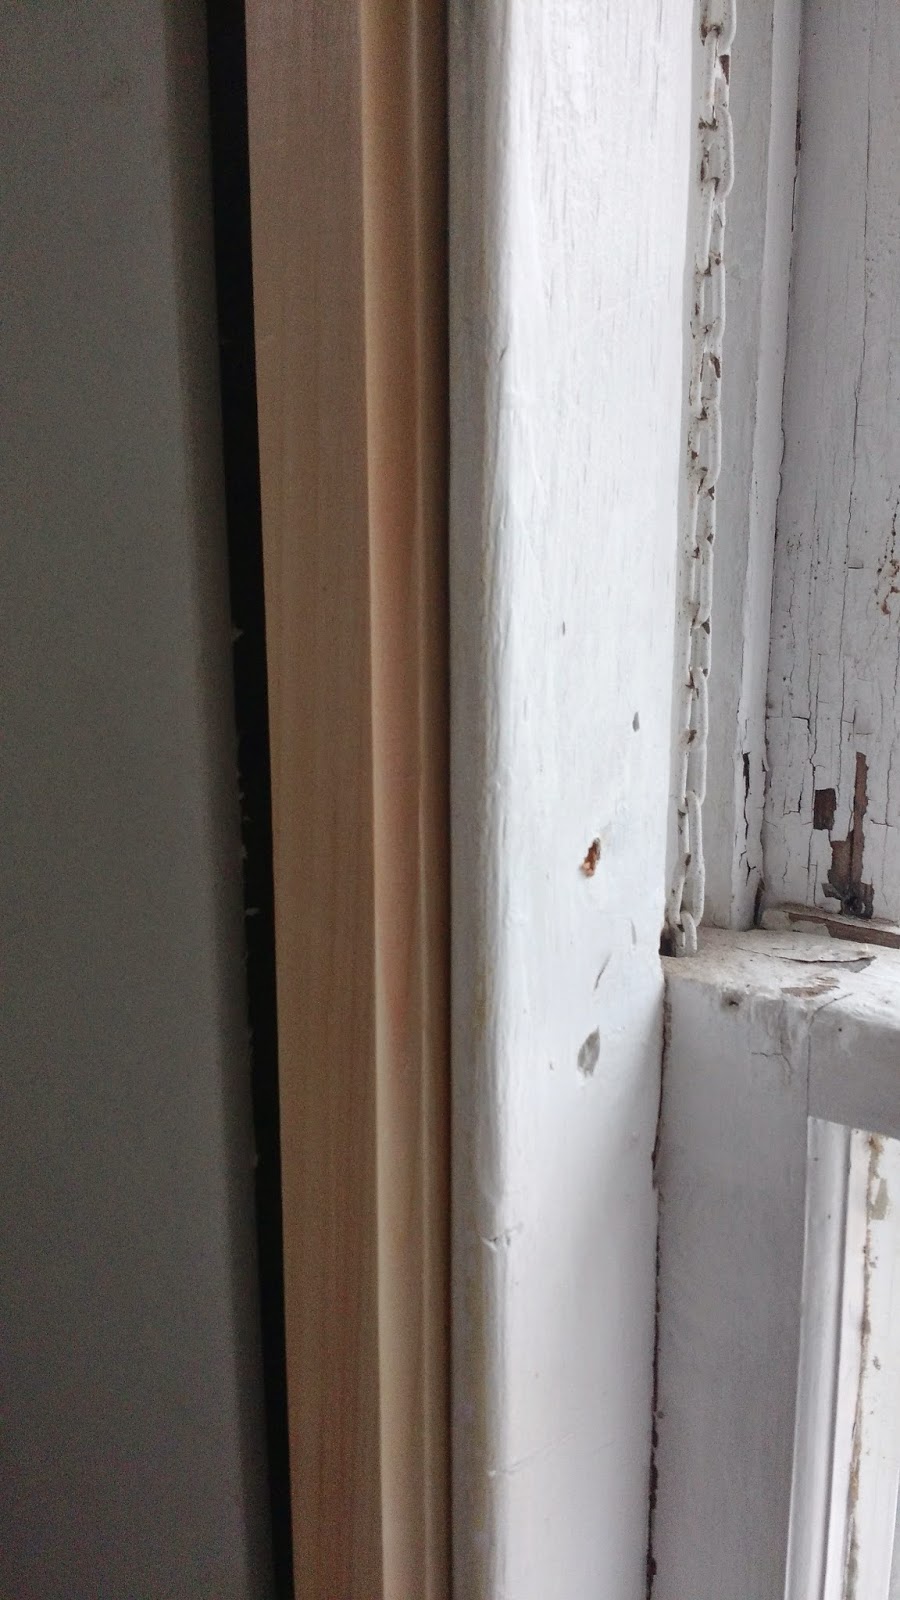
Then, it was time to turn my attention to packing out (thicken) the window jambs* a 1/2" to make up for the 1/2" drywall that wasn't there when the windows were originally installed 100+ years ago.
This was also the reason I used 1/2" plywood in the previous step. I could just have put some plain 1/2" rips of wood in but that would have been way to easy. So here is what I did.
First, I took some 1"x3" common pine to the planer to take it down to 1/2" thickness.

Planning to 1/2" thickness
Then, was back to the router table yet again (she sure got a workout on this project) to route a small cove on each edge of the board and then I ripped the boards in half.

routing edge profile
Woodworker note: It is much easier to route a larger board and then cut it to length, as opposed to working with smaller pieces.
With the 1/2" stock prepared I cut and nailed it along the edge of the window jamb.

Ripping in half
Nailed in place on window jamb
With all of that done, it was time to cut and nail up some 1x4 to finish off the casing and apron. I ran the head piece all the way across and then ran 4 separate legs up the two windows. The apron across the bottom and we are almost there!
The final step was to add the 1/2" poplar dowels into the dados I routed in the plywood panel earlier. I went everywhere to try to find 6' dowels but no luck. I found only 4' wood dowels so I had to use two pieces for each dado running from the stool to the top piece of casing.
I then glued and used a pin nailer to secure it in place.
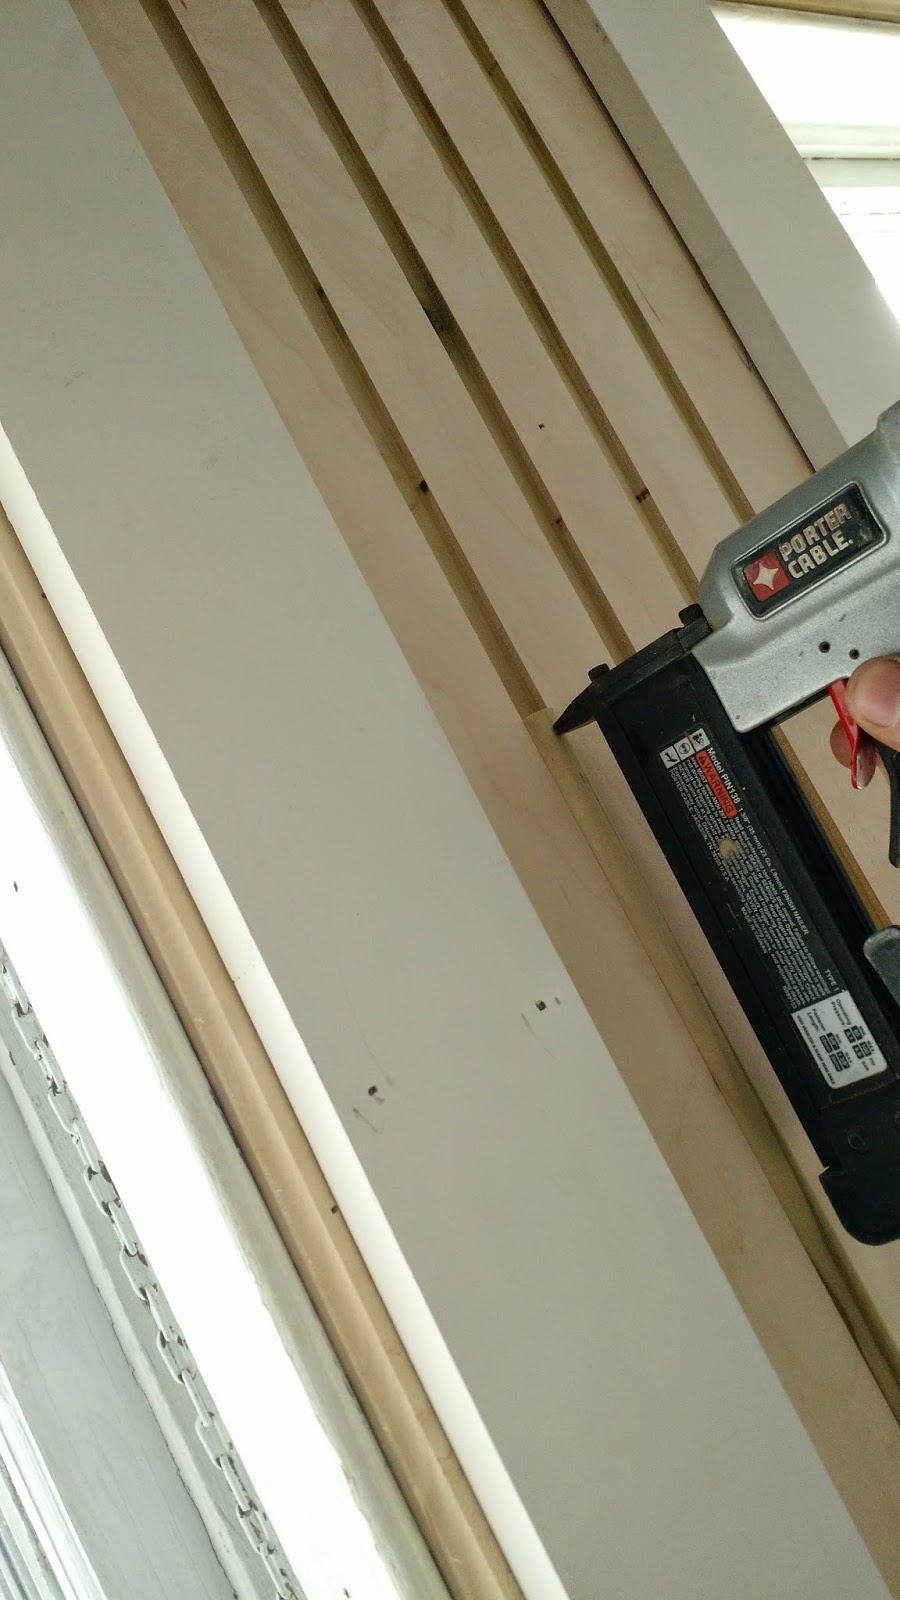
Gluing and nailing dowels


completed beading detail

Completed!
Well, after typing all these steps out, I'm not sure if I've made this sound easy or difficult, but rest assured you didn't have to live through all the pain of questioning "do I offset it 3/4" or 1/2?" , "how far should it hangover?" , "do we go with 4 or 5 dowels?"
In fact, the project turned out a bit harder in certain aspects then I originally imagined.
Trying to treat two windows, that aren't square to one another, at the same plane or height, made it really challenging! Overall, I think the project was a success though and the finished windows are much better than what was there.
Now we just have to fill the nail holes, caulk it and paint it. PJ, it's your turn! I'm off duty and it's time to relax with a beer!
Let me know what you think about this project!? I'd love to hear your feedback.

Glossary of Woodworking provided by Wikipedia
http://en.wikipedia.org/wiki/Glossary_of_woodworking
* Finger Joint: A finger joint, also known as a comb or box joint, is a woodworking joint made by cutting a set of complementary rectangular cuts in two pieces of wood, which are then glued. To visualize a finger joint simply interlock the fingers of your hands at a ninety degree angle; hence the name "finger joint." It is stronger than a butt or lap joint, and often contributes to the aesthetics of the piece. Alternate names include box-pin joint or box joint.
* Stool: Alternative name for window sill.
* Miter Saw: Also spelled mitre. The basic mitre saw is suspended on rollers or slides in a metal guide that works with a mitre box that allows making accurate crosscuts and mitre cuts. They are still used occasionally, such as in picture framing or by manual woodworking enthusiasts, but have largely been displaced by power tools in woodworking.
* Table Saw: A table saw or sawbench is a woodworking tool consisting of a circular saw blade, mounted on an arbor, that is driven by an electric motor (either directly, by belt, or by gears). The blade protrudes through the surface of a table, which provides support for the material, usually wood, being cut.
* Jigsaw: A jigsaw power tool is a jigsaw made up of an electric motor and a reciprocating saw blade. A jigsaw with a bevel function on the sole plate allows cutting angles of typically up to 45 degrees relative to the normal vertical stroke for cutting miter joints.
* Dado: a slot made across the grain.
* Jambs: (See #5) The main vertical parts forming the sides of a window frame.