DIY: How to Create Poured Concrete Vanity Tops and Shower Curbs
We’re sharing an easy and inexpensive DIY Concrete Vanity Top tutorial explaining how to create poured concrete vanity tops and shower curbs, with our step-by-step instructions and recommended products.
You can find our list of suggested products for the DIY Poured Concrete project here.

During the initial design stages of the guest bathrooms, we decided to use our master bathroom as an inspiration. We continue to be pleased with the master bathroom renovation, and knew that repeating the vanity and countertop design would bring continuity throughout the house.
You can check out the reveal of our master bathroom renovation here.
However, we were looking to scale the cost of the vanity down a bit, and instead of using bluestone as the vanity top again, decided to create a concrete vanity top.


John did the technical research of pouring concrete into molds, and I helped determine the color and texture we wanted to achieve.
The internet is booming with concrete these days, so our inspirations were boundless! There were almost too many opinions... We have a great concrete vanity inspiration board of Pinterest that you might also find helpful.
We focused on a simple design, that would easy display a self-rimming drop in sink. For this first concrete pouring attempt, we opted not to add color.
Here's the step-by-step process:
How to Create Poured Concrete Vanity Tops and Shower Curbs
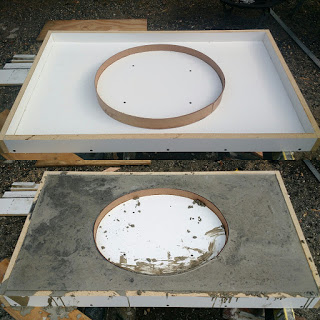
Create a Mold:
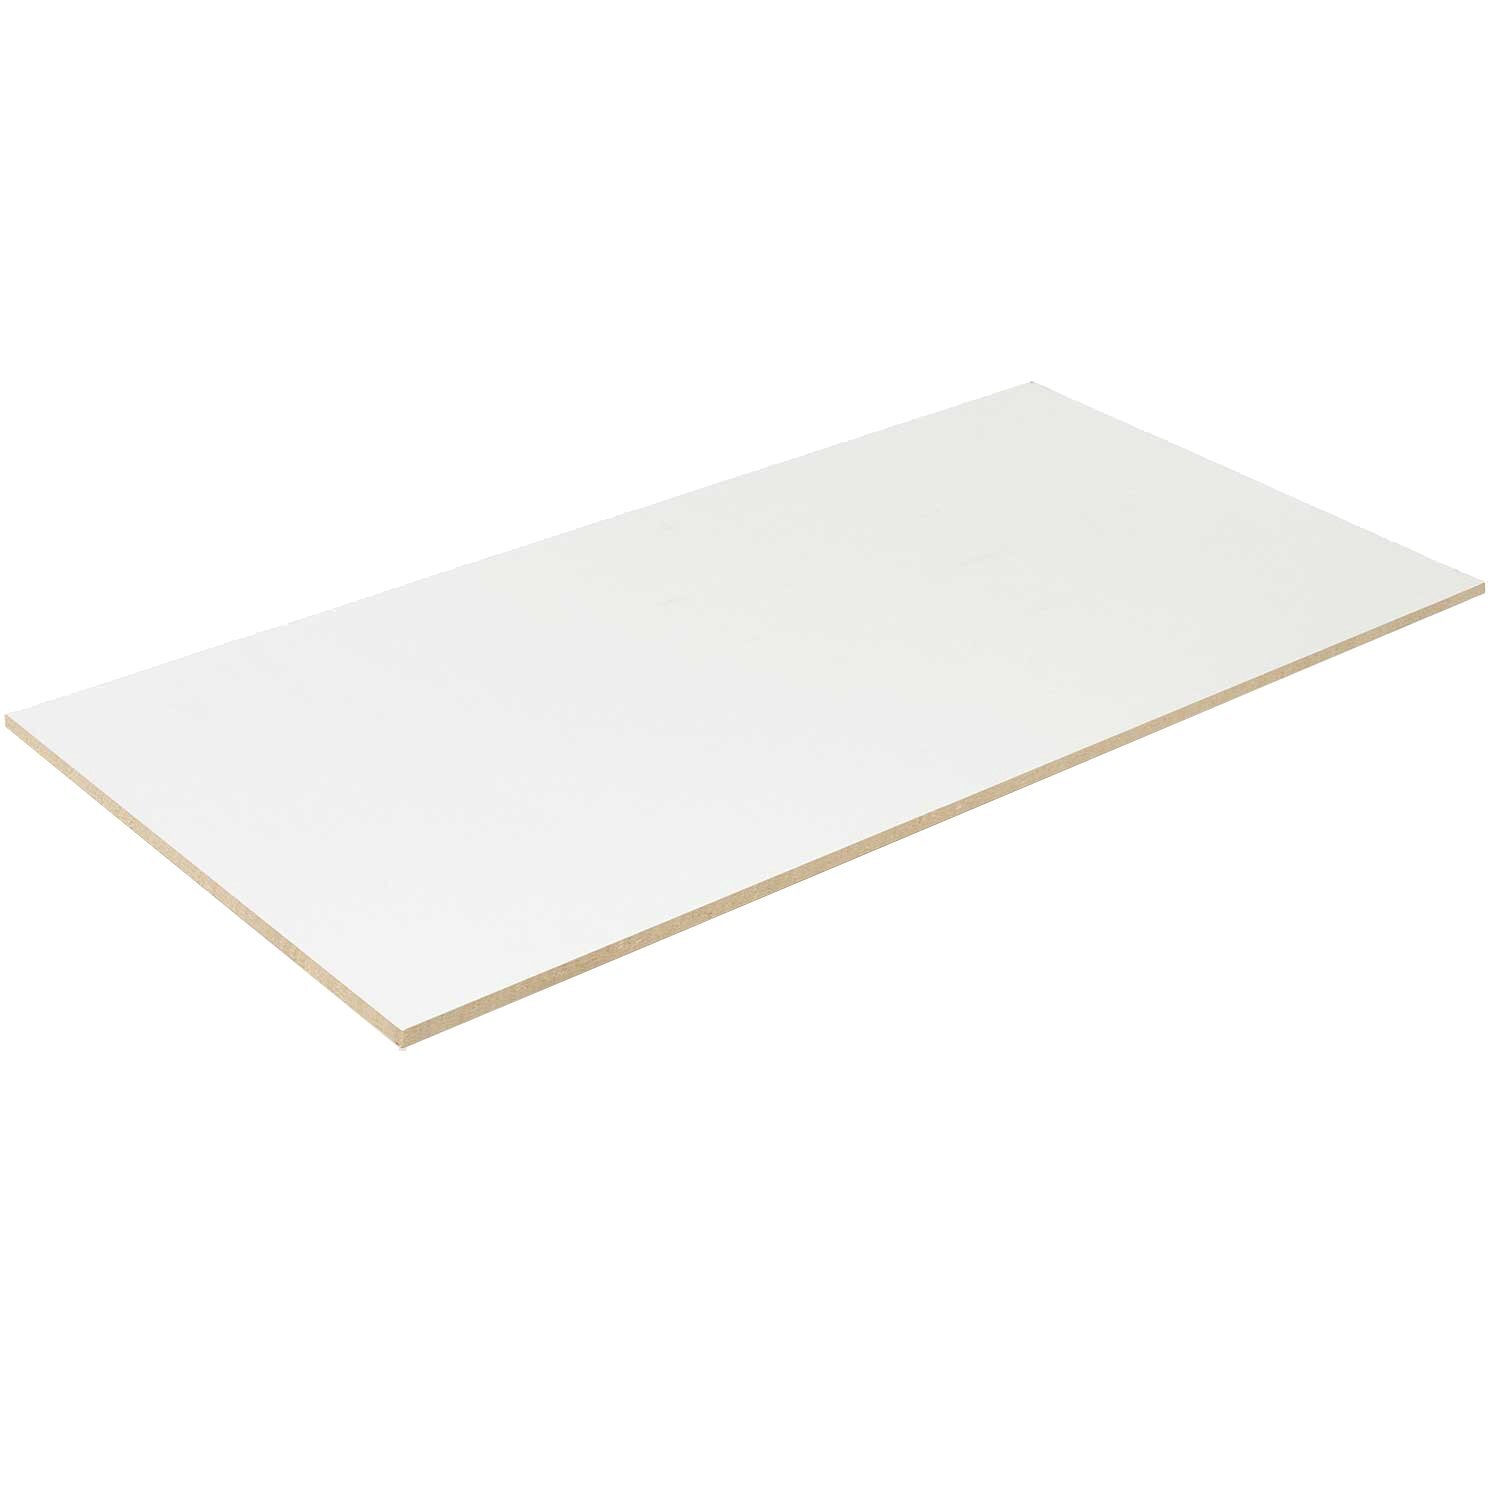
Using melamine, we created a mold for the concrete vanity top and curb. The dimensions are completely up to your needs, sink requirements and space.
Melamine is a great material because the surface is smooth and concrete doesn't adhere to it. It can be found at most building supply stores, but in a pinch, many prefabricated closet shelves are made of melamine, as well.
We secured the sides together with dry wall screws (that would be easy to unscrew later in the process).

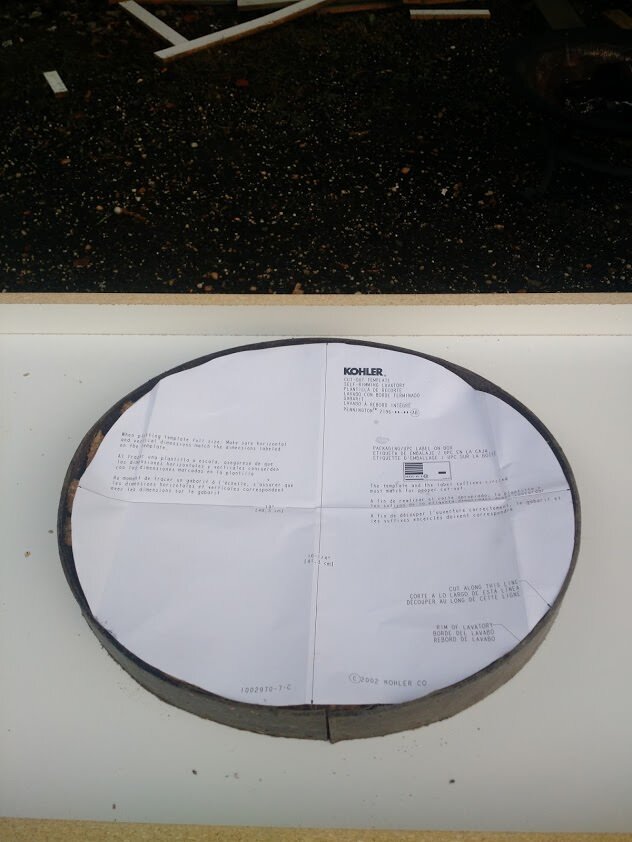
For this example, we used a Kohler, self rimming Pennington sink and the installation template included with purchase.
We love the design of this sink because the faucet fixtures are incorporated into the template, so you will not need to do separate holes in your mold.
When determining a vanity size, consider what a user may store or place on the vanity countertop; hand towel, toothbrush holder, etc. Ensure the concrete vanity mold is created with enough counter space for the needs of the user.
THESE POINTS ARE SO IMPORTANT.
Pick a location for the vanity mold that is out of the elements. Once poured, you will not be able to move the mold so pick an appropriate location for the 24-48 hour setting process.
We then placed the molds on sawhorses, and checked to ensure the whole setup was level before pouring any concrete.
Using a 4ft level and scraps of wood/shims we ensured the entire setup was level, in all directions. Remember, however the mold is positioned and the concrete is poured and settles, is how it will harden.


Lubricate Mold:
With a clean rag, use a lubricant (we used motor oil) to generously coat the inside of the mold. This will ensure that the concrete does not set too hard on the surface of the mold and will aid in the mold removal once it’s set.
As an alternative, we think cooking spray might be even easier to apply and get in the corners of the mold.

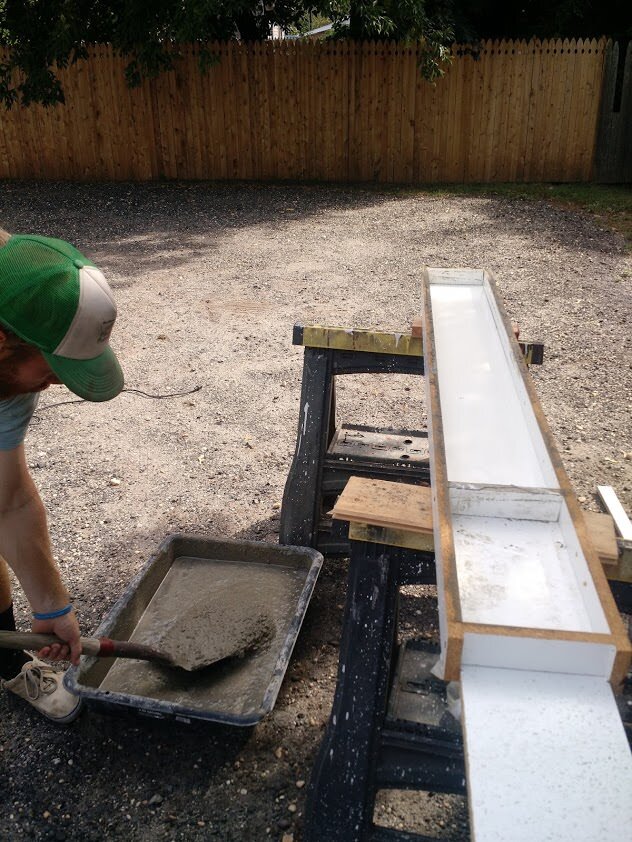
Mix Concrete:
Pick a mixing location close to the mold setup. *The concrete will be very heavy and not easy to move.
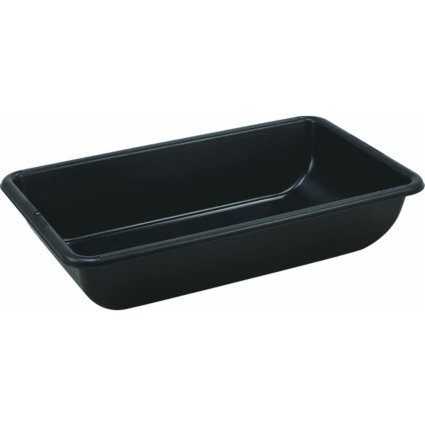
In a large masonry pan, mix concrete with water until a “chunky oatmeal” consistency is achieved. We do not recommend a bucket, a larger mixing surface makes for easier and ensures that all the concrete is incorporated.
Use a full sized shovel as a mixing implement. The vanity top concrete will be very heavy and a shovel will aid in the turning of the mixture.

Thorough mixing of concrete and water will take 7-10 minutes.

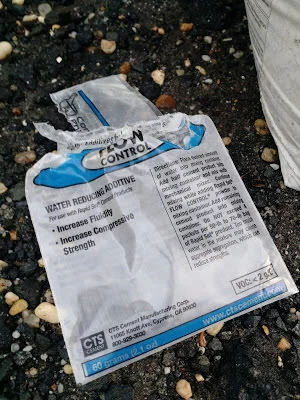
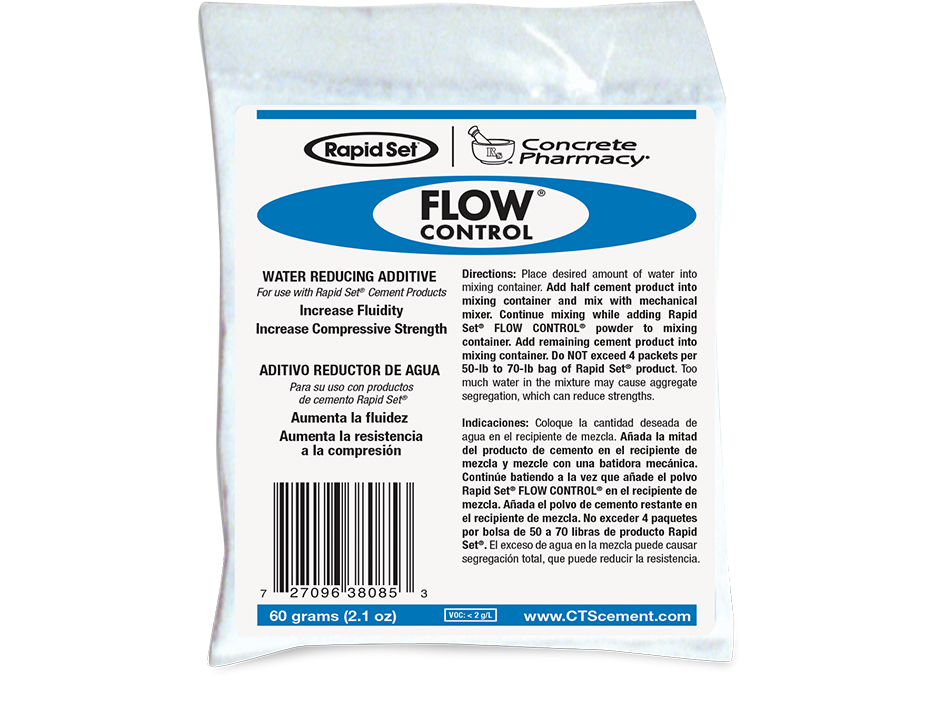
We used Sakrete 5000 concrete for this project. We also purchased Flow Control which was a critical part of achieving a less chunky mixture.
We then added the Flow Control, which chemically provided move fluidity to the concrete mixture. Magically, the concrete will have the consistency of liquid without compromising the strength of the mixture.


Fill Vanity Top Mold with Concrete Mixture:

HOW TO USE REBAR REINFORCEMENT
About half way through the mold filling process, stop and add in pieces of rebar to reinforce the concrete structure and add rigidity.
This is especially important then creating a longer structure (like a shower curb) or when additional strength is necessary at thin areas of the concrete vanity mold (such as on narrow sink edges).
Then, fill the remainder of the mold, fully covering the rebar. Use a masonry trowel to ensure that the entire mold is filled and there are no obvious air pockets.

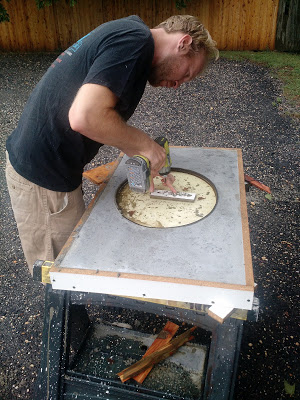
Vibrate Mold Vigorously:
This step helps to bring air bubbles within the concrete mix to the surface. The more time (minimum 10 minutes) and energy you spend on this step, the less holes/bubbles and imperfections you should have on the surface of the finished product.
We used a orbital sander (sans sanding pad) to create the vibration on the underside of the mold. The vibration releases tiny air bubbles from the concrete mixture.

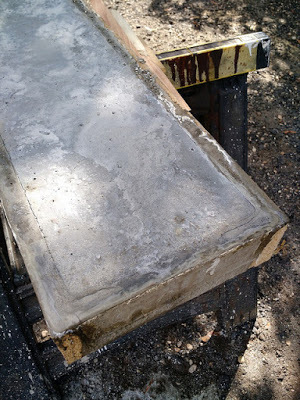
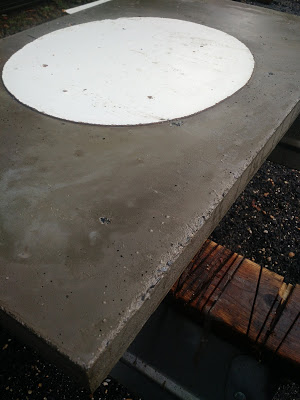
Let Concrete Set:
We let our molds set for at least 24 hours, but we experienced some cracking initially. We would recommend letting your molds set for a minimum of 24 to 48 hours. Keep your location in mind, and the weather forecast, so your molds are not in direct rain, sun or snow and can dry as evenly as possible.
Remove Molding:
After an adequate drying time, remove the mold screws entirely.
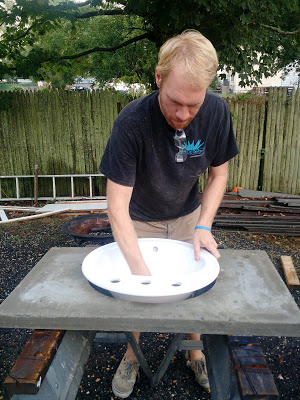
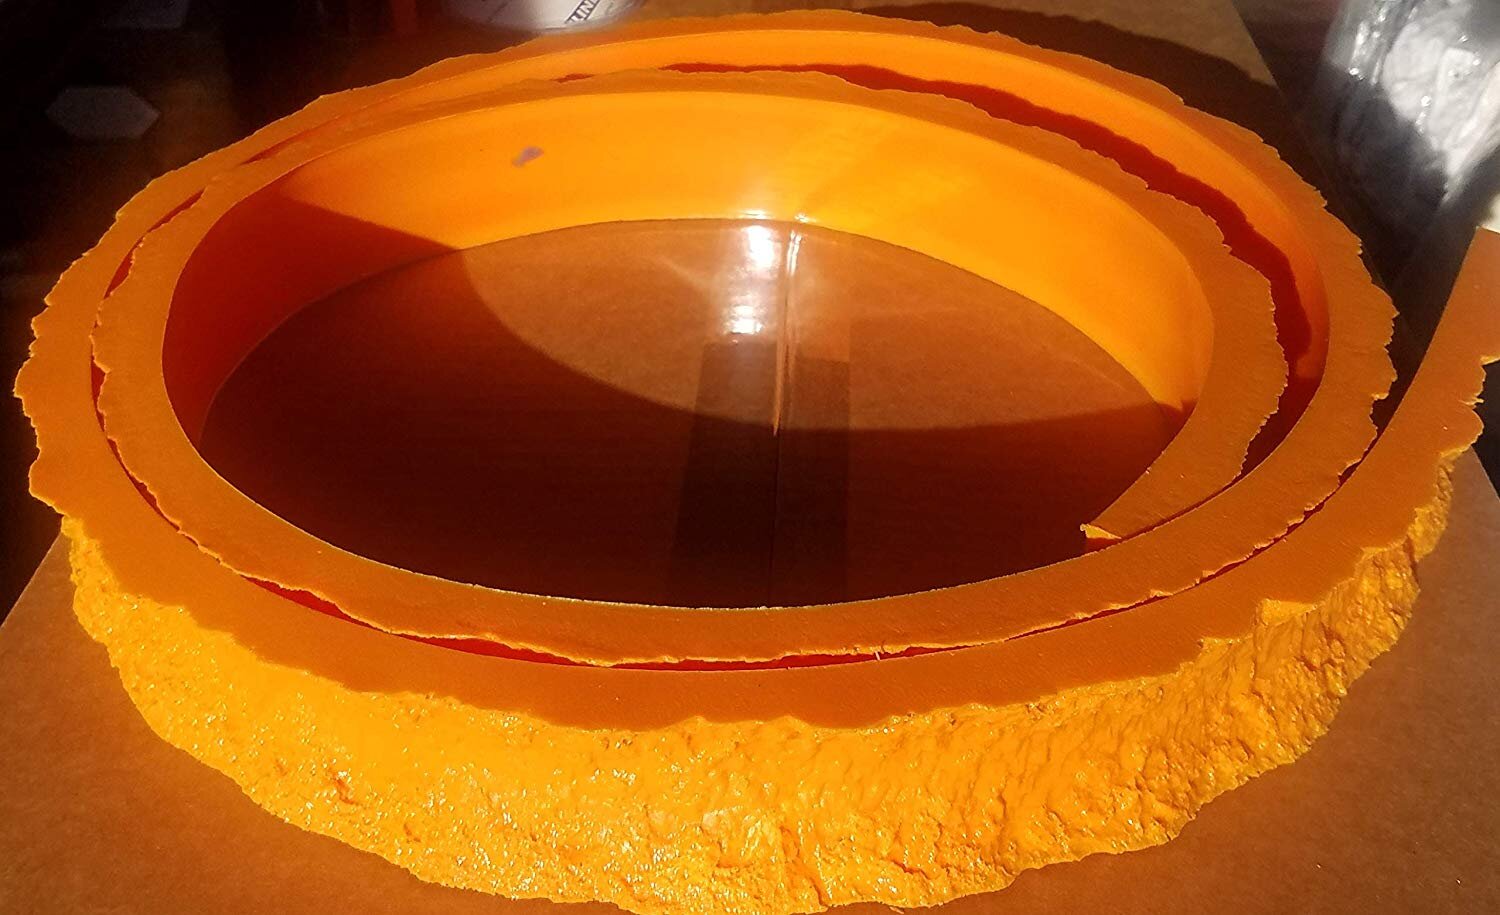
Flip the Concrete:
Once the mold is removed, you will need to flip the entire concrete structure, so the inner side is exposed and the sink can be inserted on the proper, outward facing side.
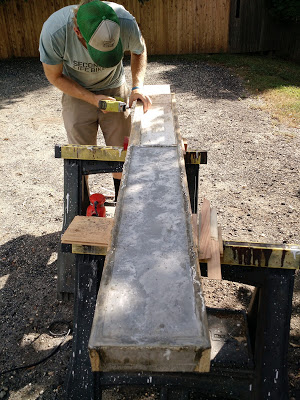
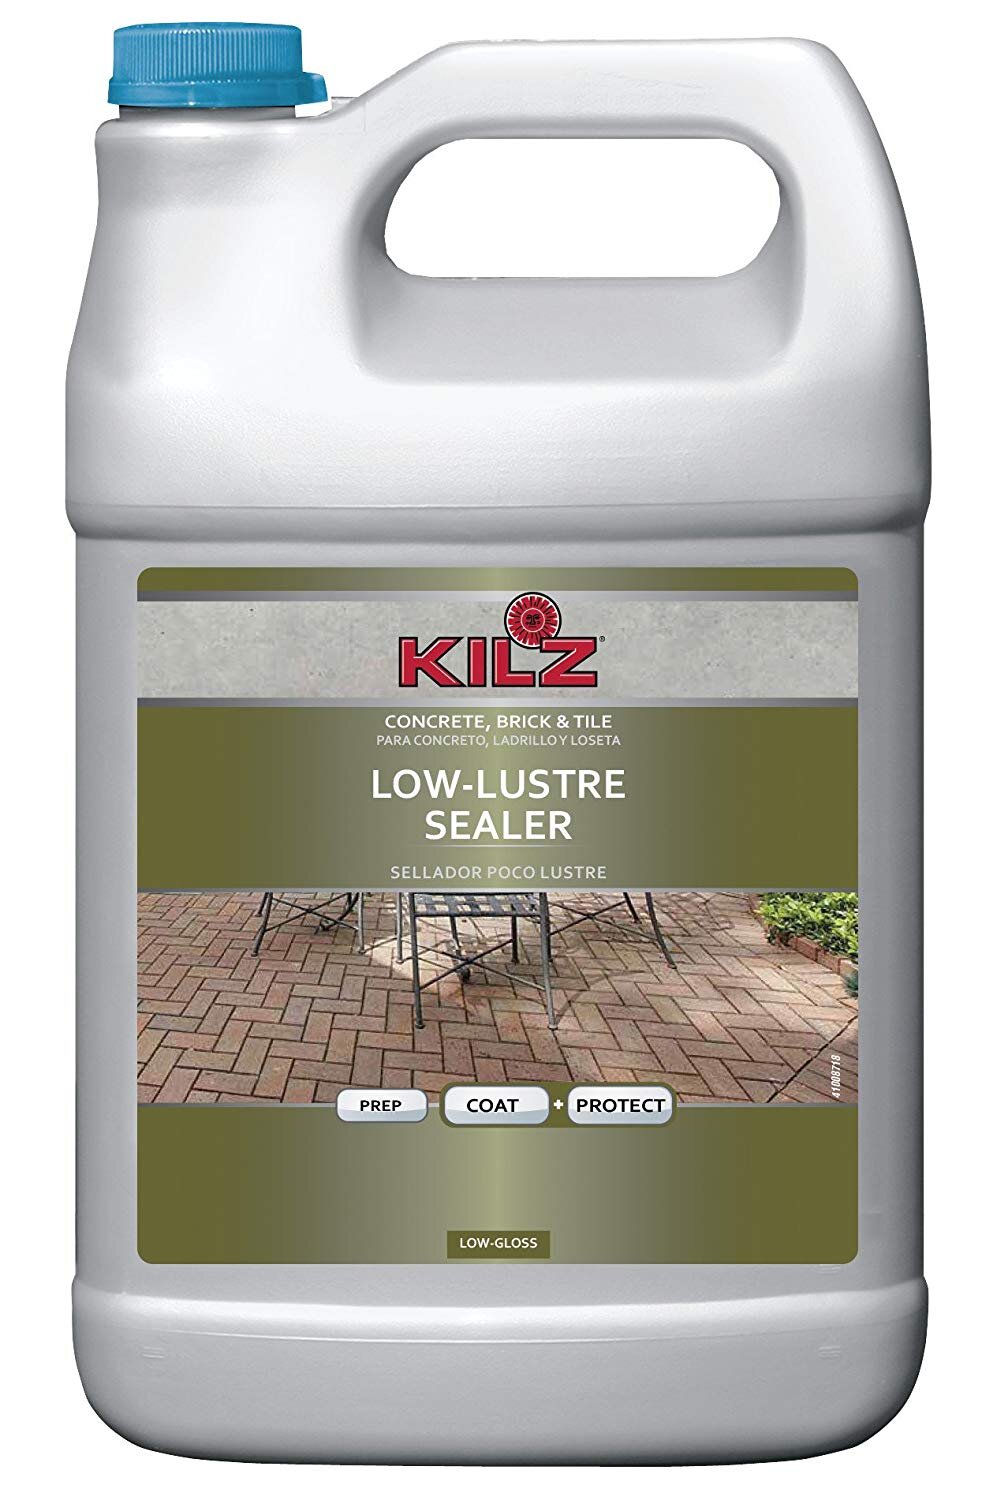
Seal Concrete:
We opted to use a Low Lustre Concrete Sealer. At this point, if you would like to color or stain the concrete, there are a ton of paint options available. We did look into this, but in the end, opted for the natural grey concrete color achieved from natural drying.
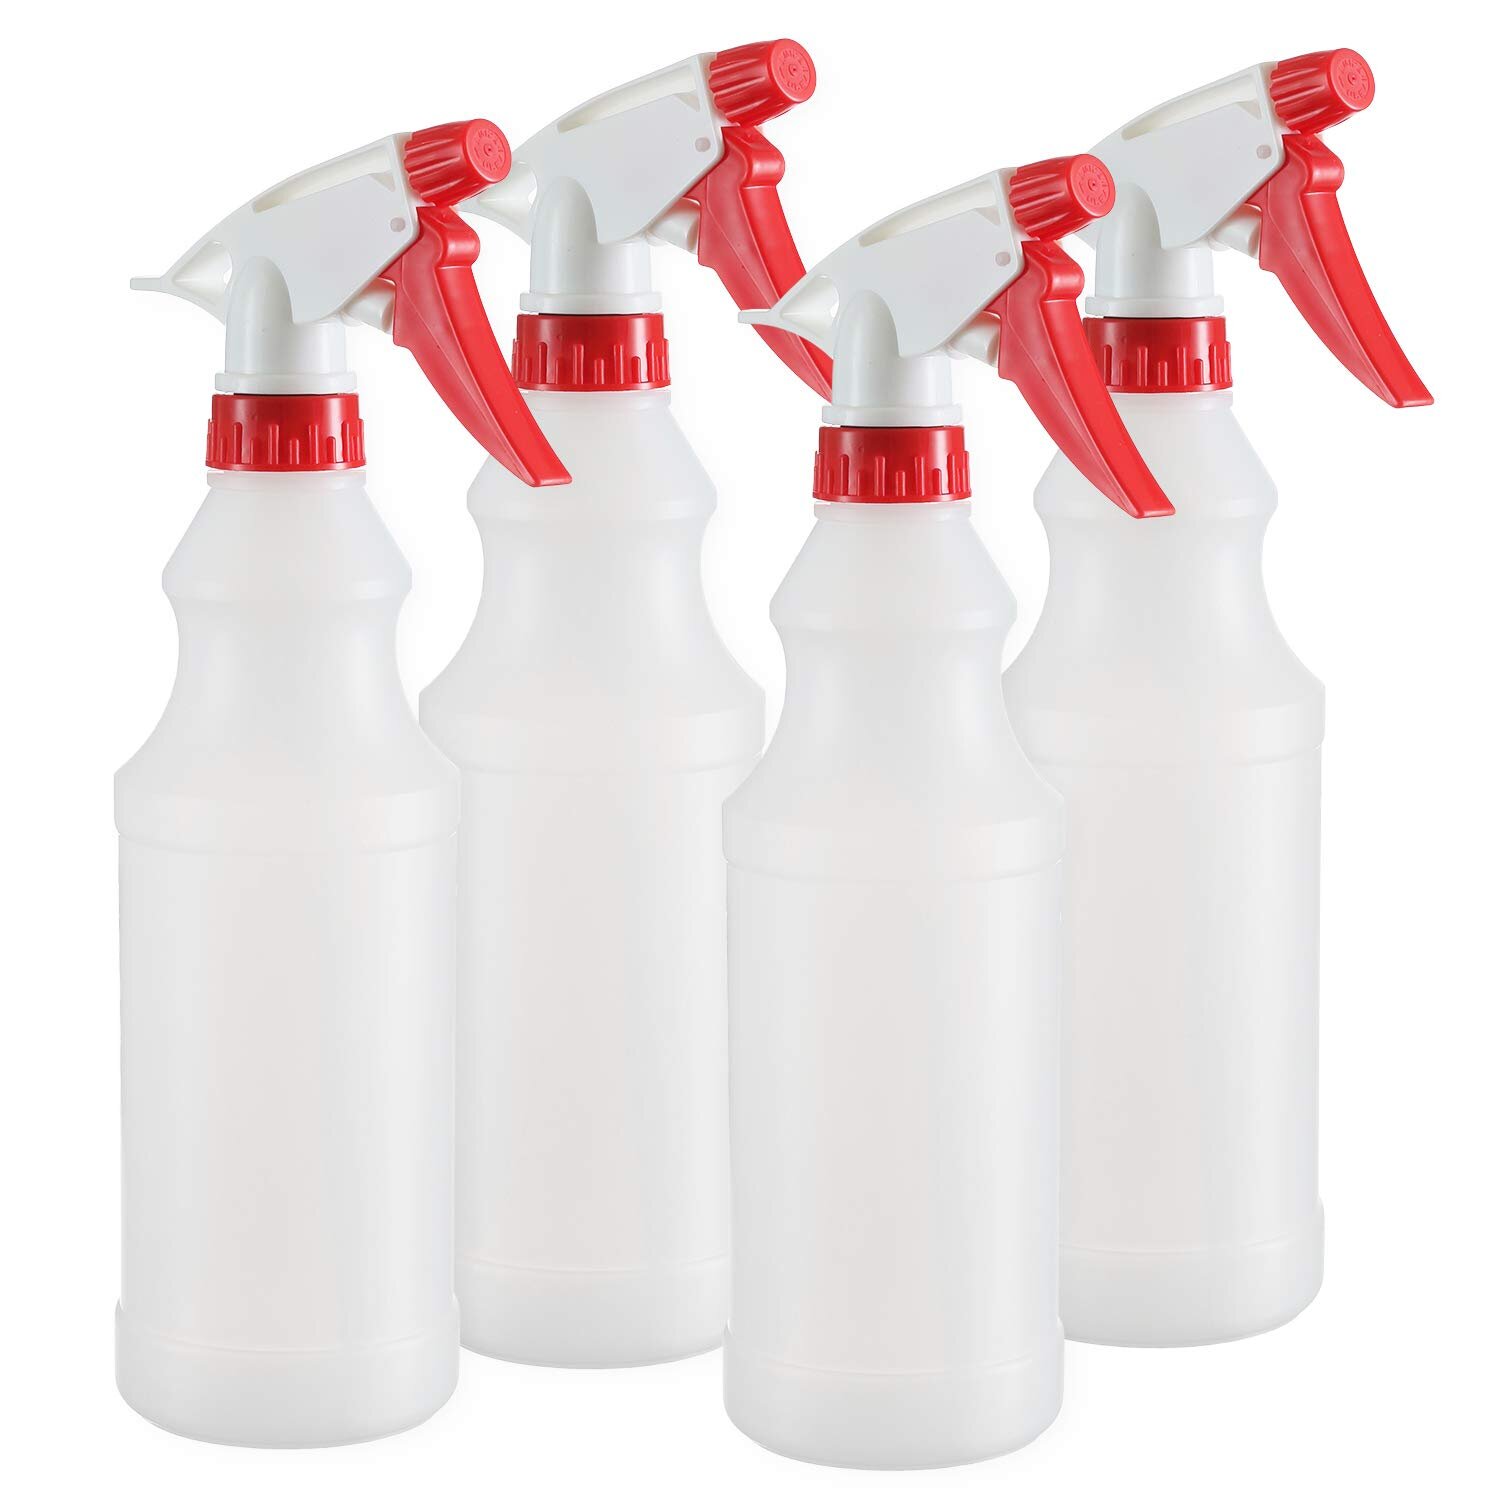
We put the concrete sealer in a spray bottle, distributed it evenly across the whole surface, and used a foam roller to spread it out. We applied three coats, with 1-hour of drying time between coats.
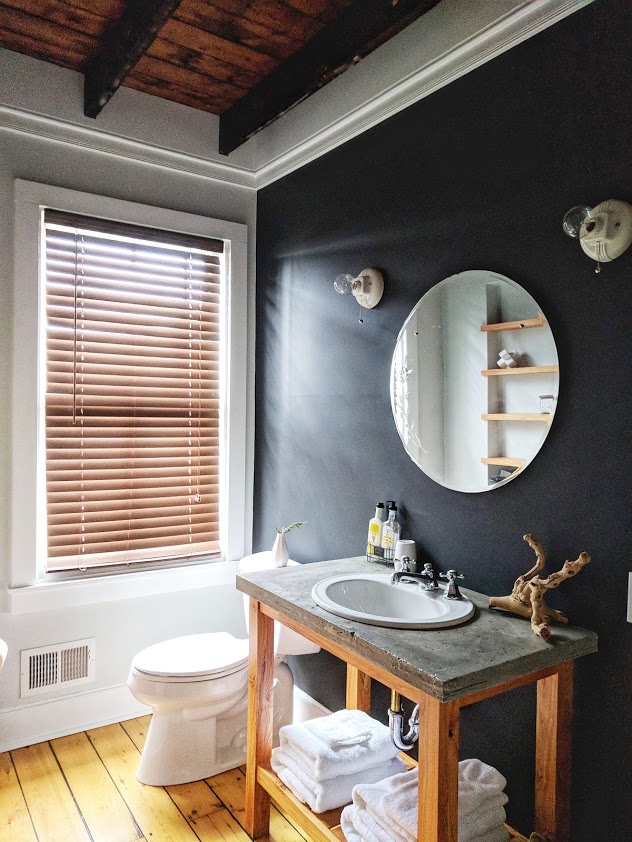
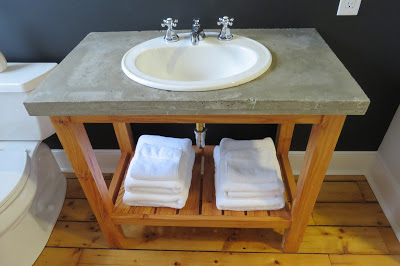
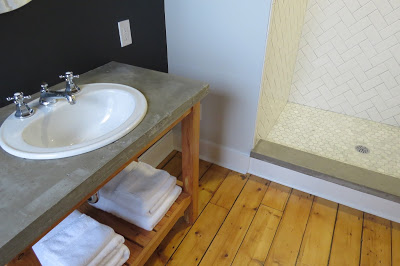
Finished Results:
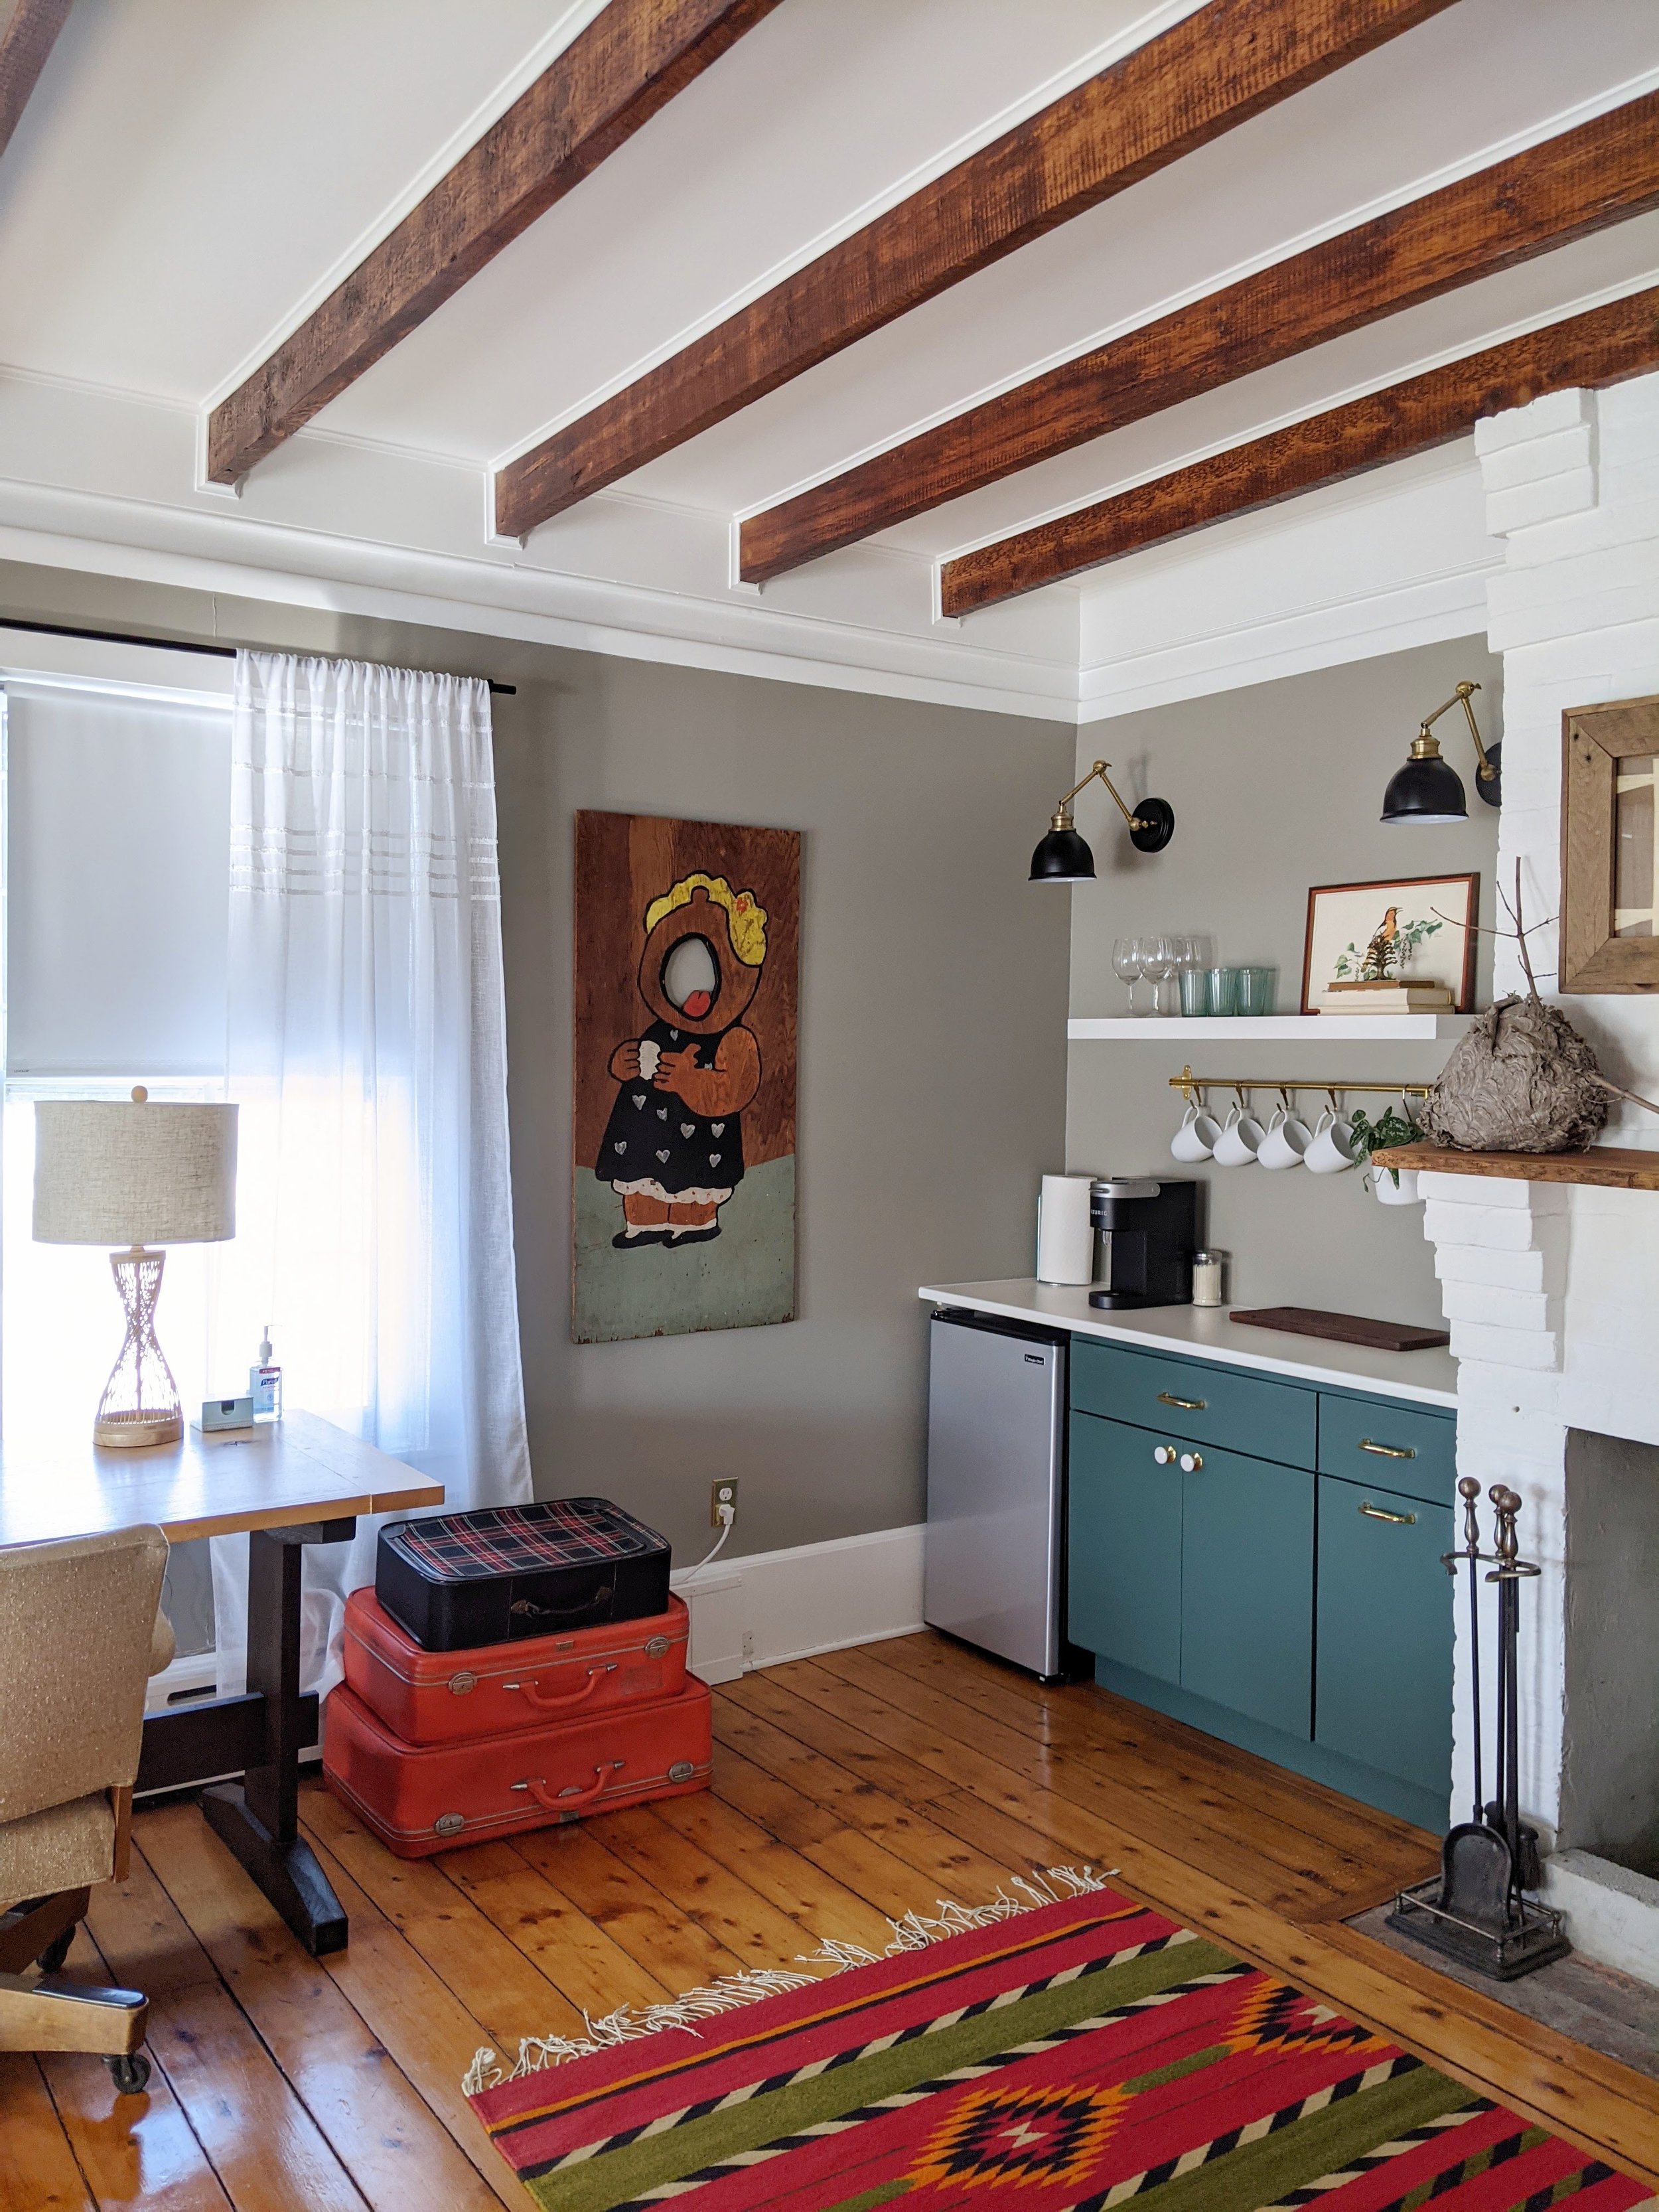
Here’s the reveal of Guest Suite #2 where we used this concrete vanity top along with a cherry wood base that John custom built.
Here are some of the products we used while making our Poured Concrete Vanity Tops and Shower Curbs:

Is this a project you think you could tackle on your own? Tell us what you think below!